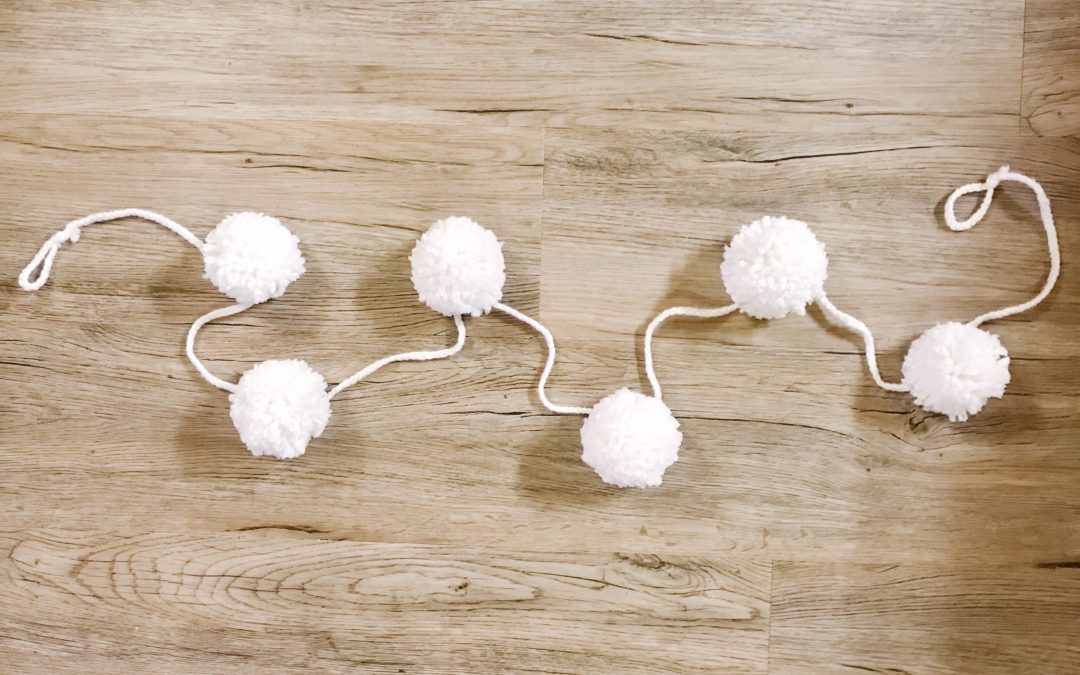
Ever see something in the store and think, I can make that. If you’re a maker like me then you’re brain is programmed this way! Sometimes it turns out great, sometimes not so great and sometimes I spend A LOT more money making it myself when I really should have just bought it, BUT that’s just not how this maker’s brain works!
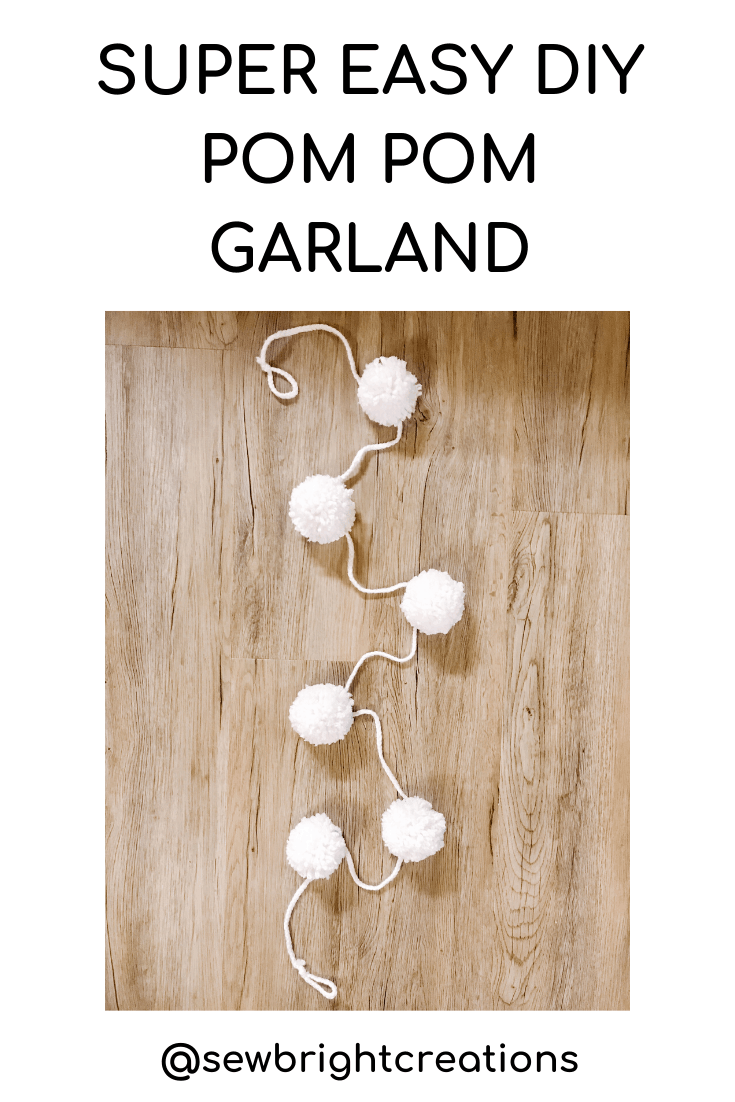
Thankfully my latest DIY did turn out so I thought I’d share and maybe inspire you to give it a try too! This pom pom garland is not only super easy, but it’s inexpensive, doesn’t take very long and in my opinion, it looks super cute! Depending on your colour selection you could use for many occasions, not just Christmas. Although a red, green and white one would be super adorable, I do love the white with the lights. You could even do colourful ones for a birthday party and then hang up in a bedroom or toy room after. The ideas are endless!
Let’s get started!
How to Make a Pom Pom Garland
What you’ll need:
– 2-3 balls of yarn (I like chunky ones, but use whatever look you’re going for. You can often find good deals on the buy and sell, thrift stores or maybe a friend has some)
-cardboard, just a couple smaller pieces
-sharp scissors
-two toilet paper rolls
-mini lights (optional)
How it goes:
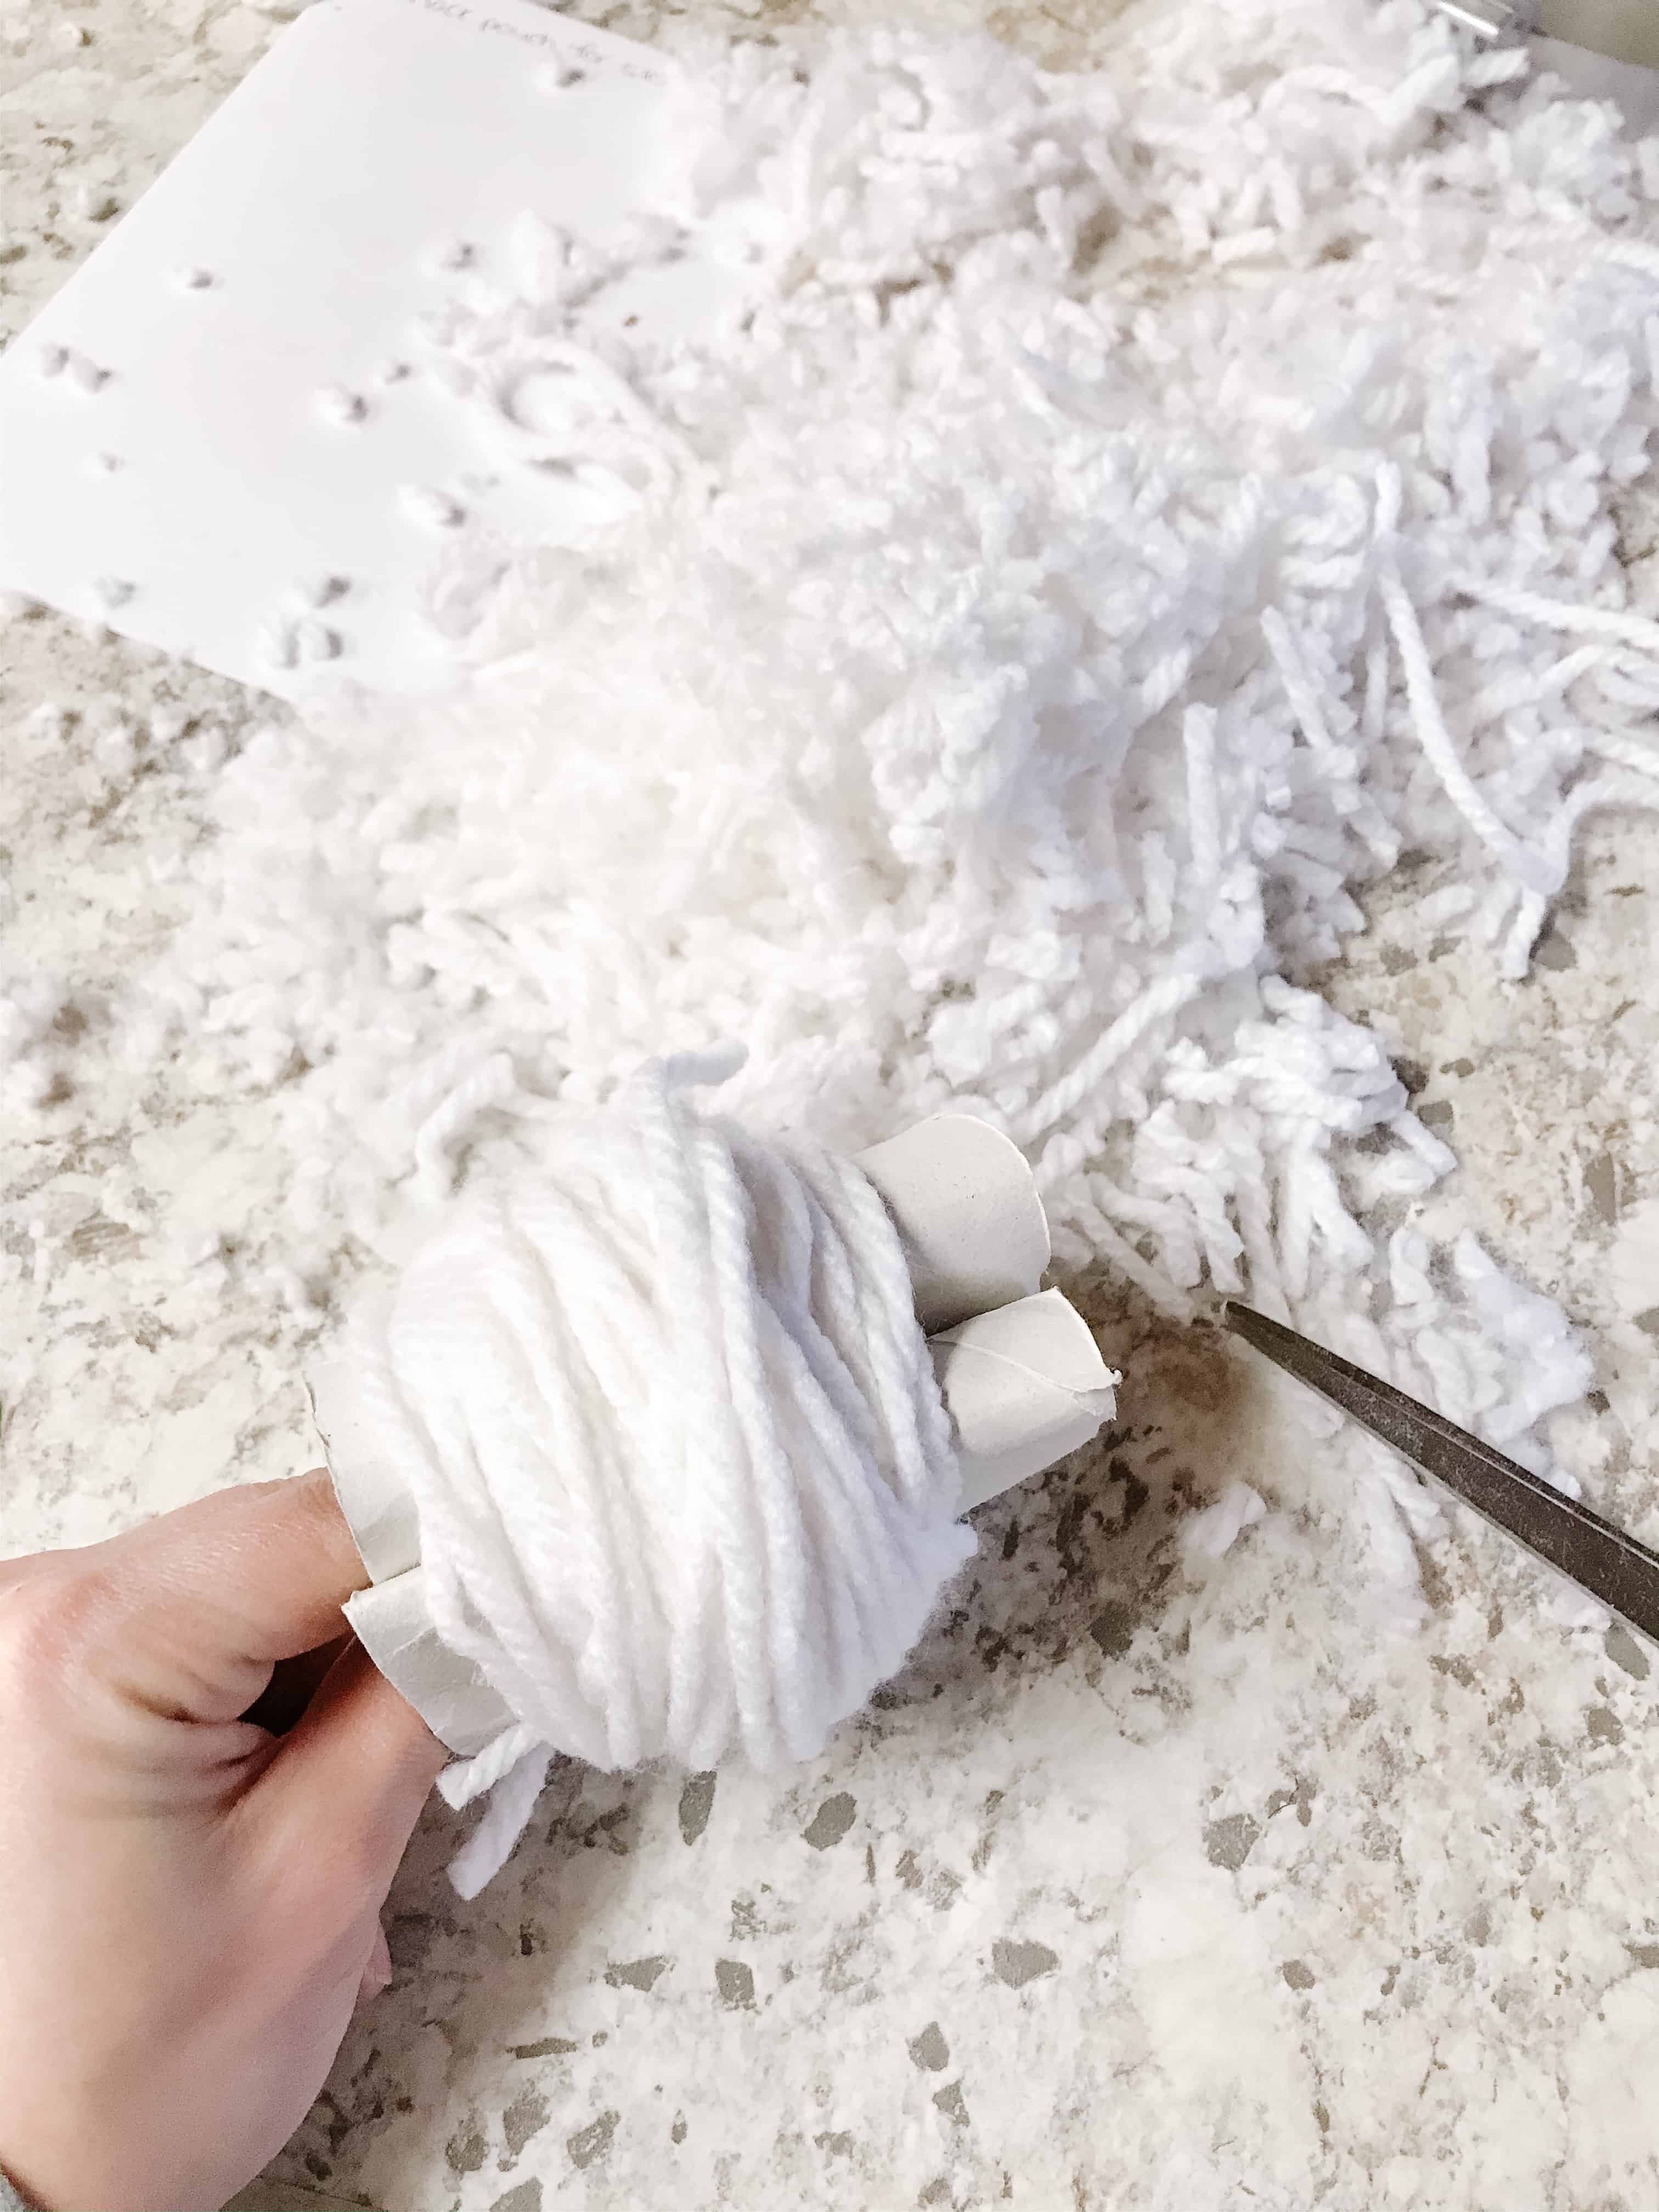
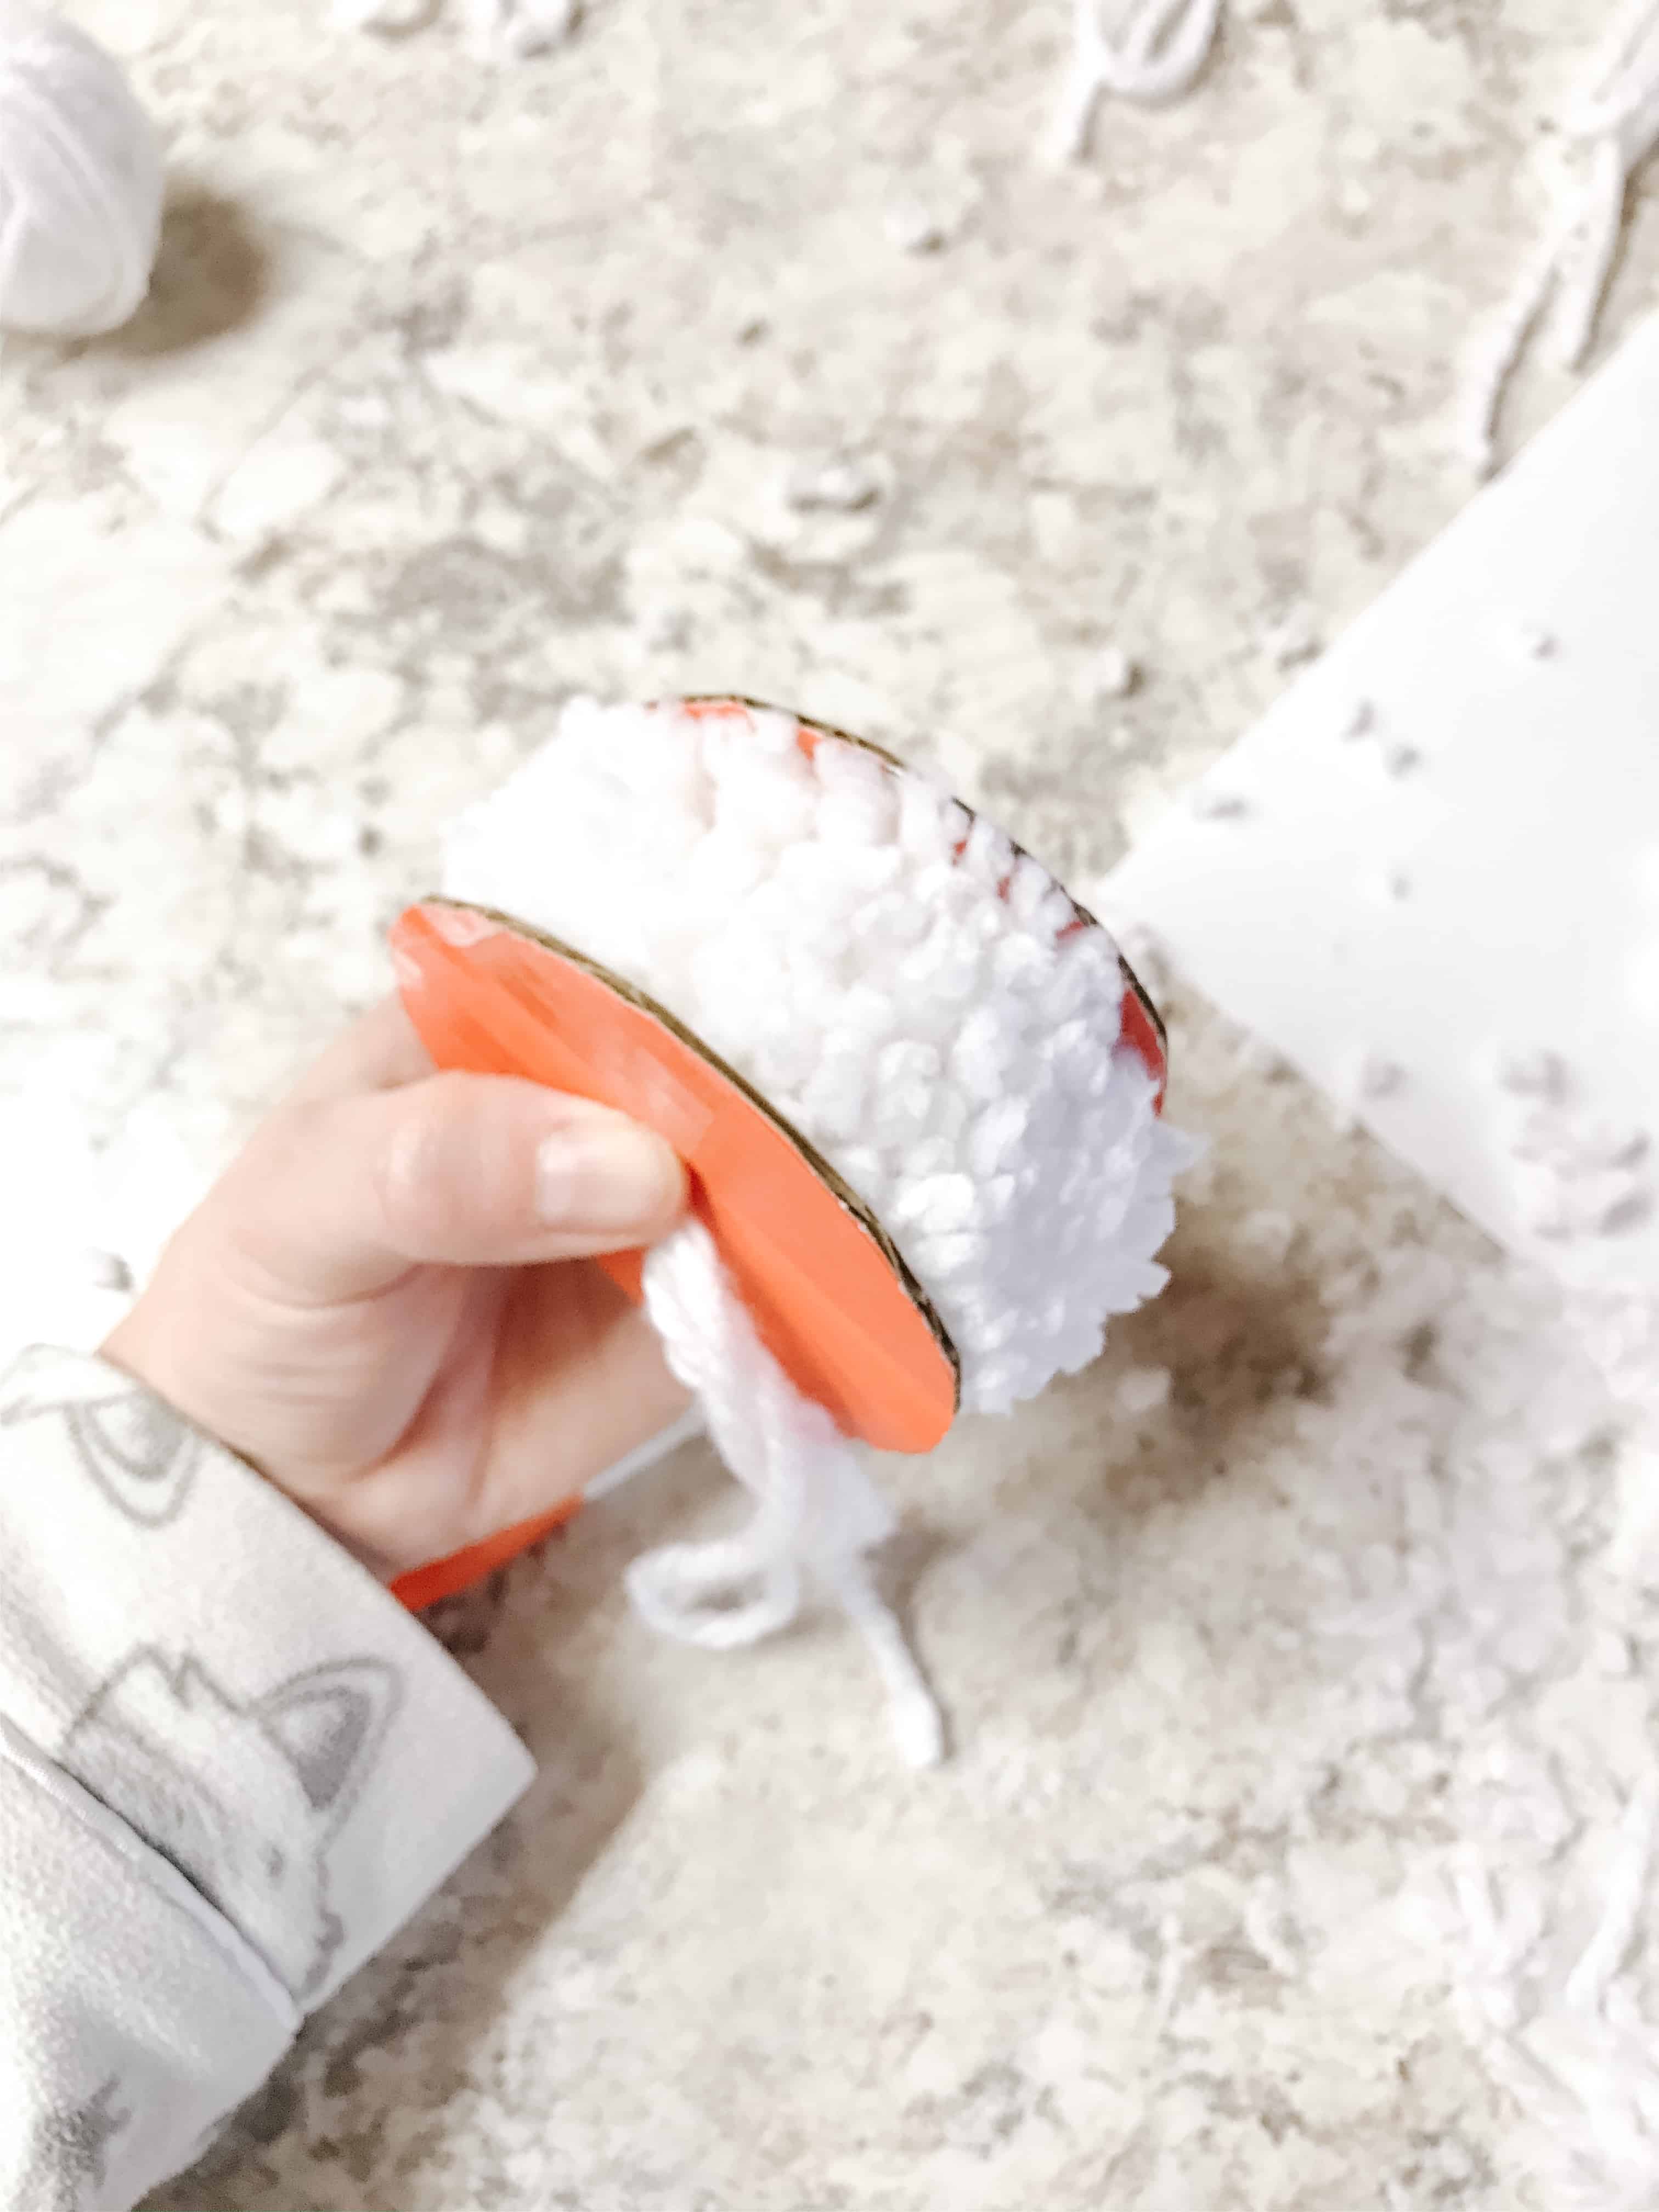
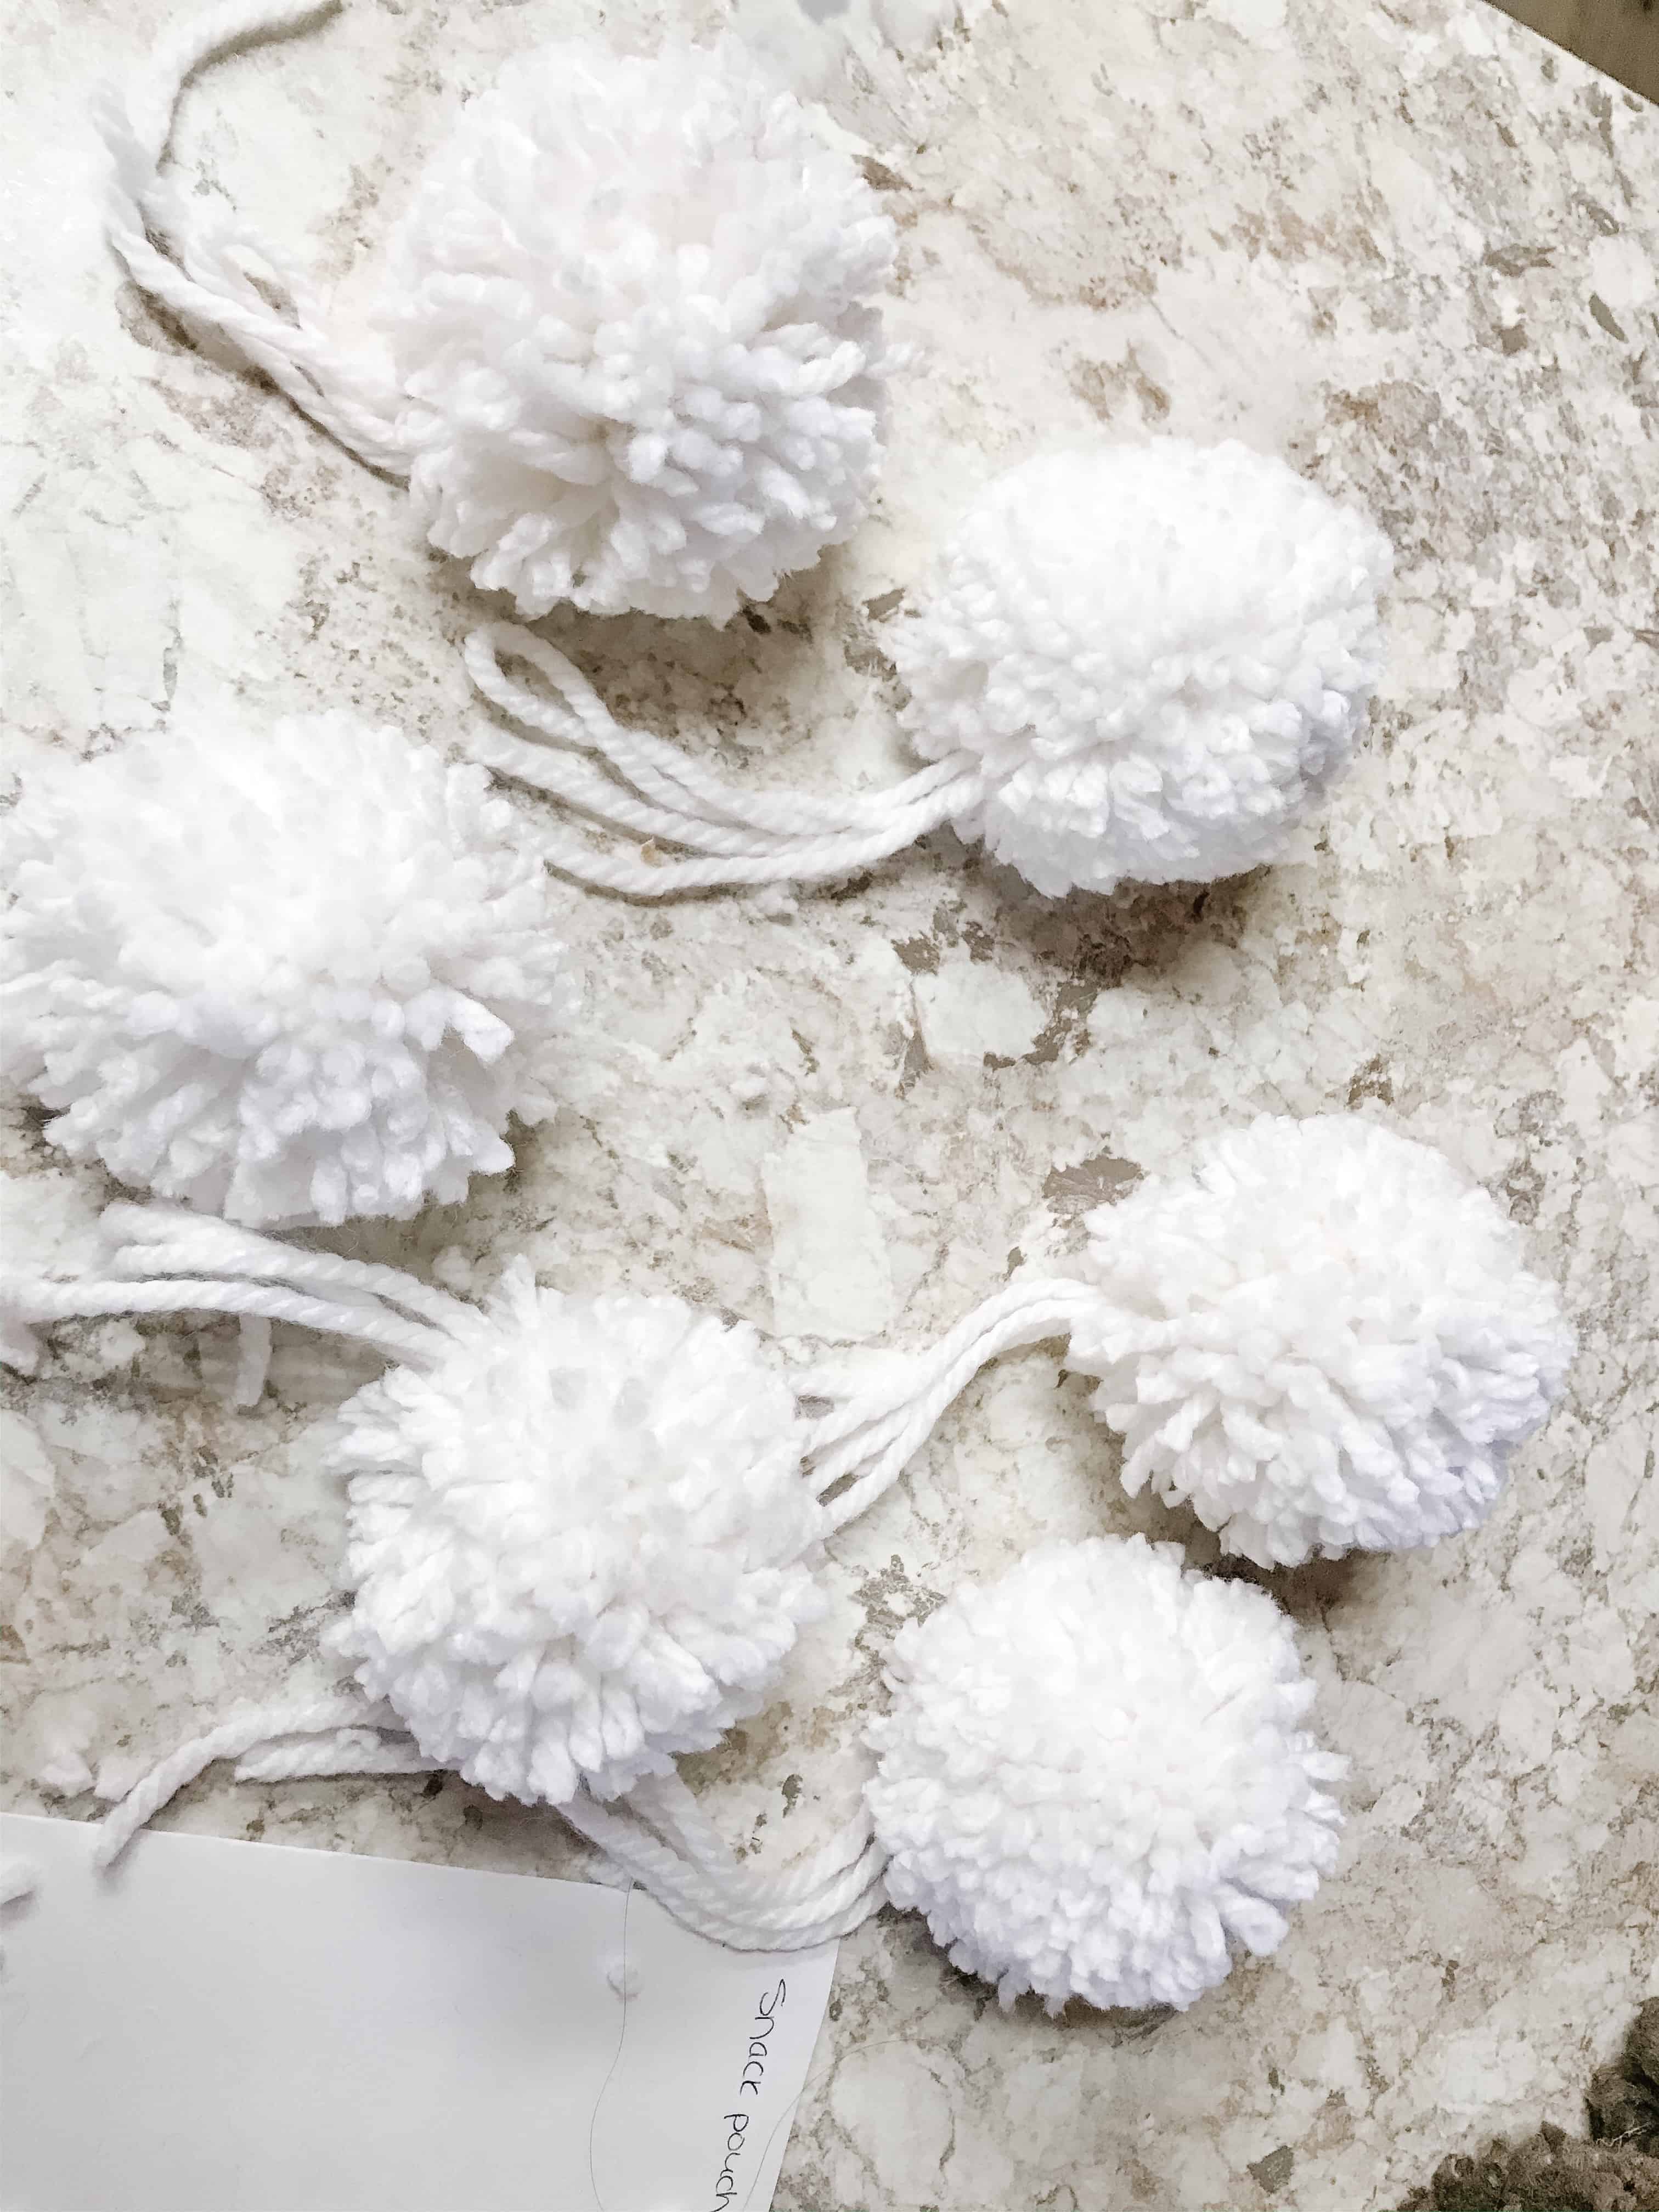
1. First step is to make your pom poms. We found this awesome video on YouTube, so instead of explaining all the details, I suggest to CLICK HERE and just watch the video.
I made the pom poms about the same size as in the video, but you can make any size you want! As for the loops around, I did about 45 (when the yarn is doubled it). Really small ones would be cute too!
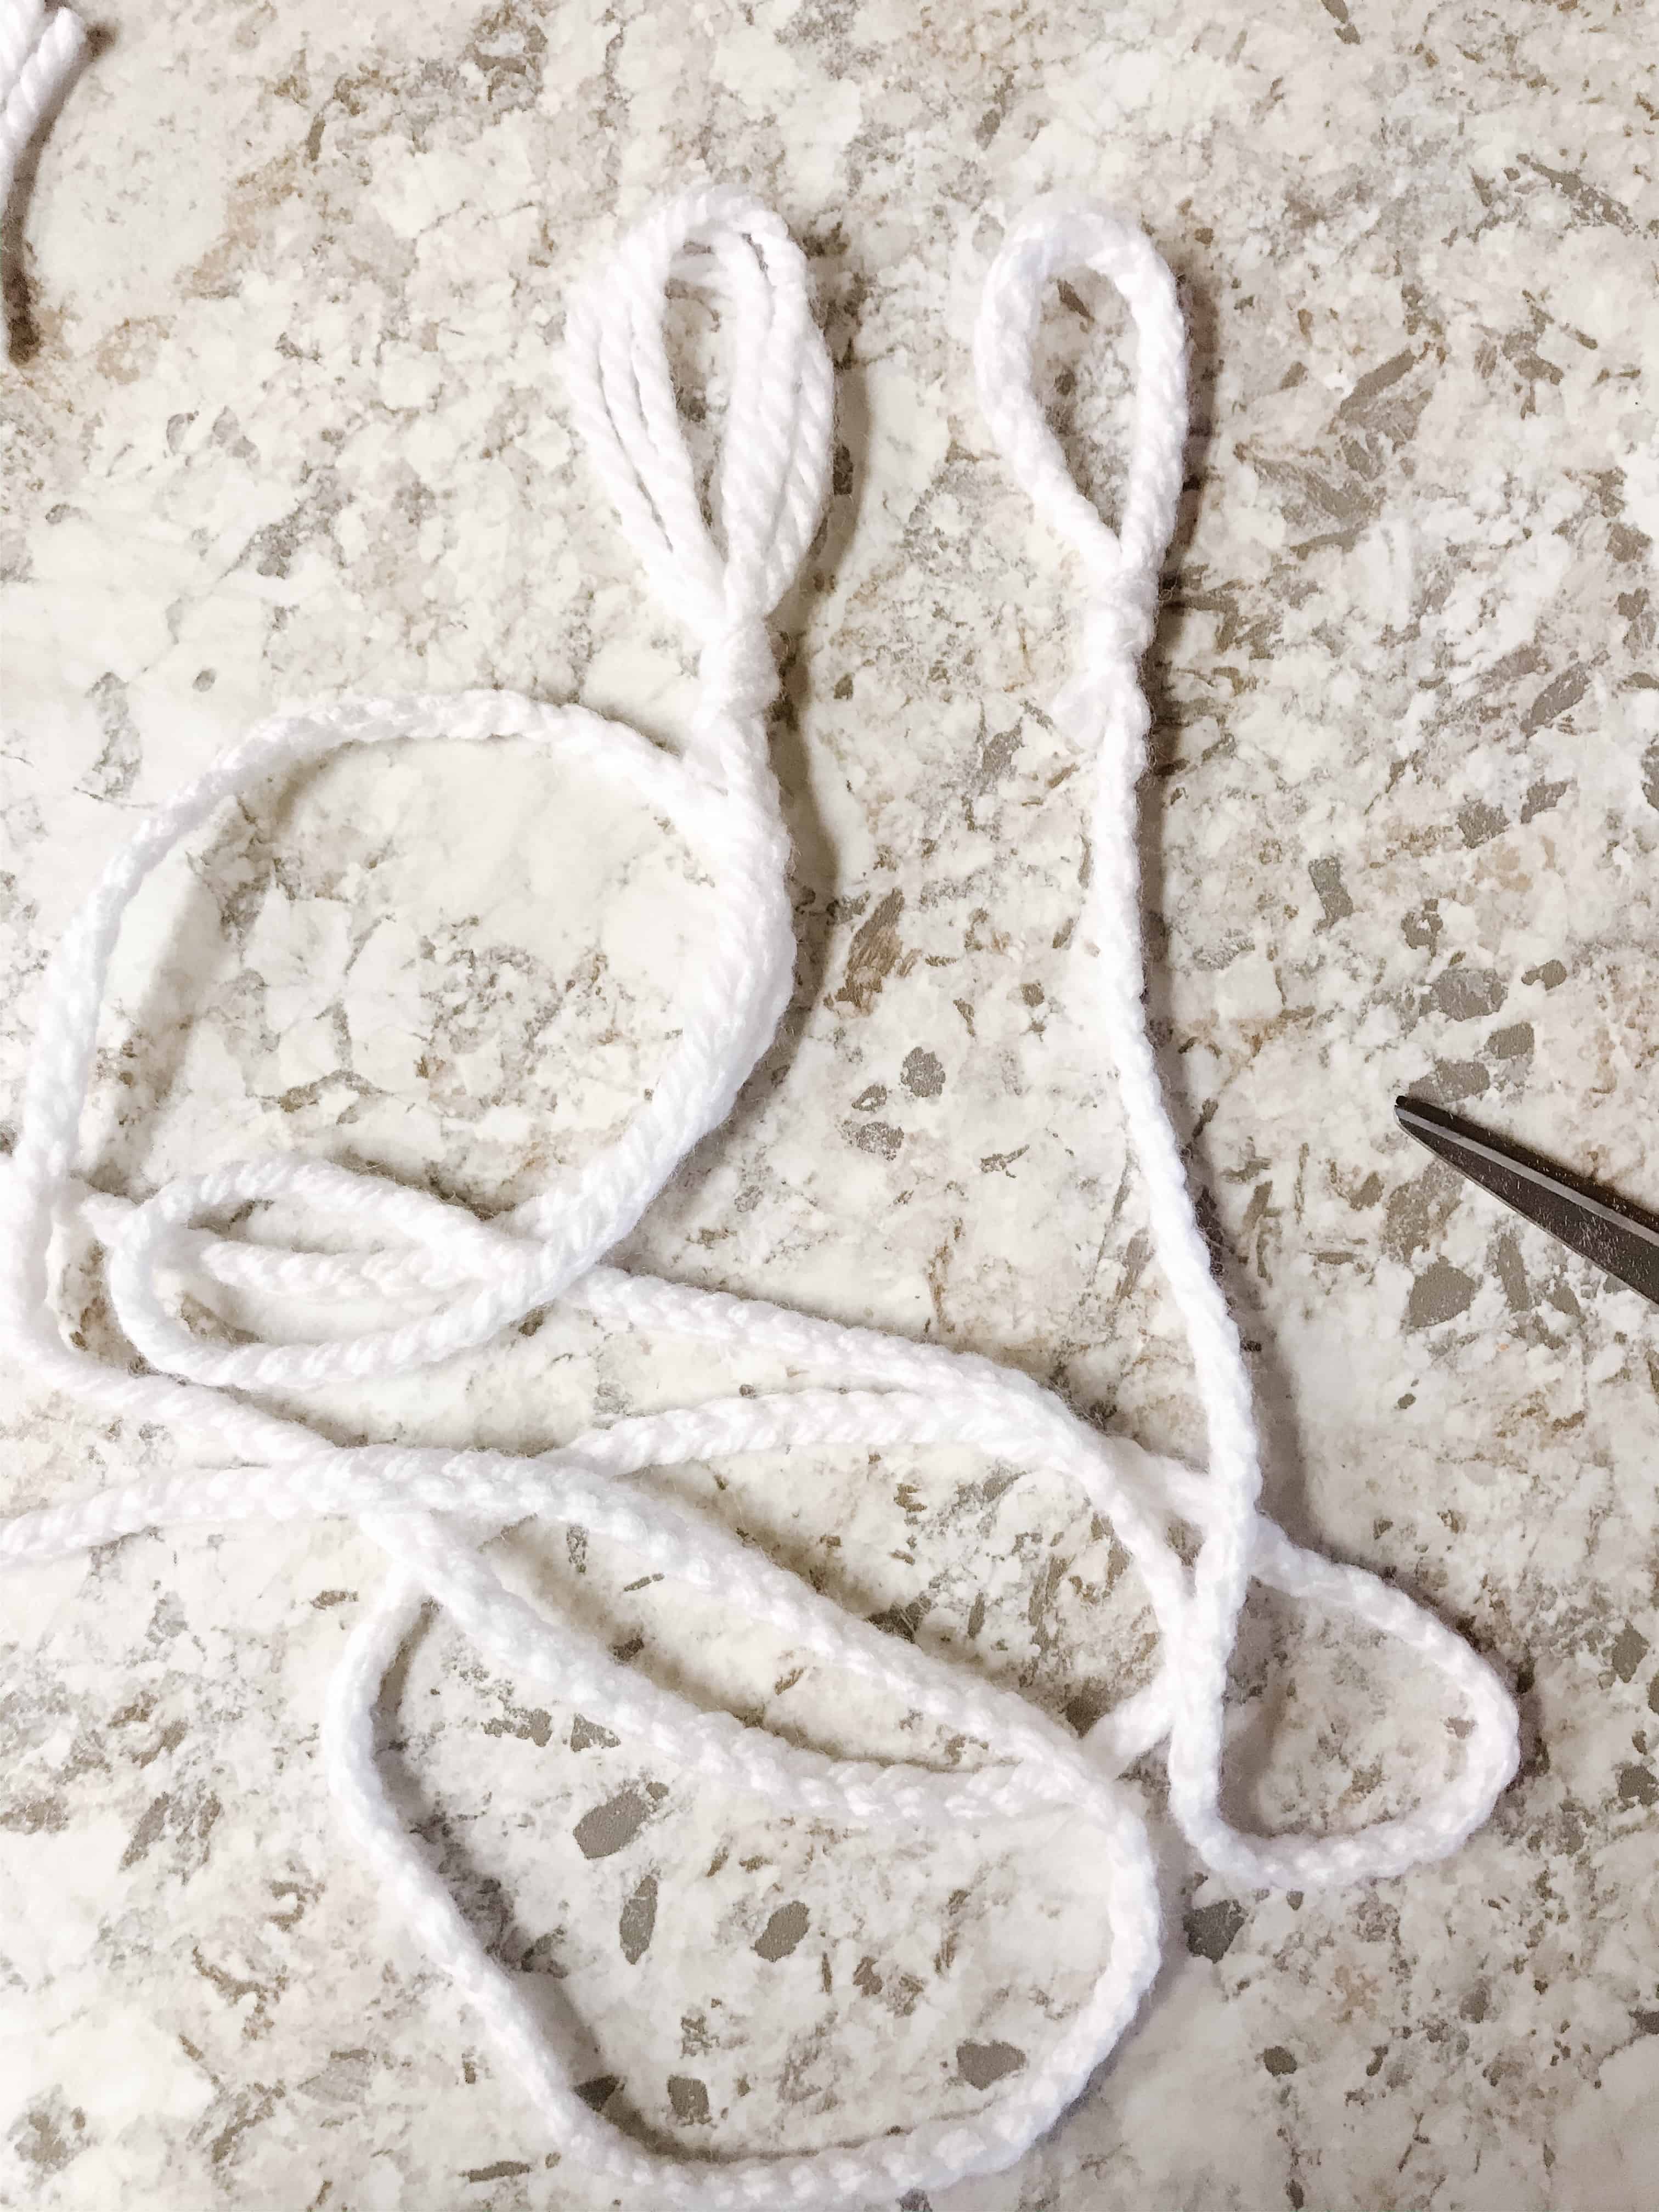
2. Once you’ve made all the pom poms you’d like (I made 6), then you’ll want to make a string to tie them on. You could use on piece of chunkier yarn, but I wanted it to be a bit thicker so I braided it. The length of mine was 8ft, but you can make it any length you like. Simply just braid three strands together for a thicker look.
Keep in mind, once you braid it, your total length will be shorter. I didn’t take this into account and wish mine was a bit a longer.
3. Now you’ll want to tie each pom to the stand about 8 to 10 inches apart, or whatever distance who’d like.
4. If using mini lights, twist them together and hang or lay on surface. They’d make a cute centre piece too!
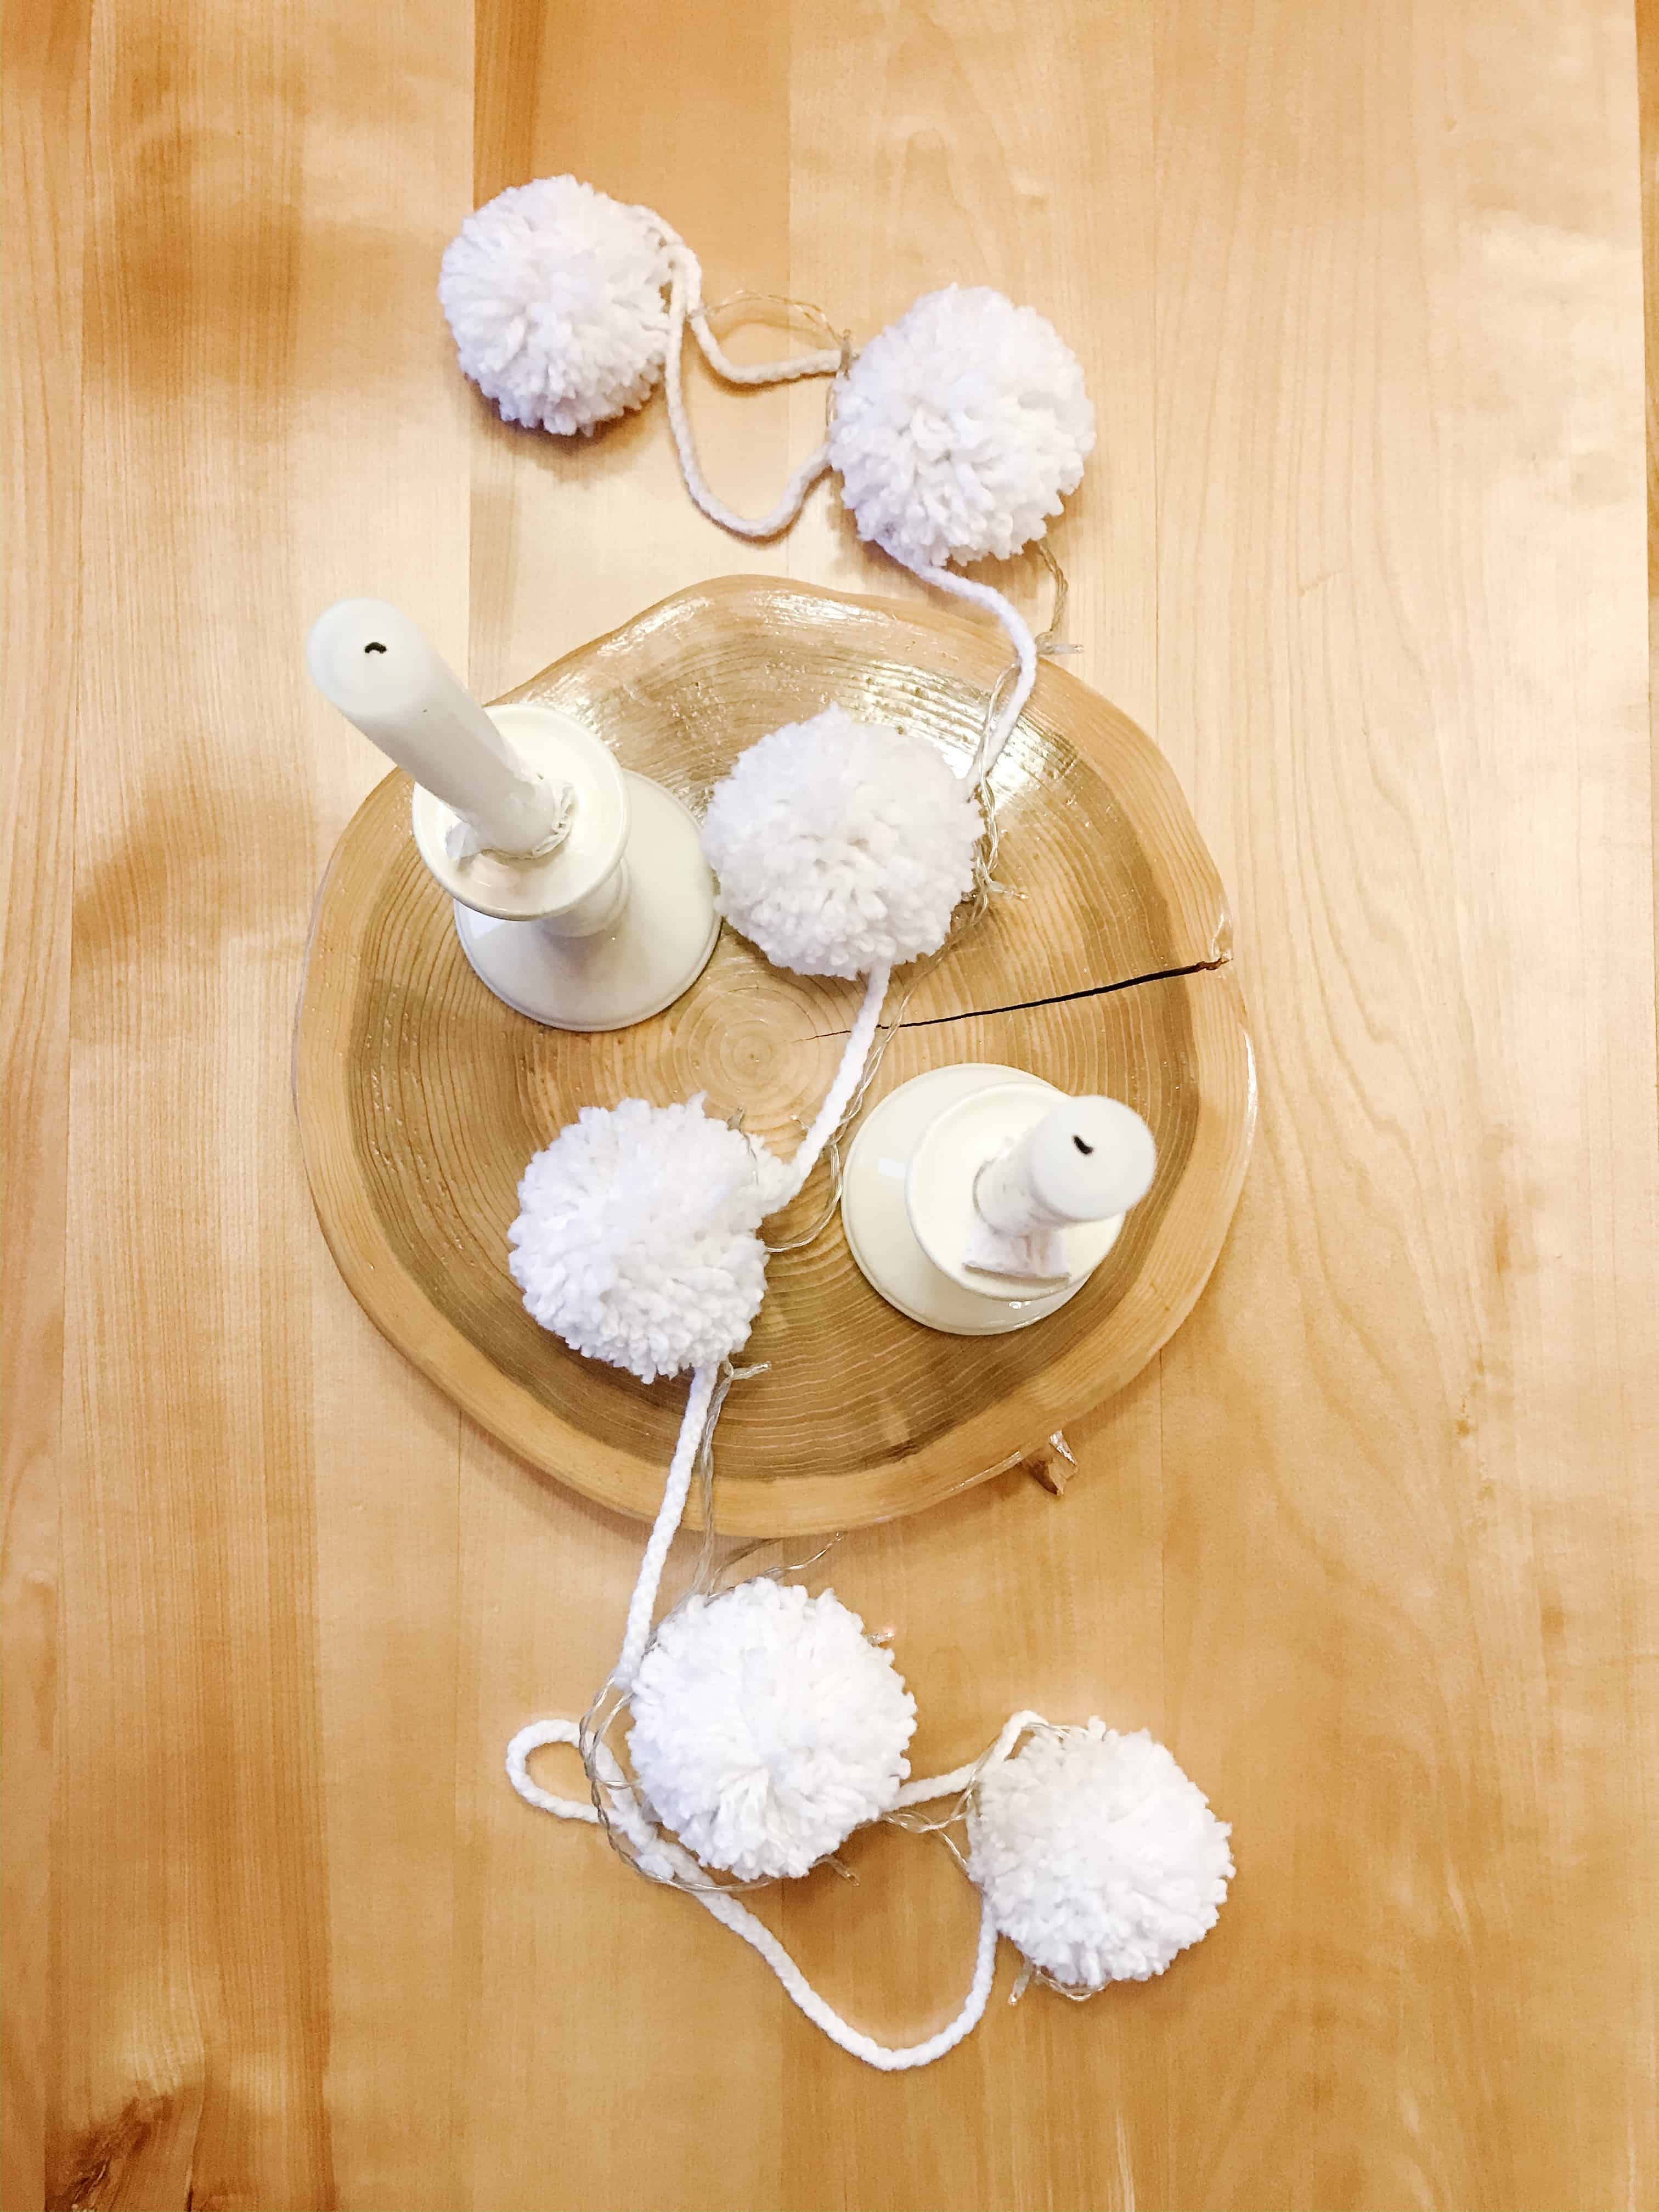
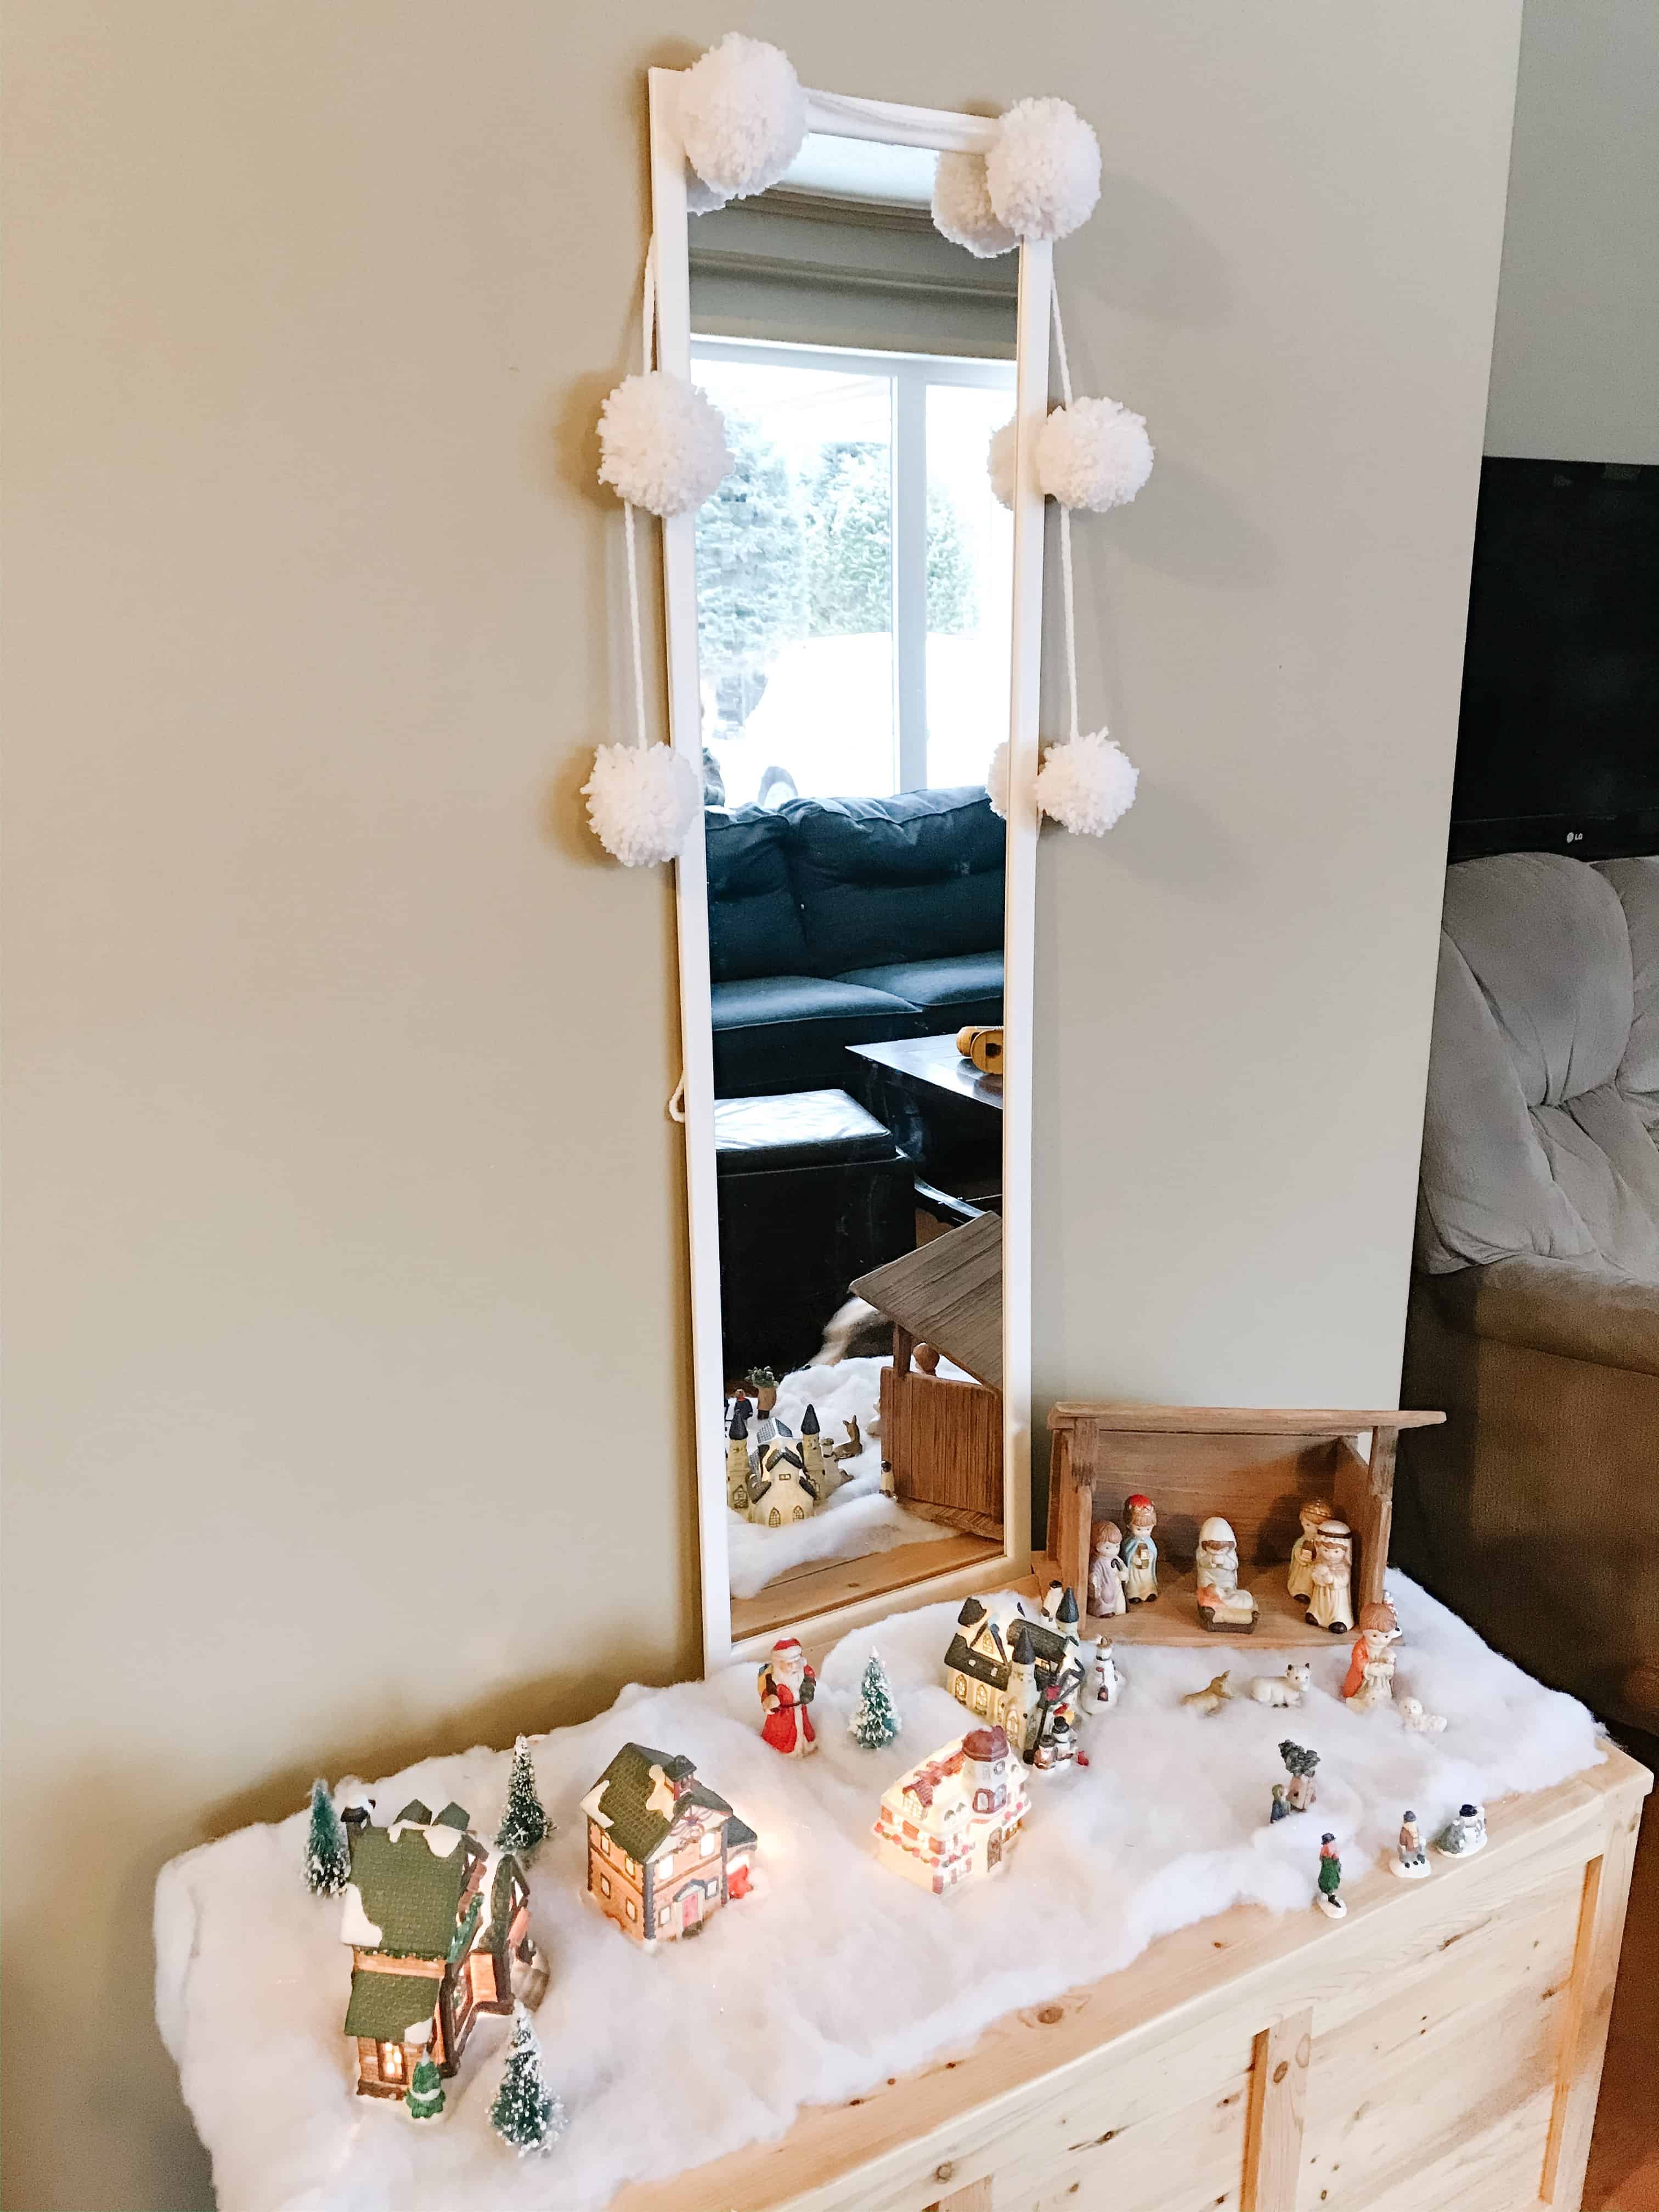
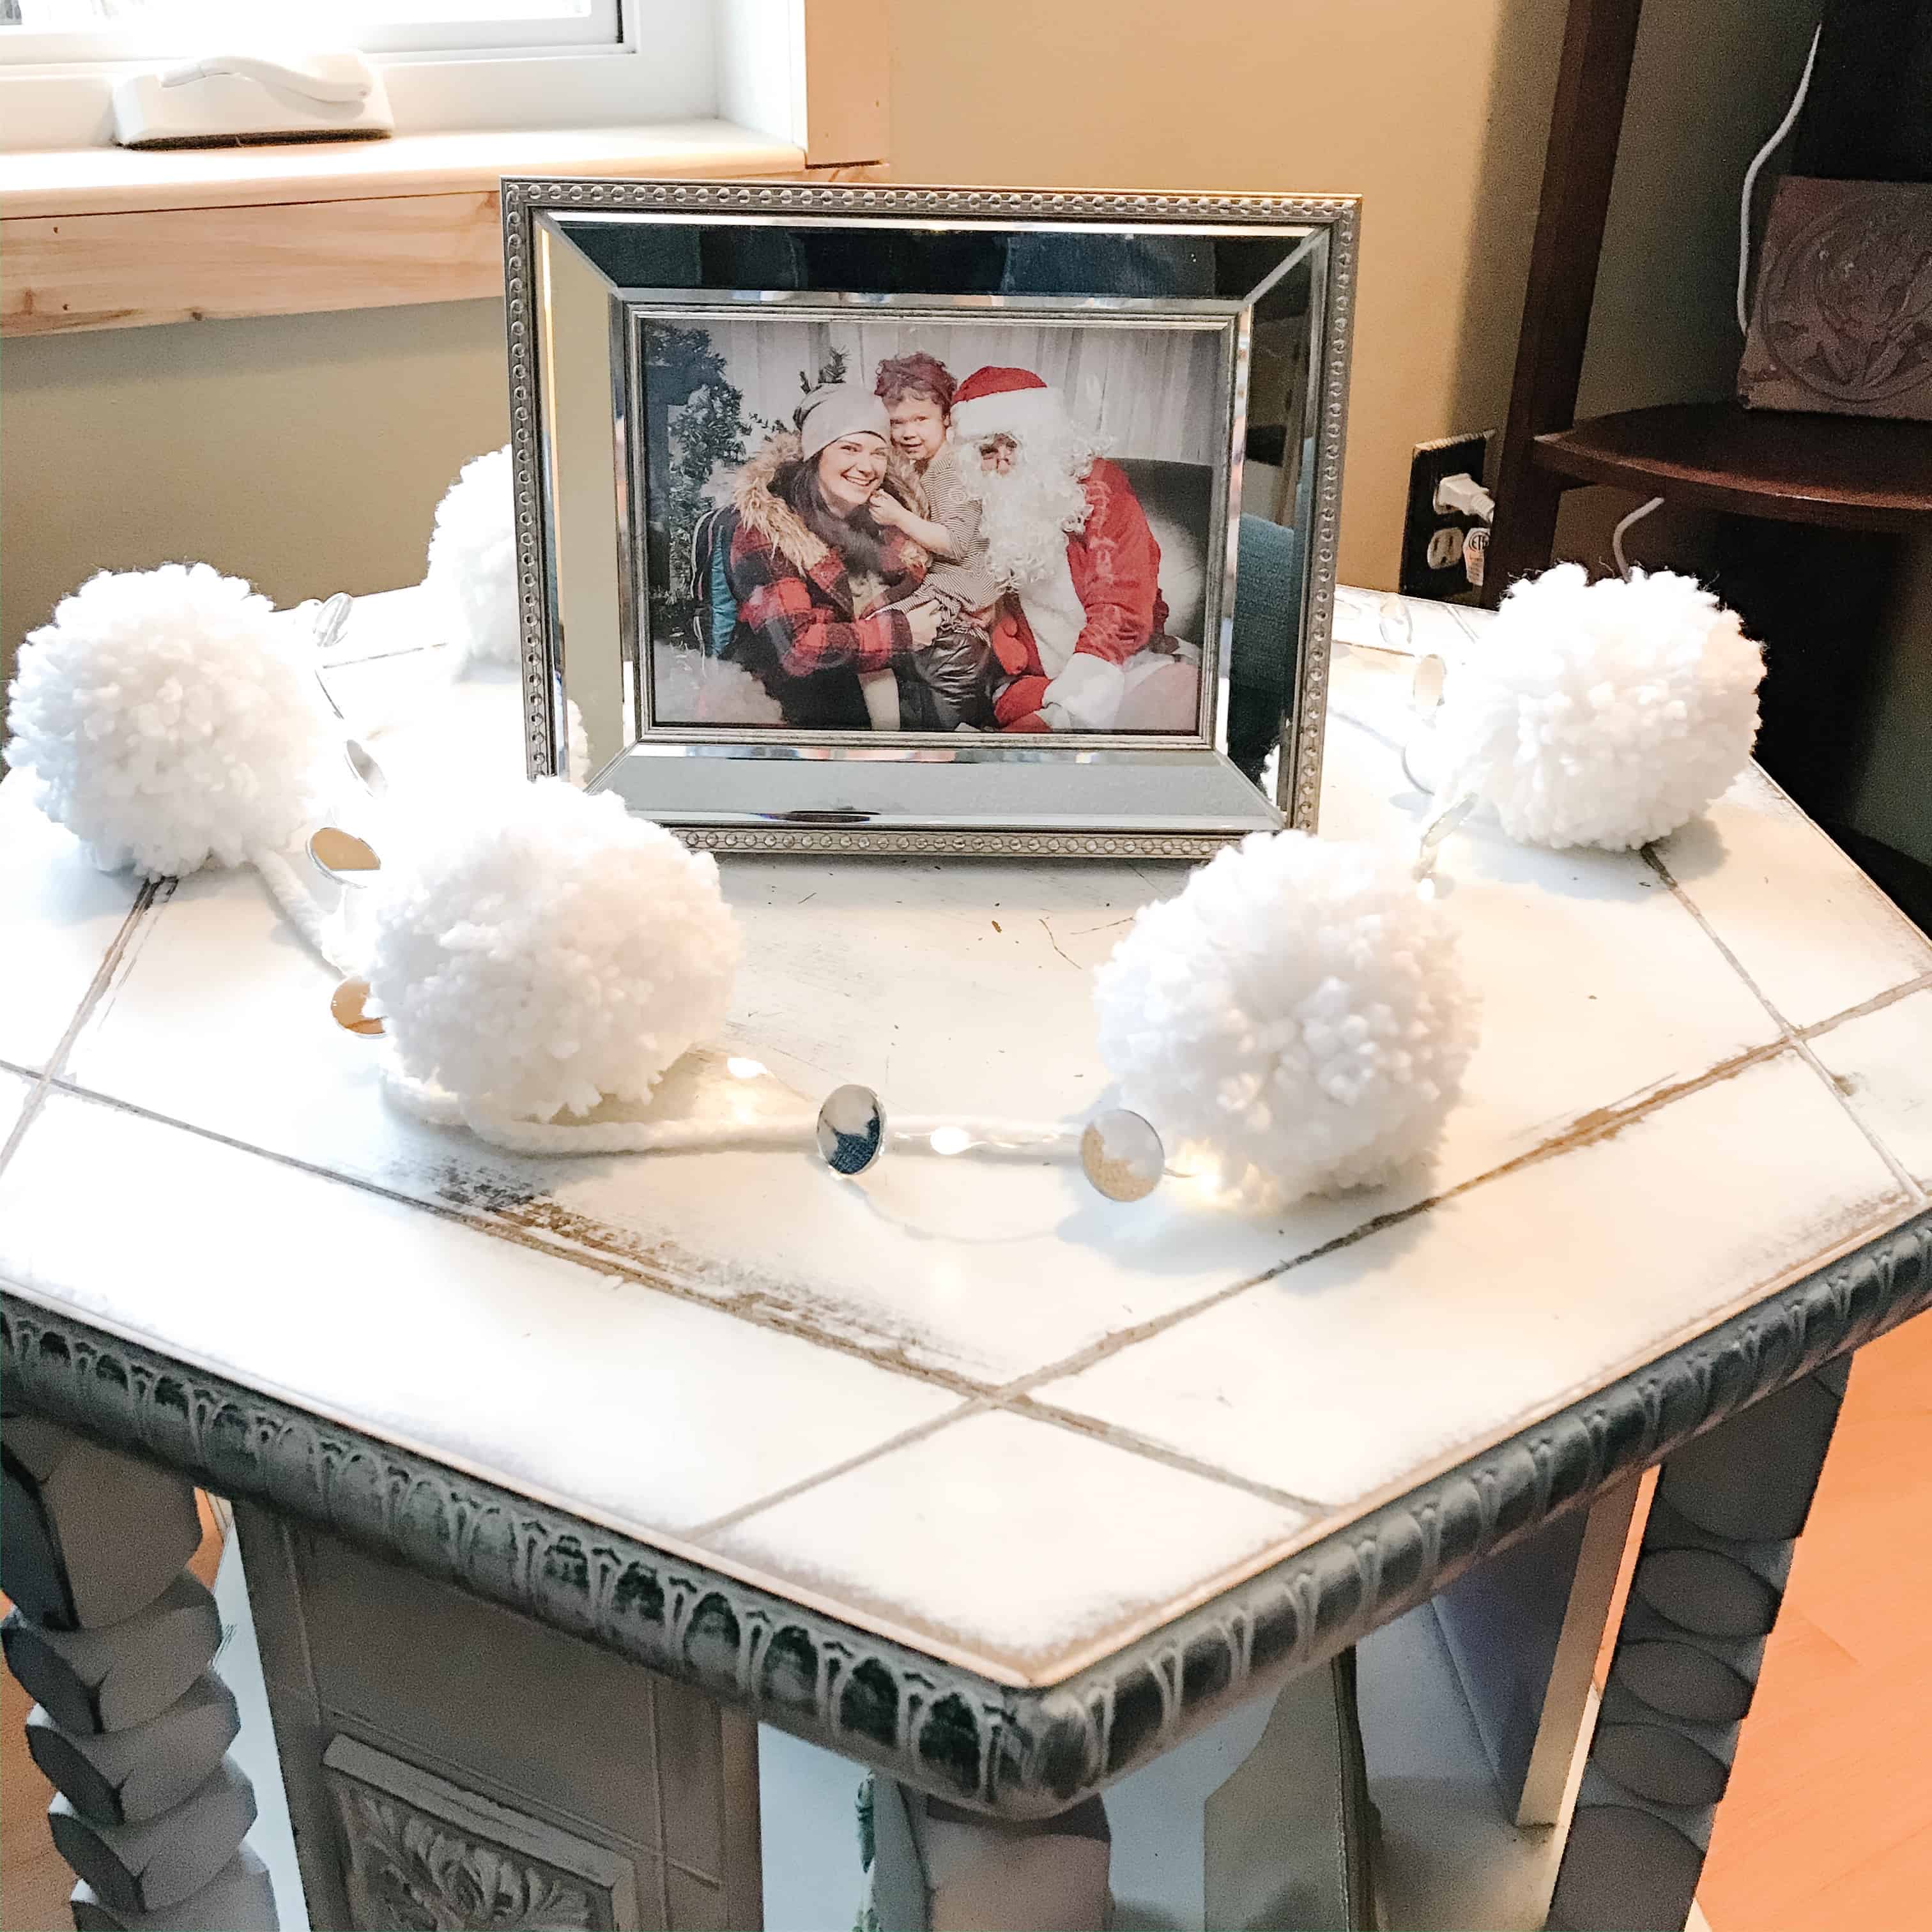
I told you, EASY PEASY LEMON SQUEEZEY! Now it’s your turn and make sure to tag me when you make them #sewbrightcreations @sewbrightcreations on Instagram!
Shop this post …
If you’d like to help a gal out, you can save this to your Pinterest. Just hover over the top left corner of any photo on this post and click the Pinterest icon.
Sharing helps more people access our blog and it is greatly appreciated!
This post is NOT

