Before
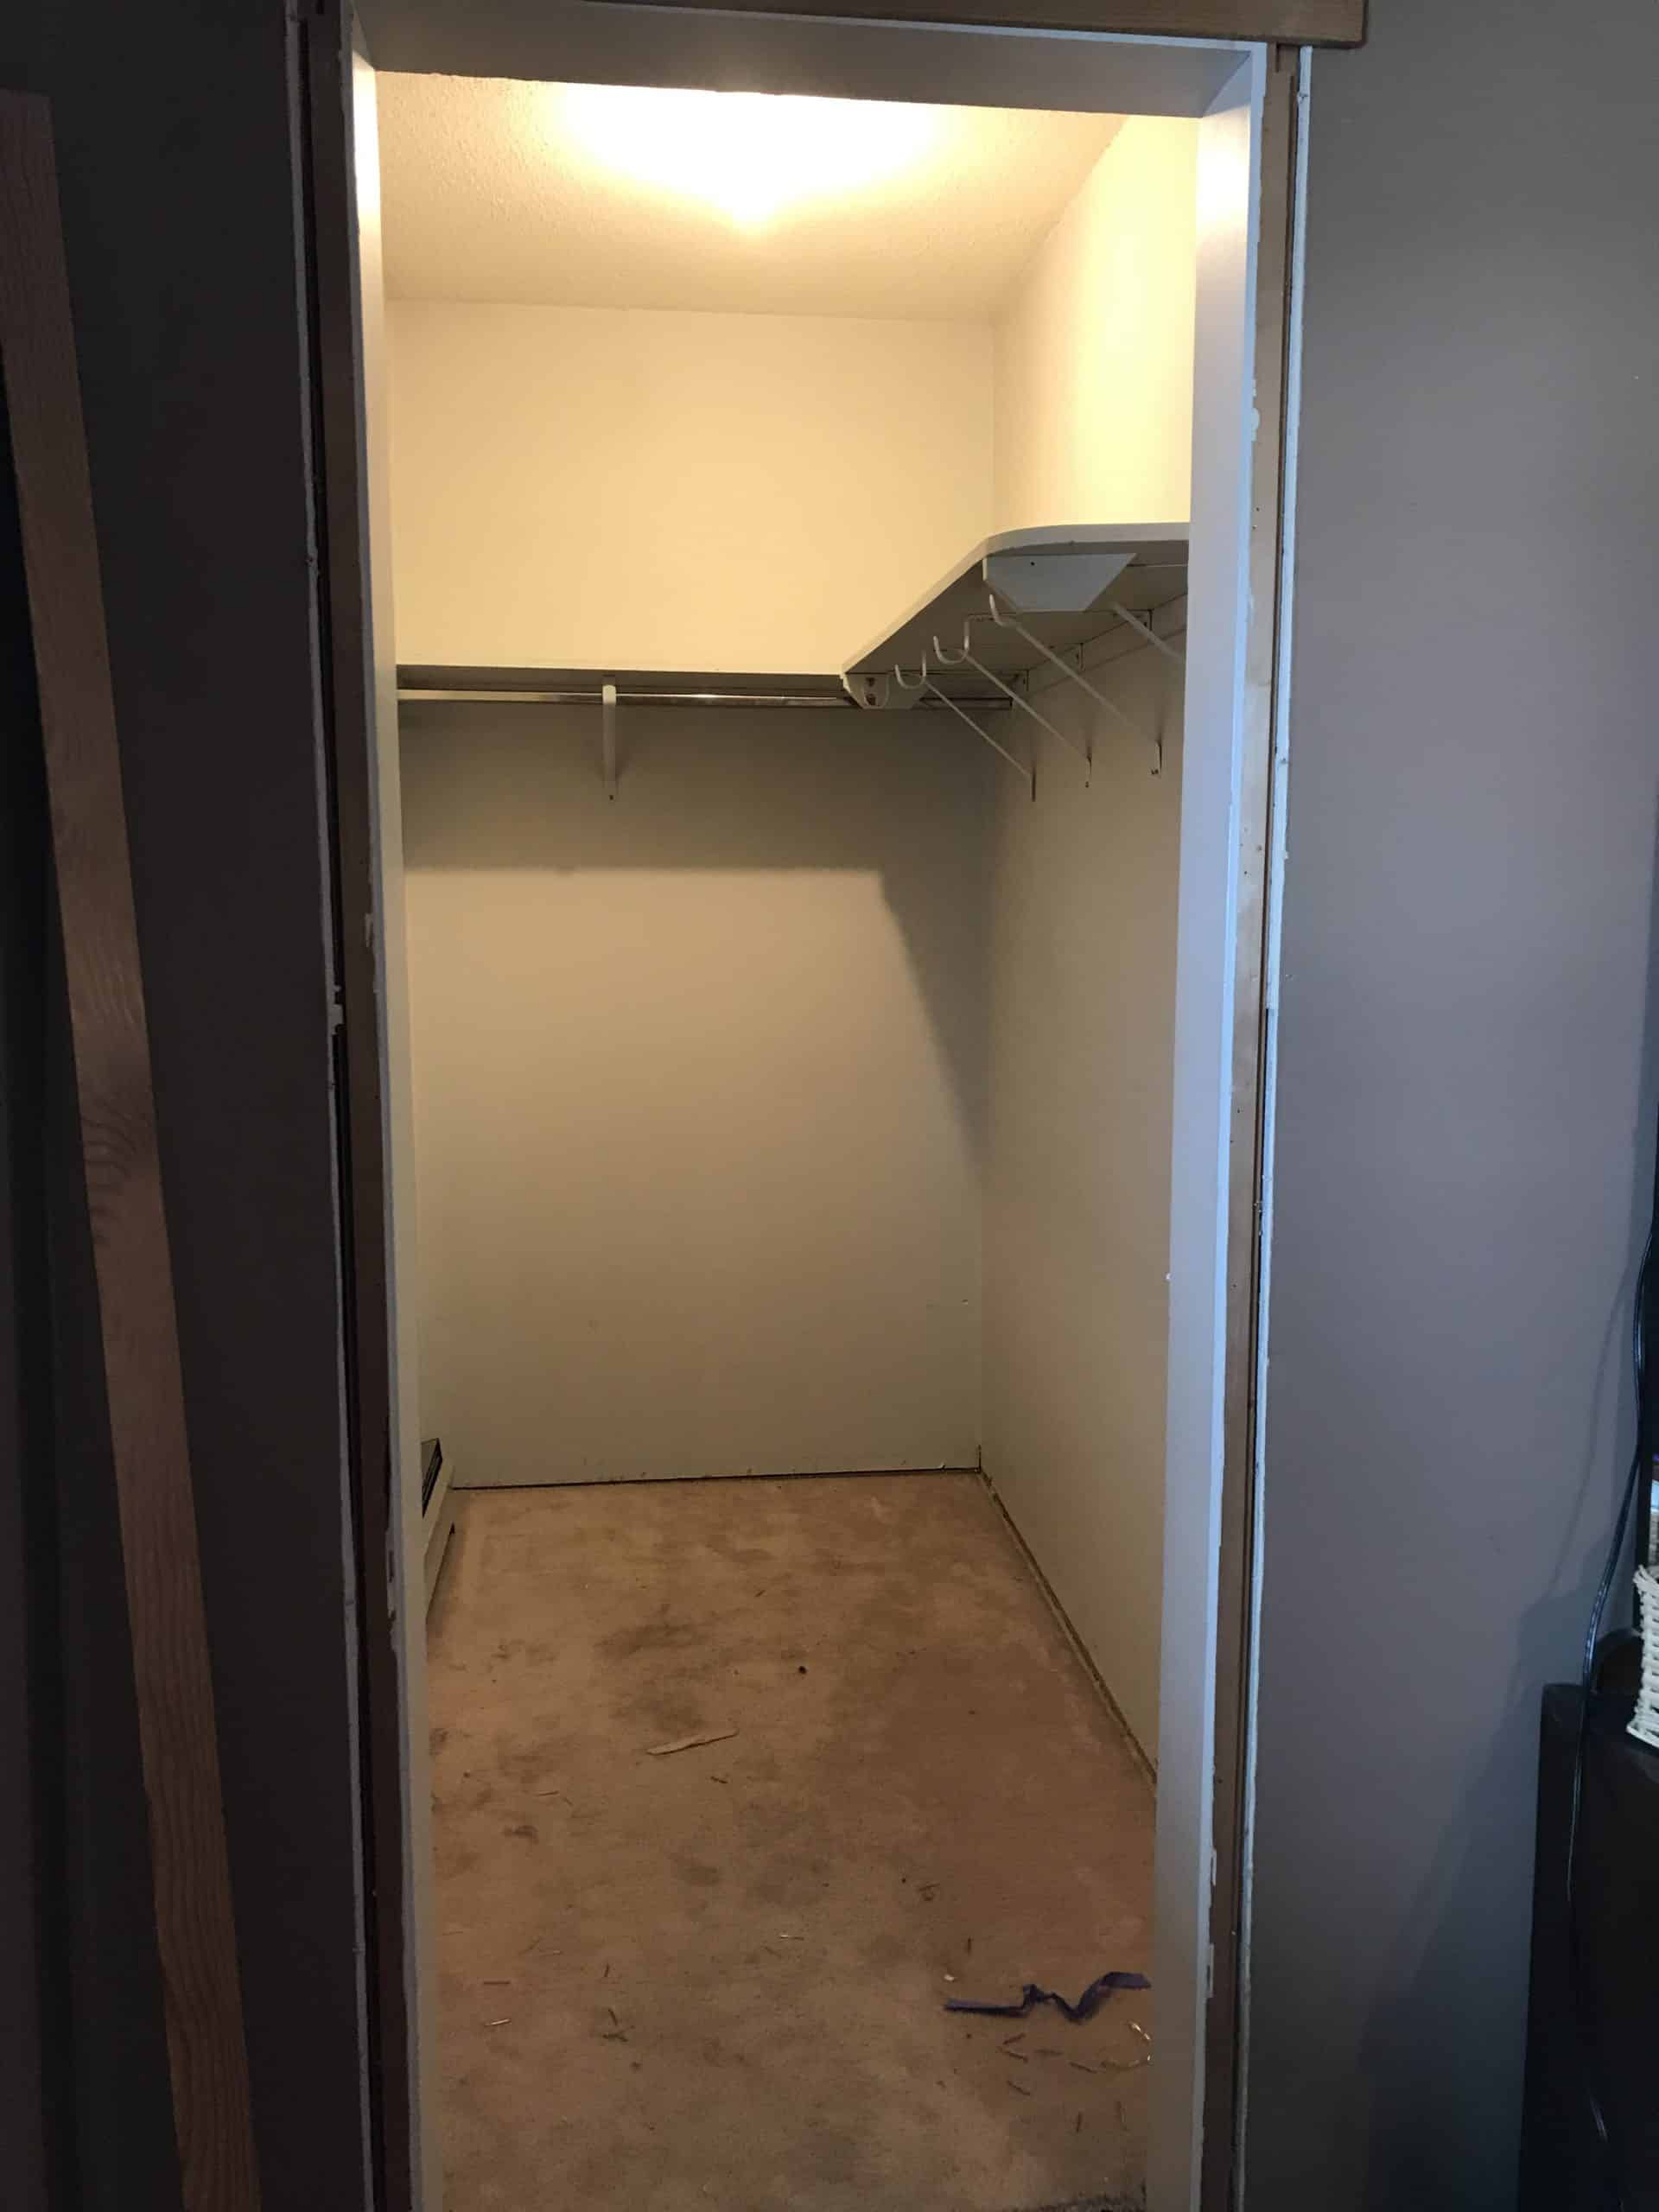
As with the rest of the house, all the rooms were quite dark, and those curtains. We won’t even go there. When we moved in I made a point of not changing anything until we did the room from start to finish. I didn’t want to be redoing things more than once. So we lived with those stellar curtains for 2 years, but it all feels worth it now! Here are a few photos of what the room looked like before we renovated.
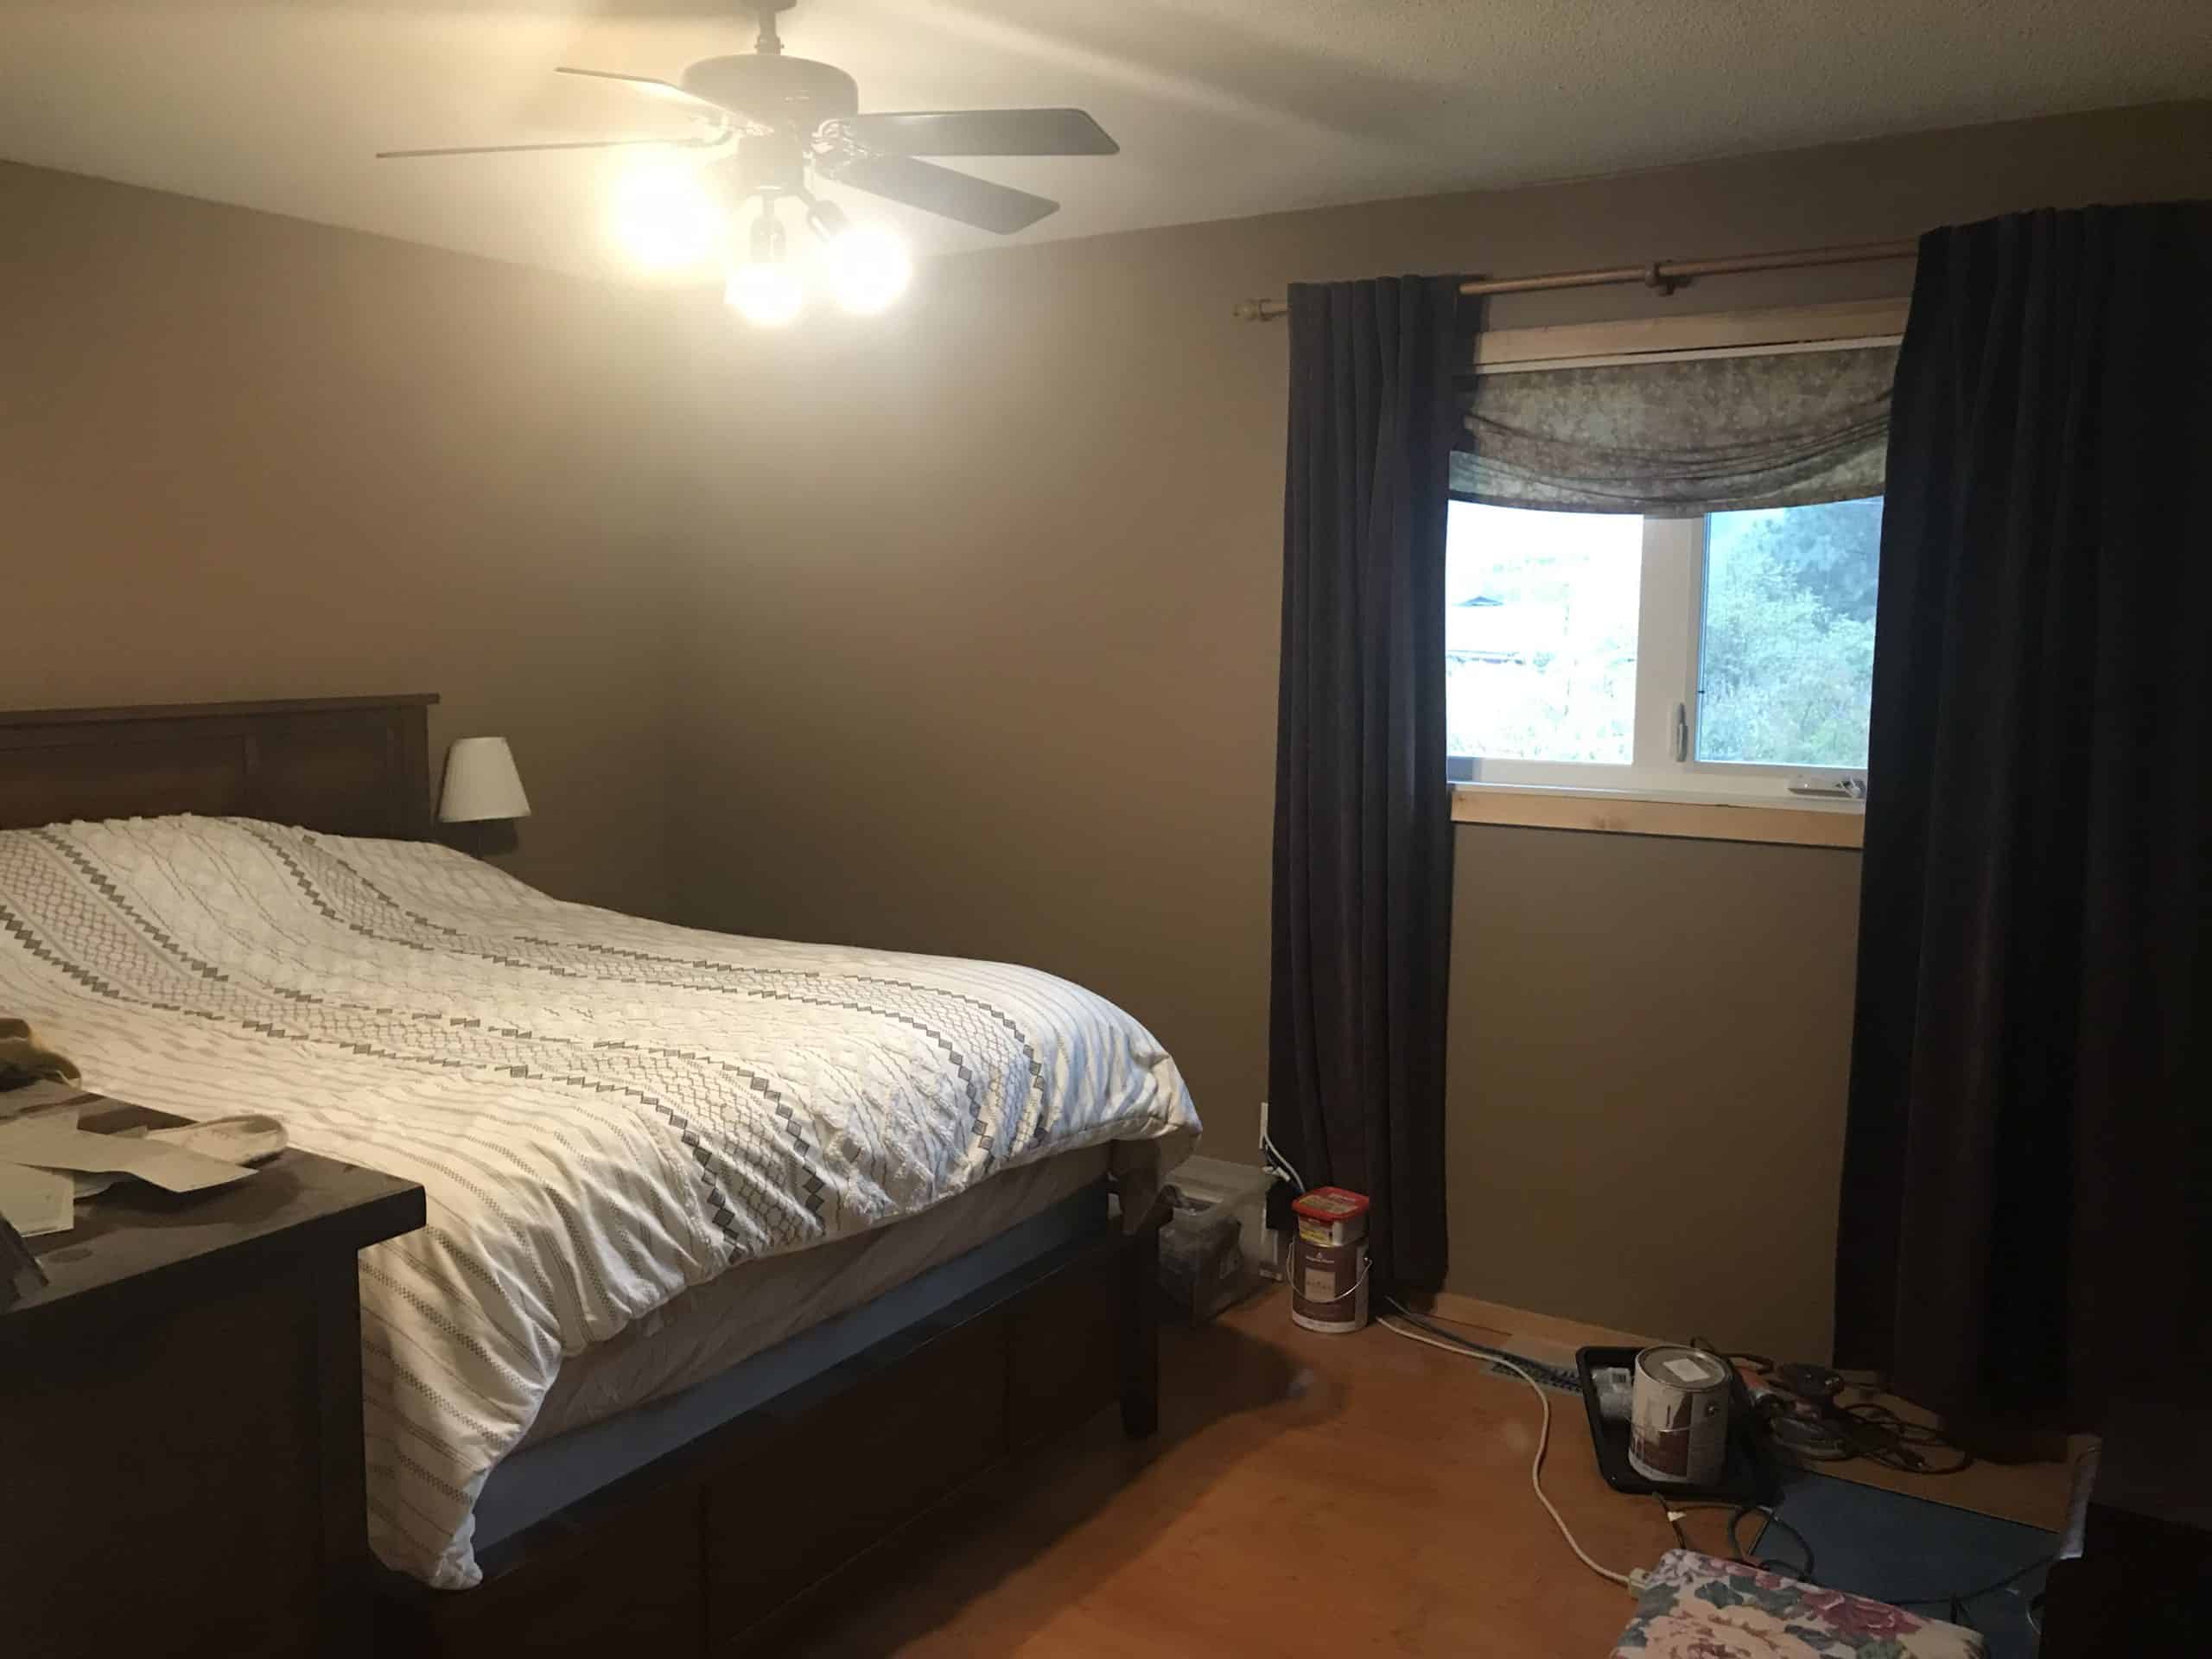
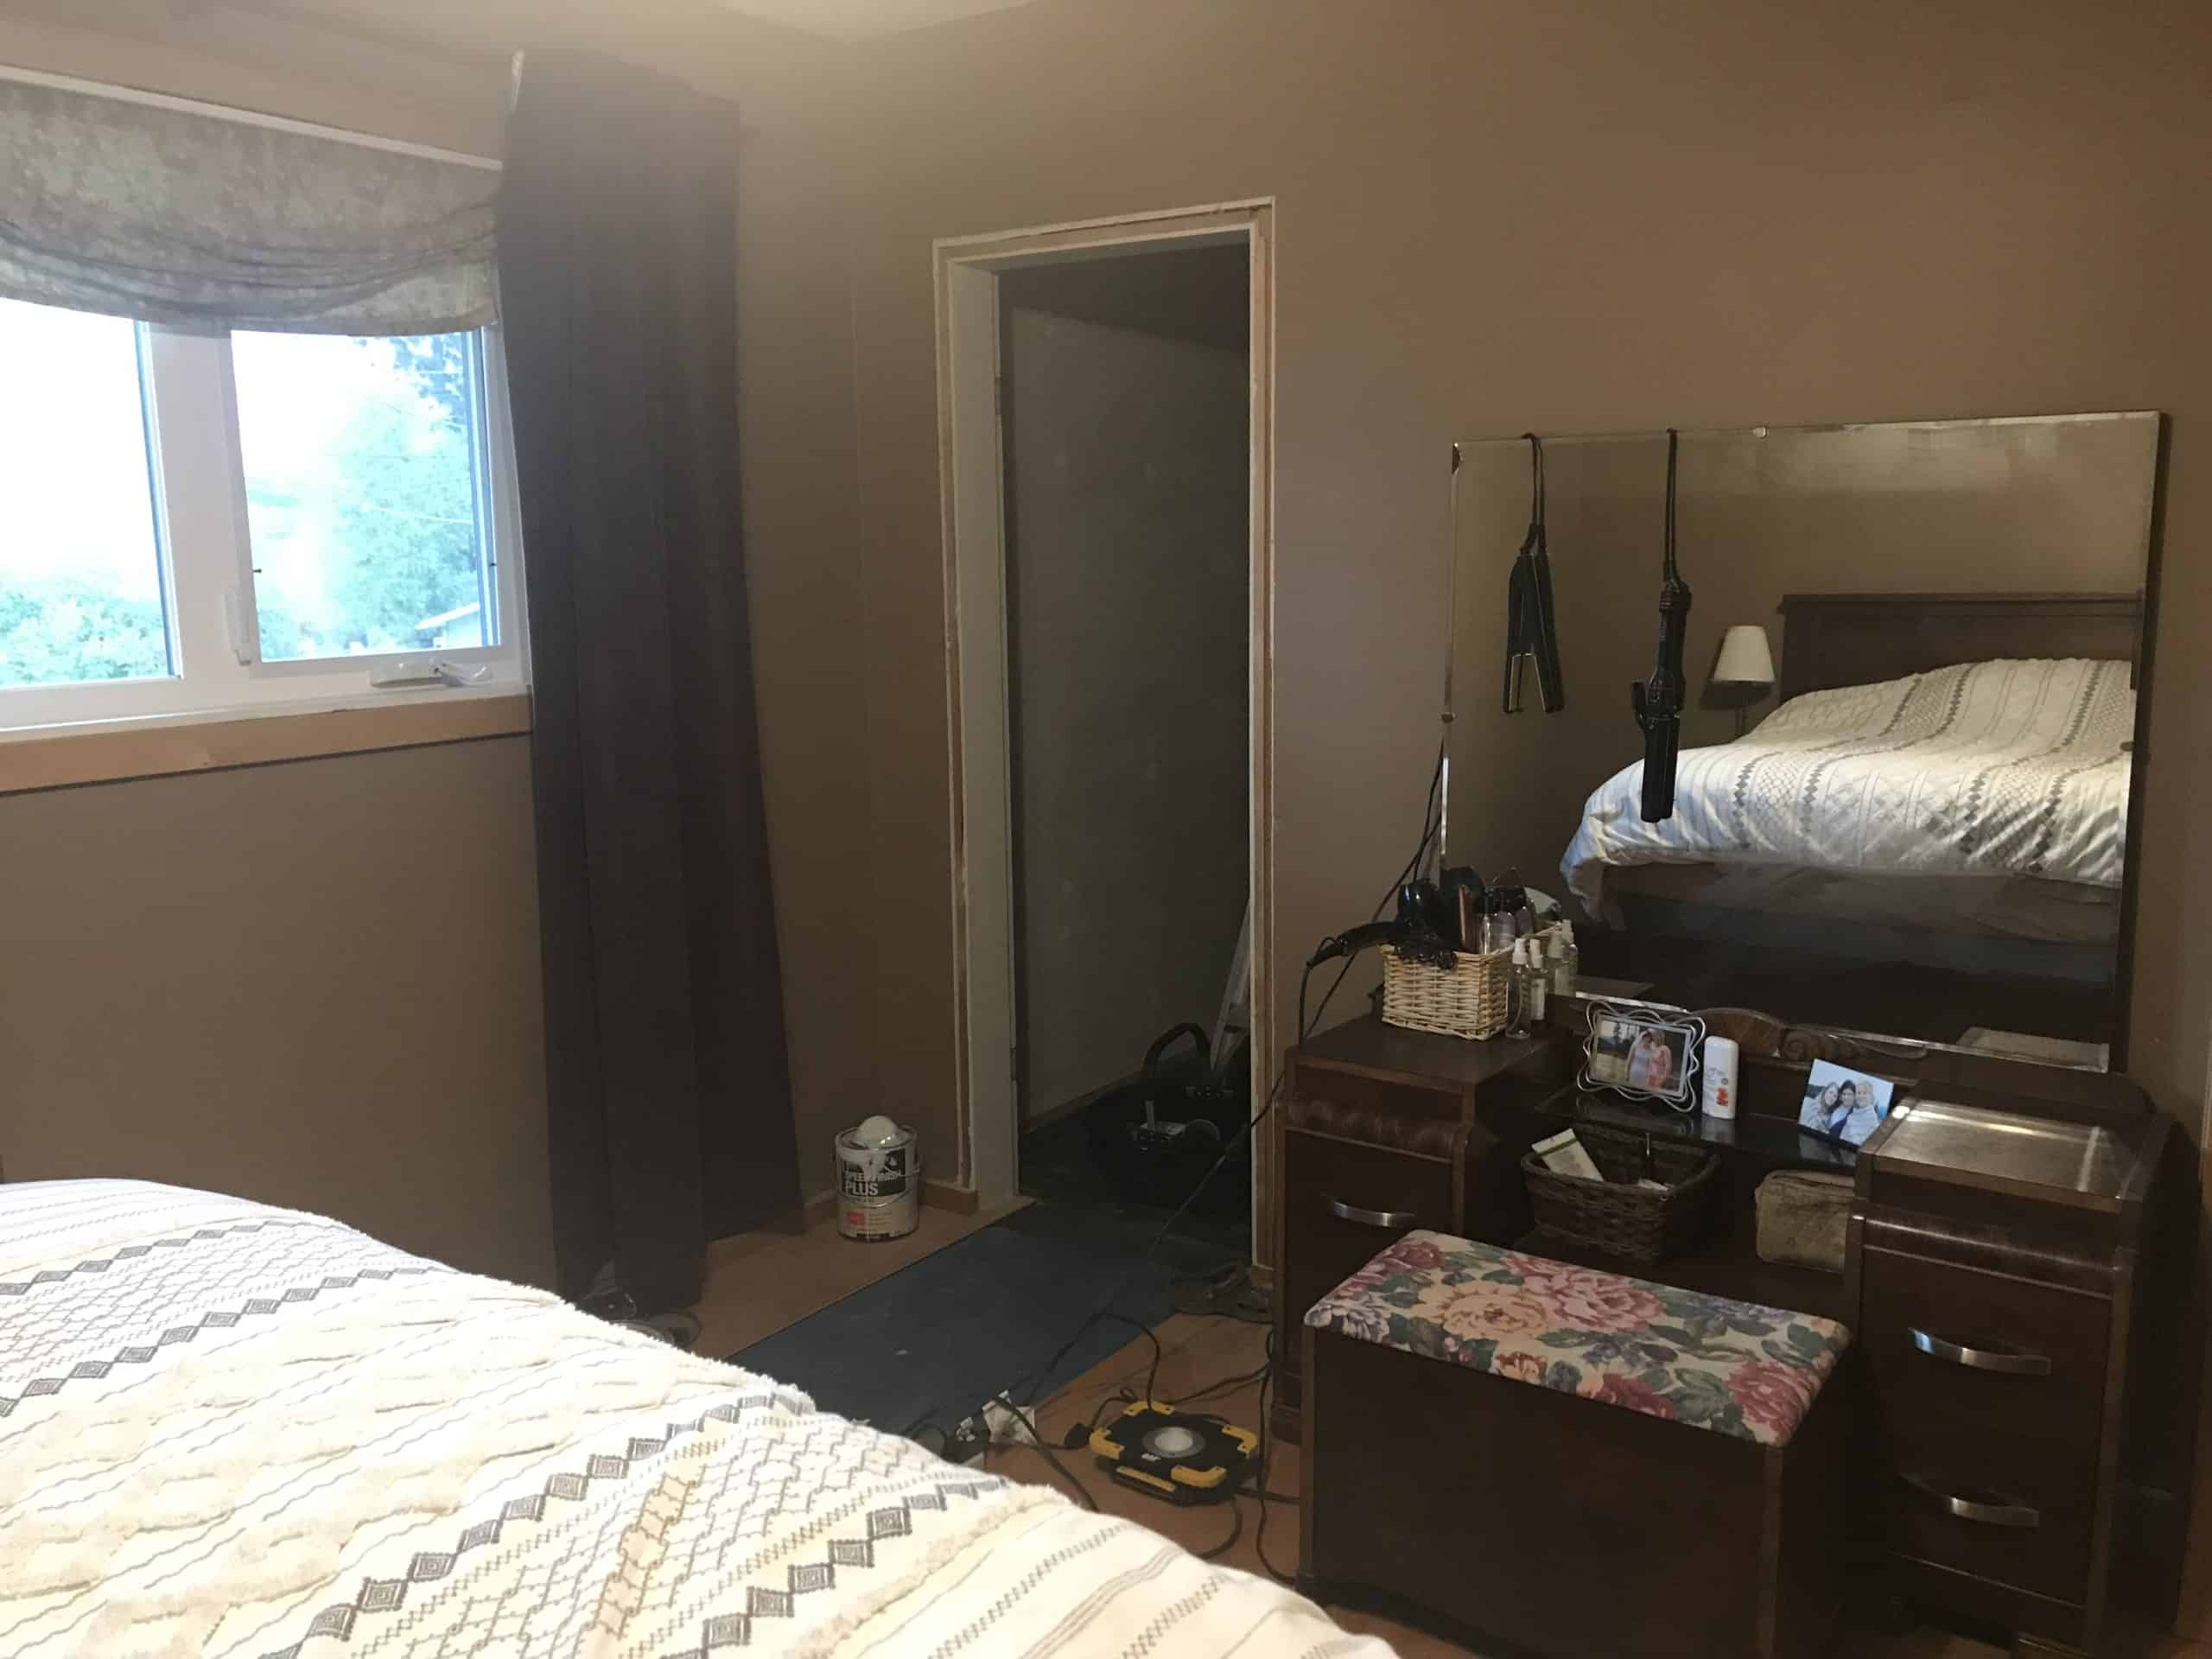
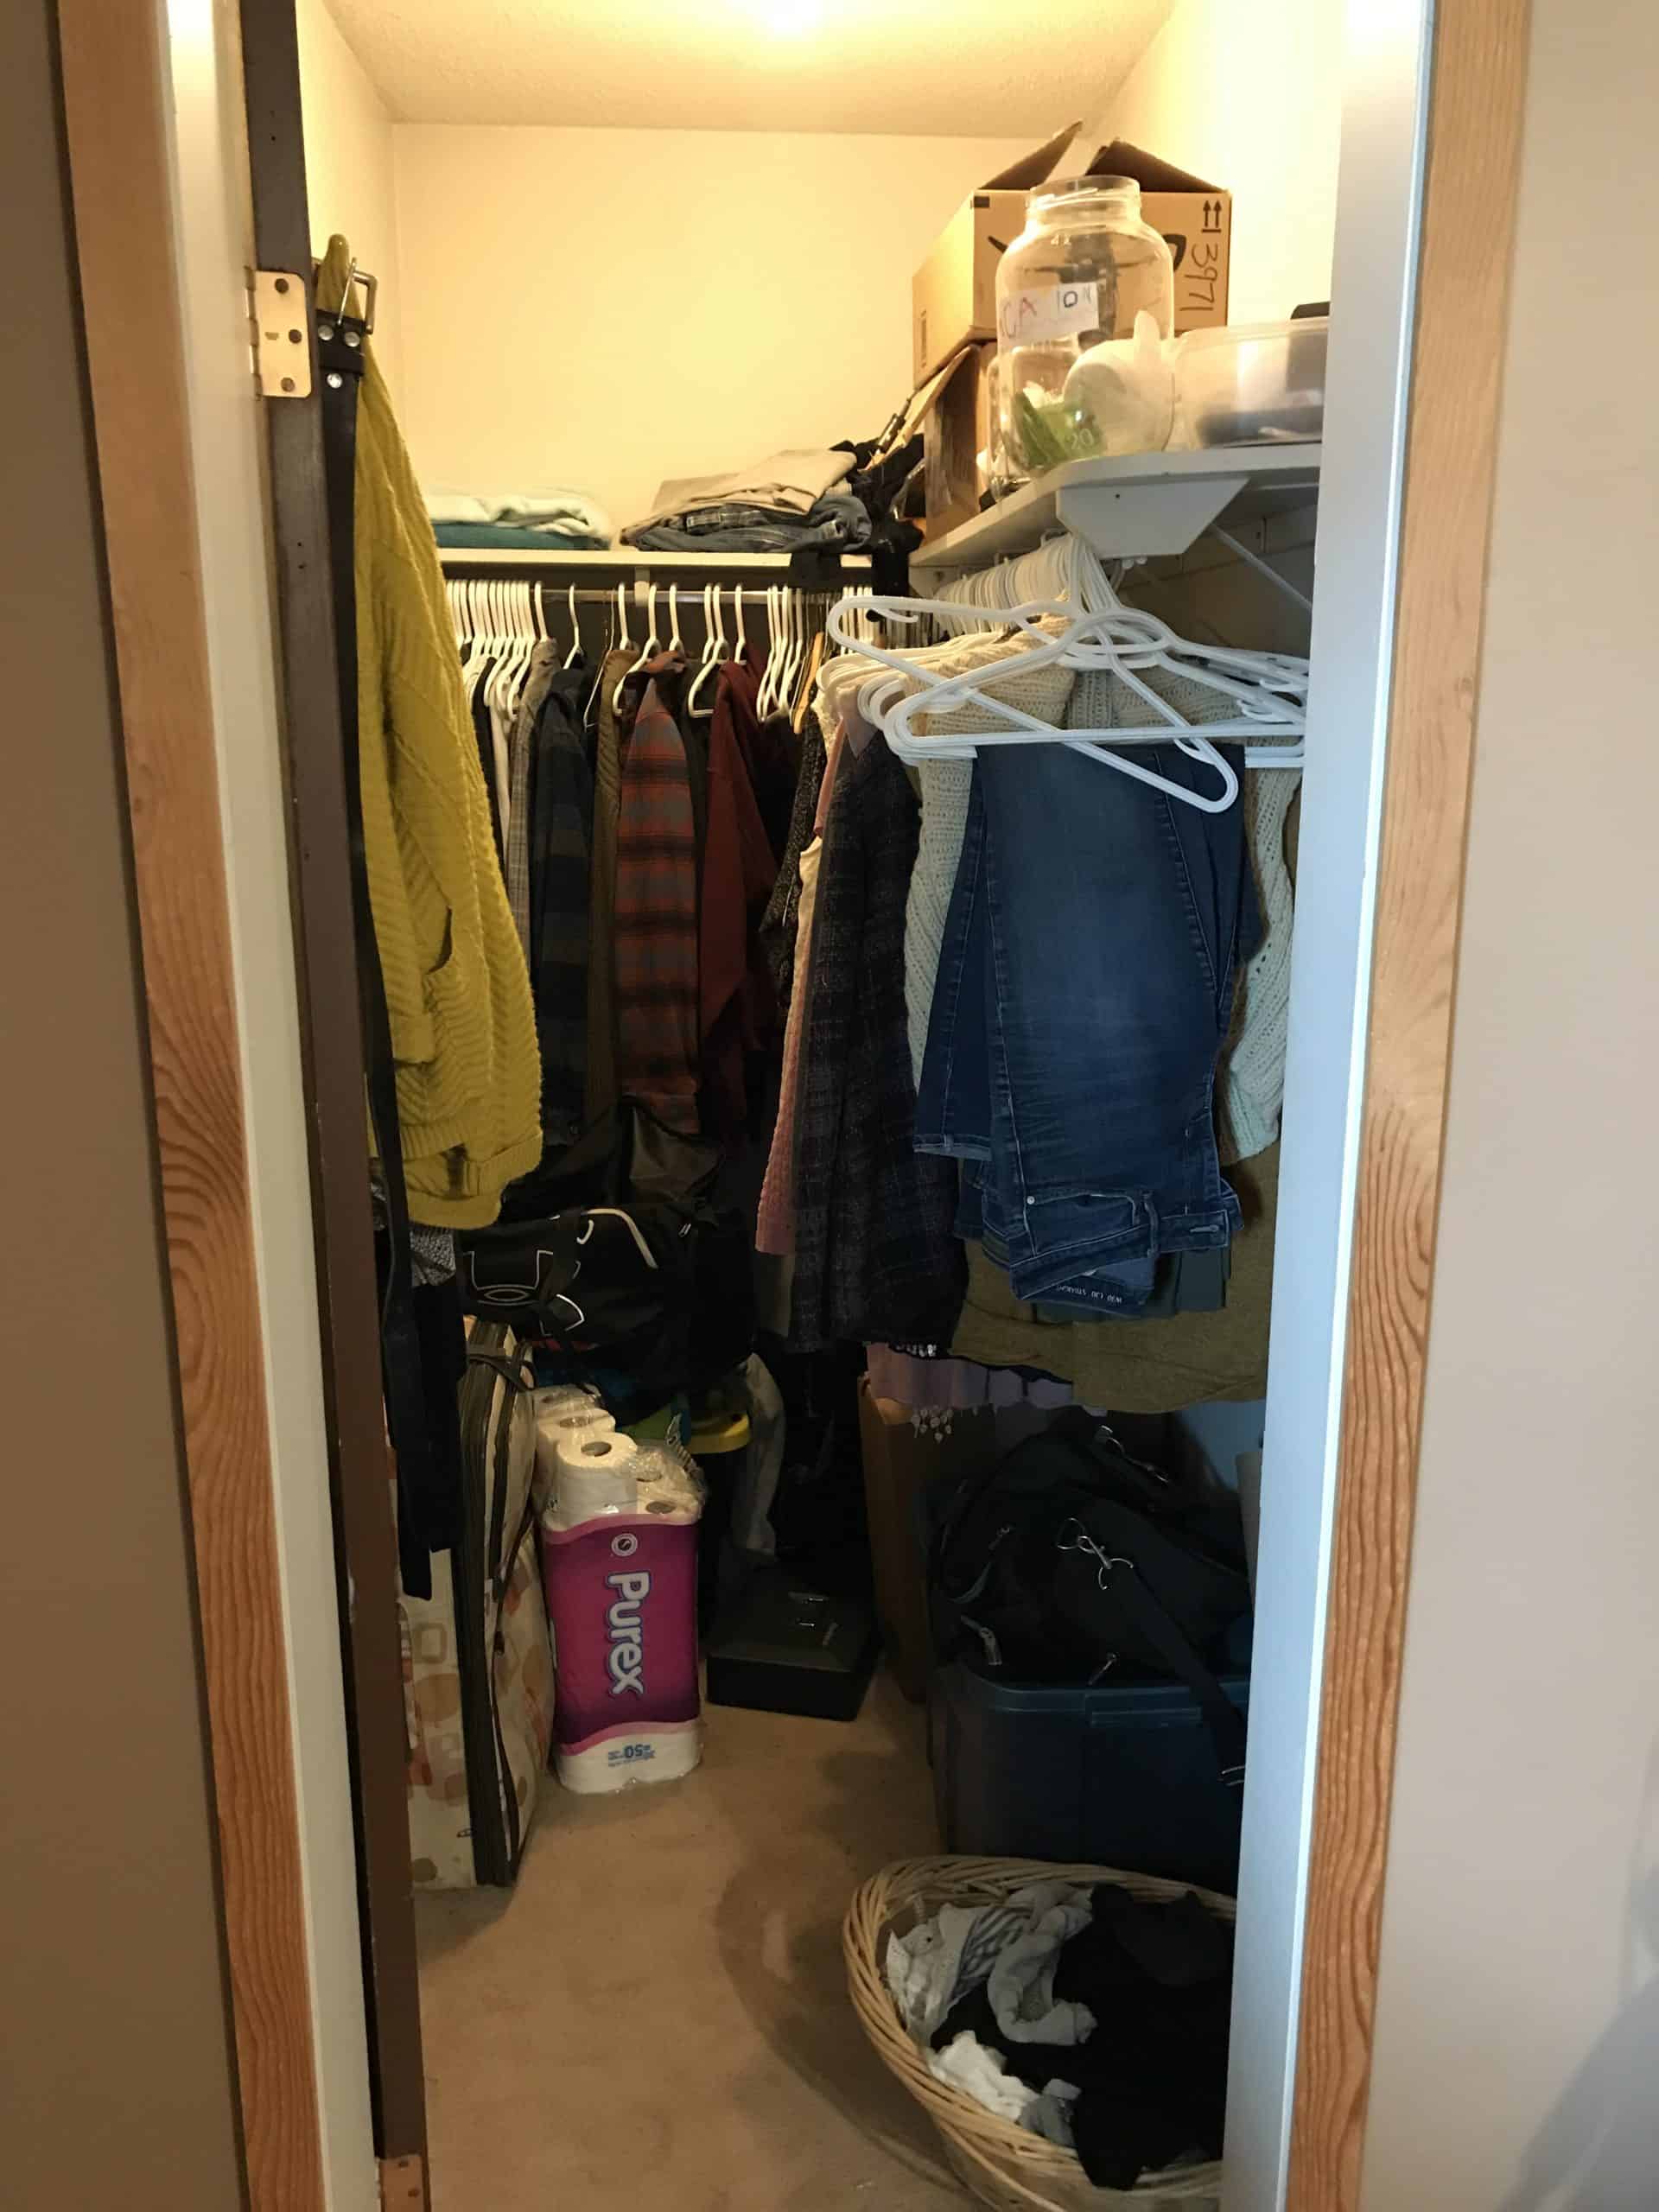
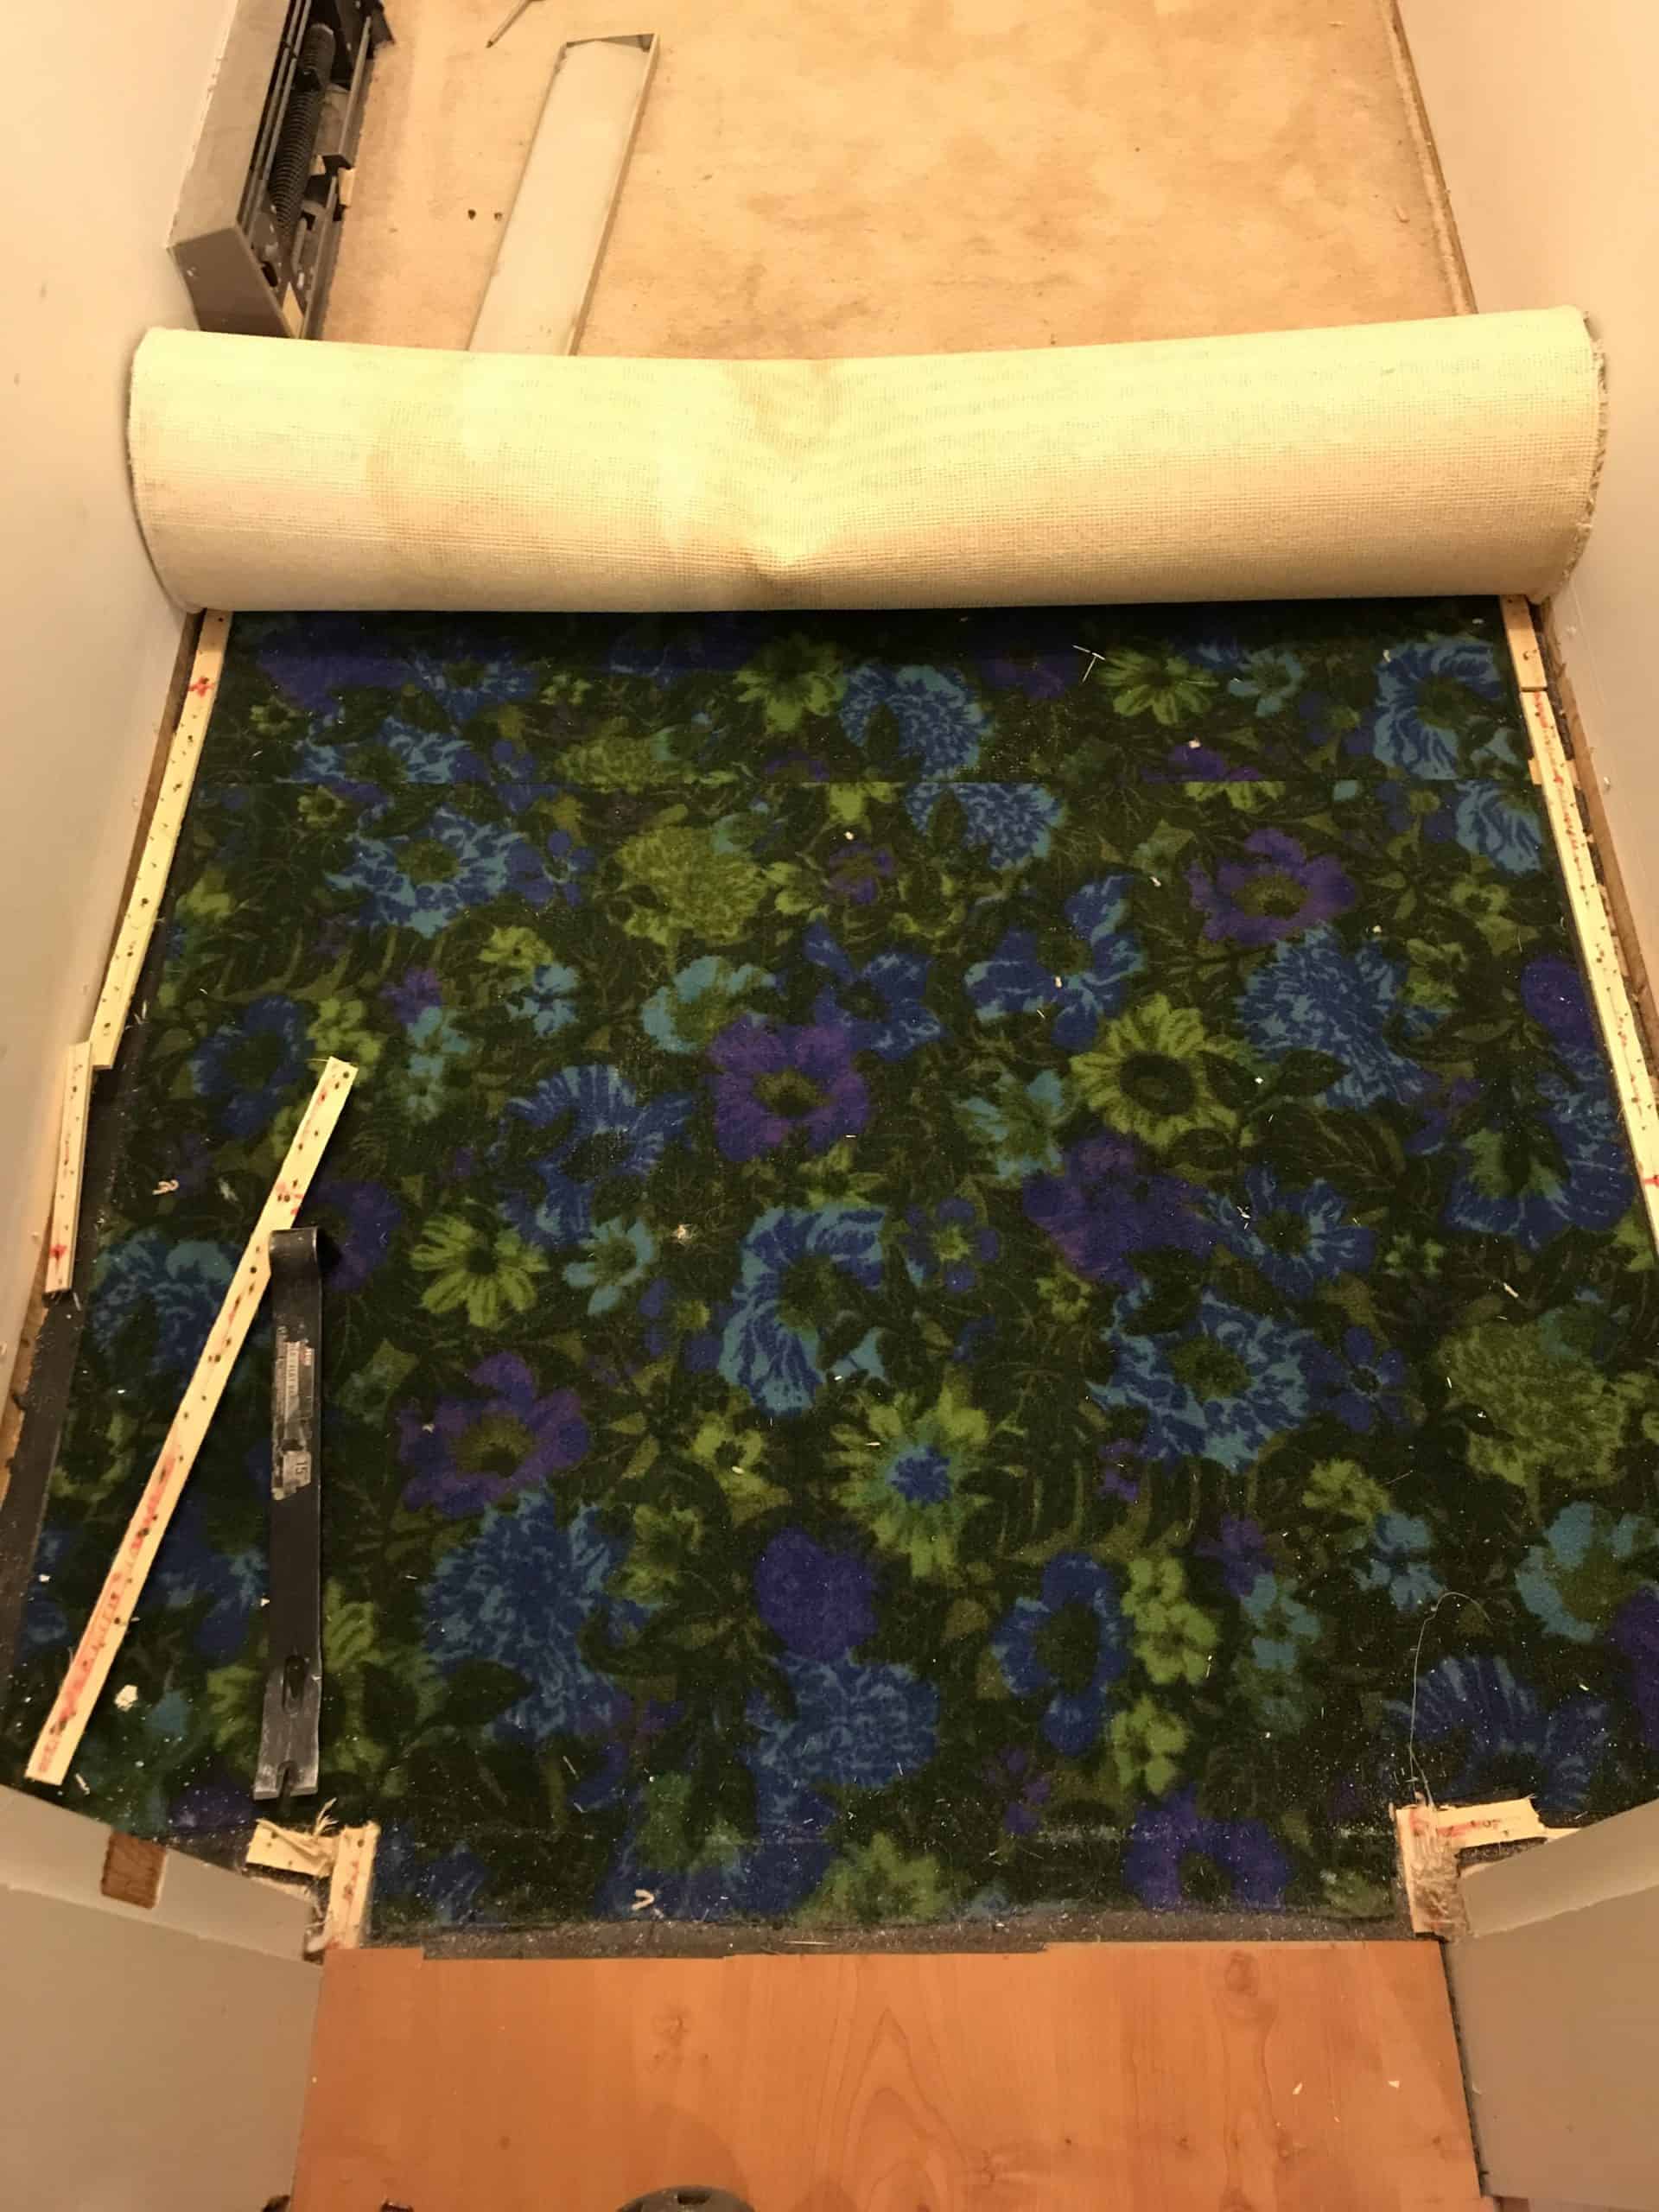
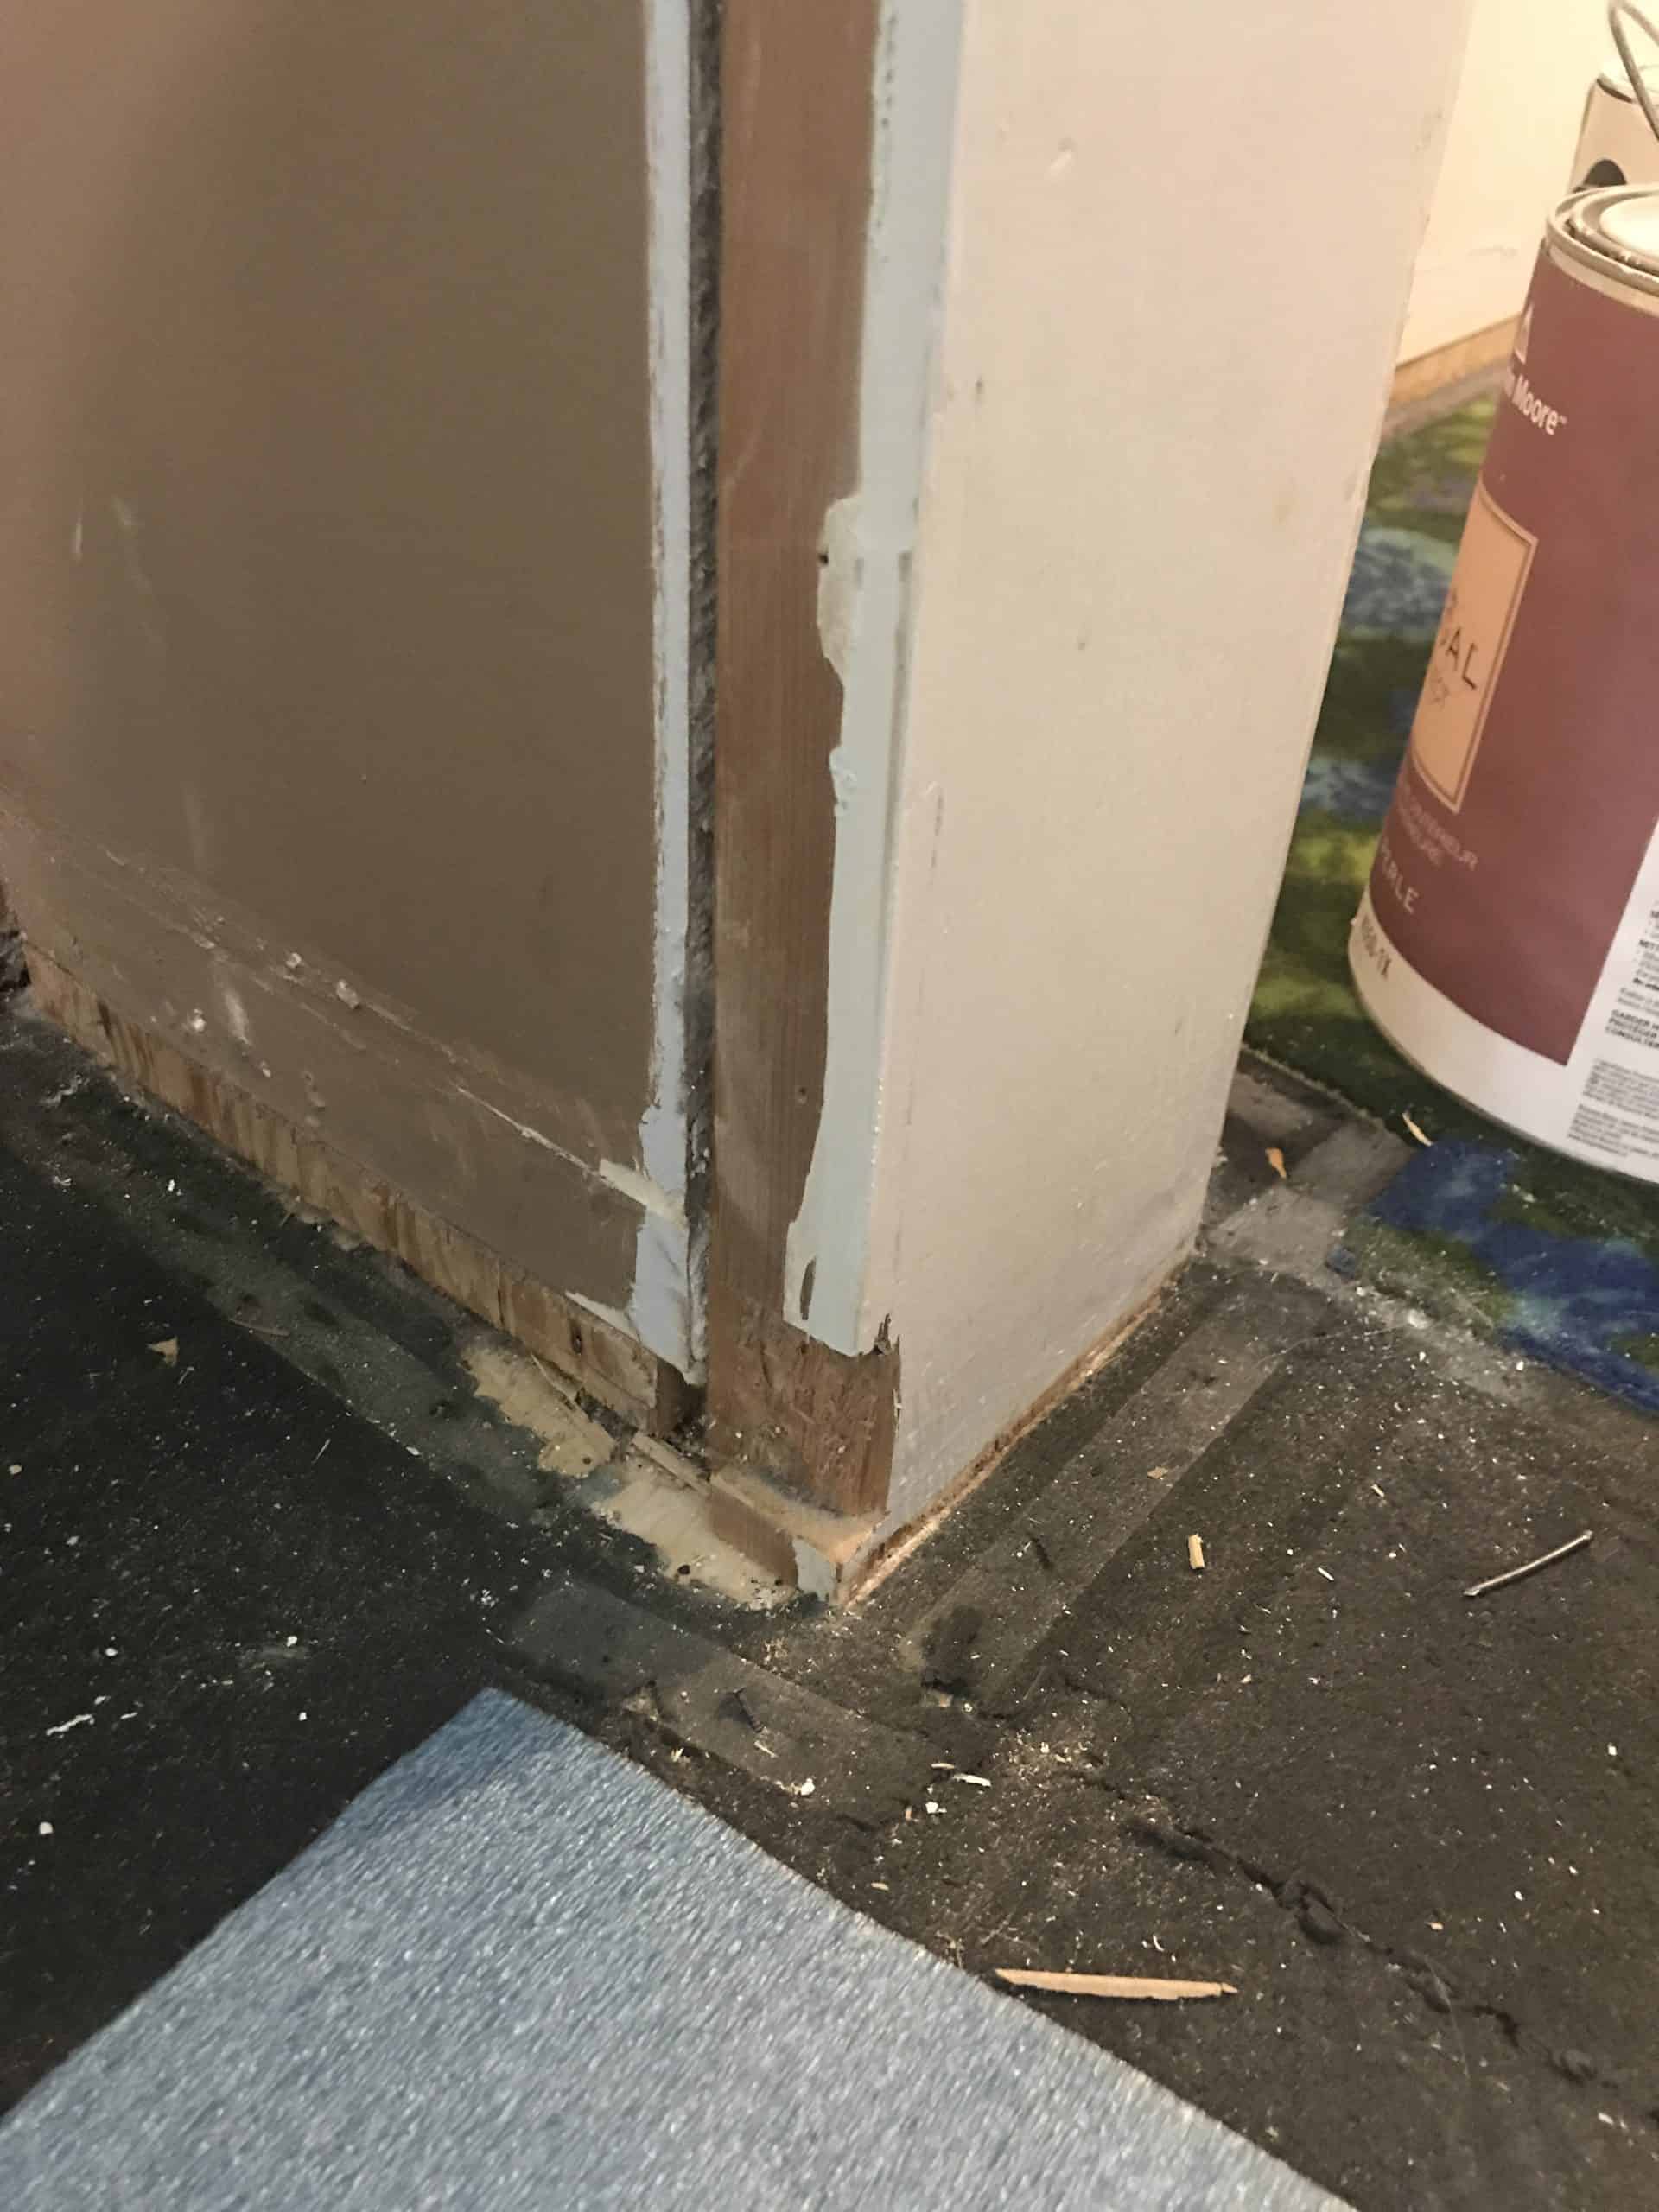
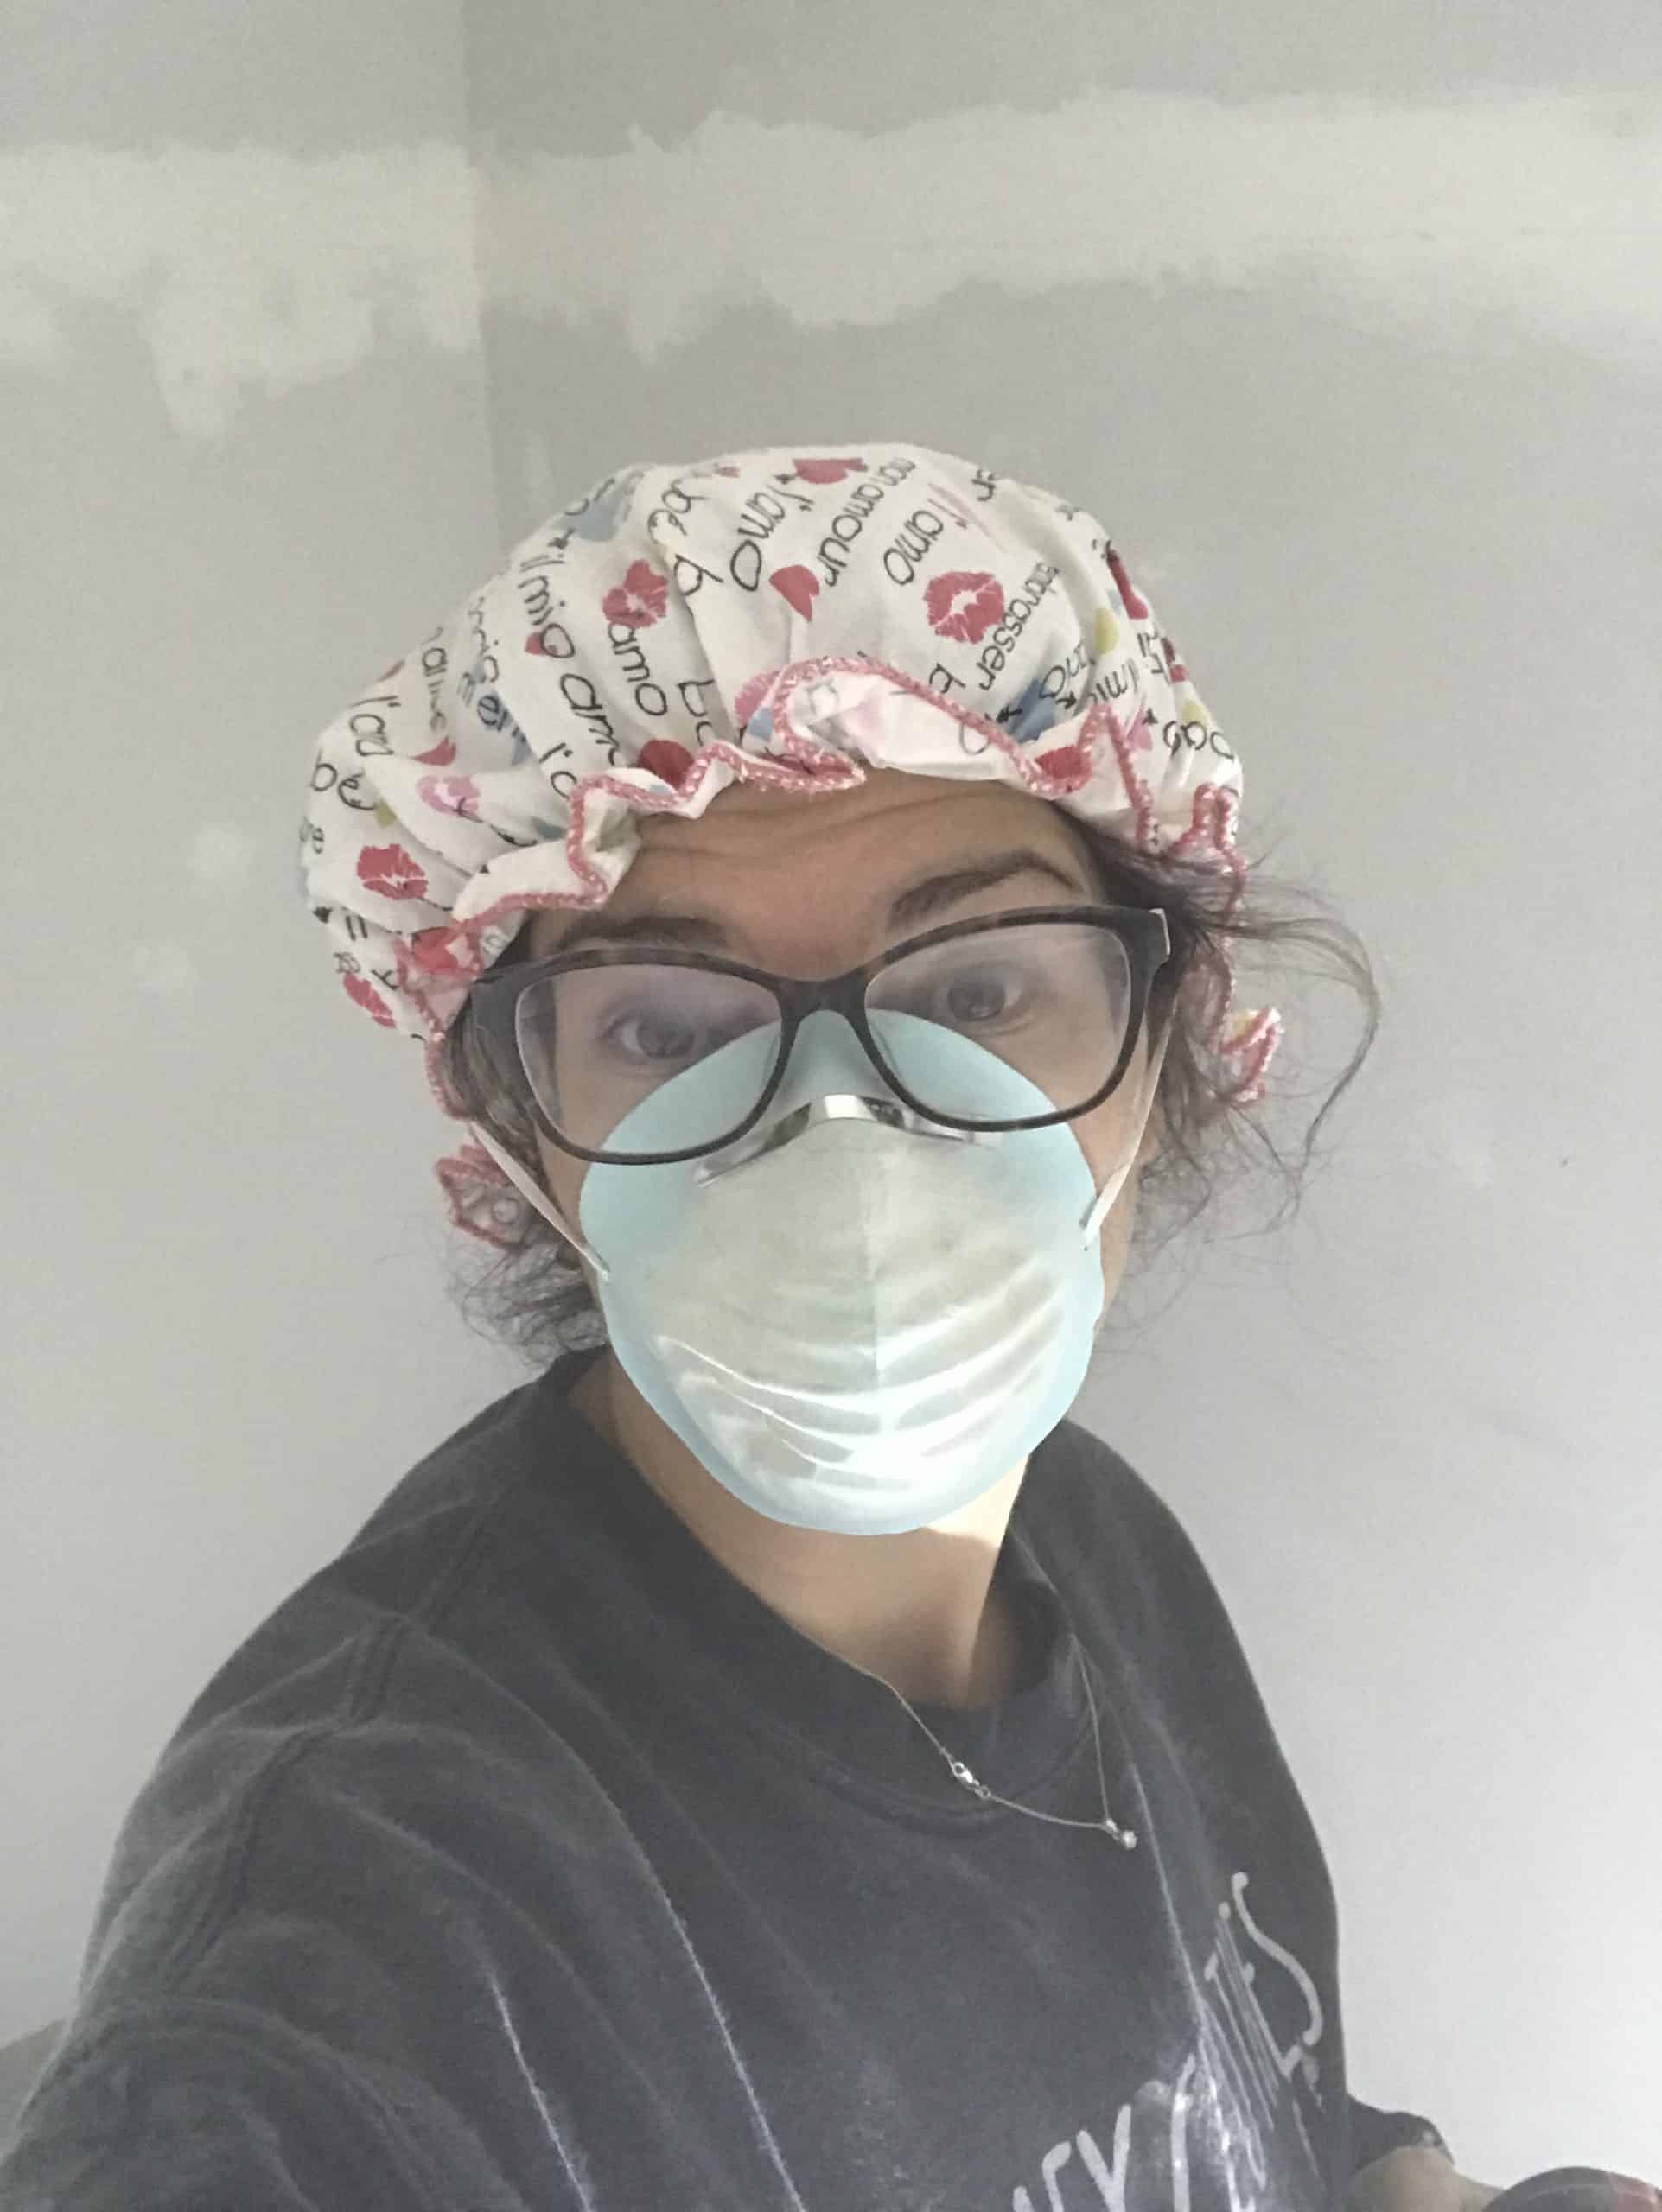
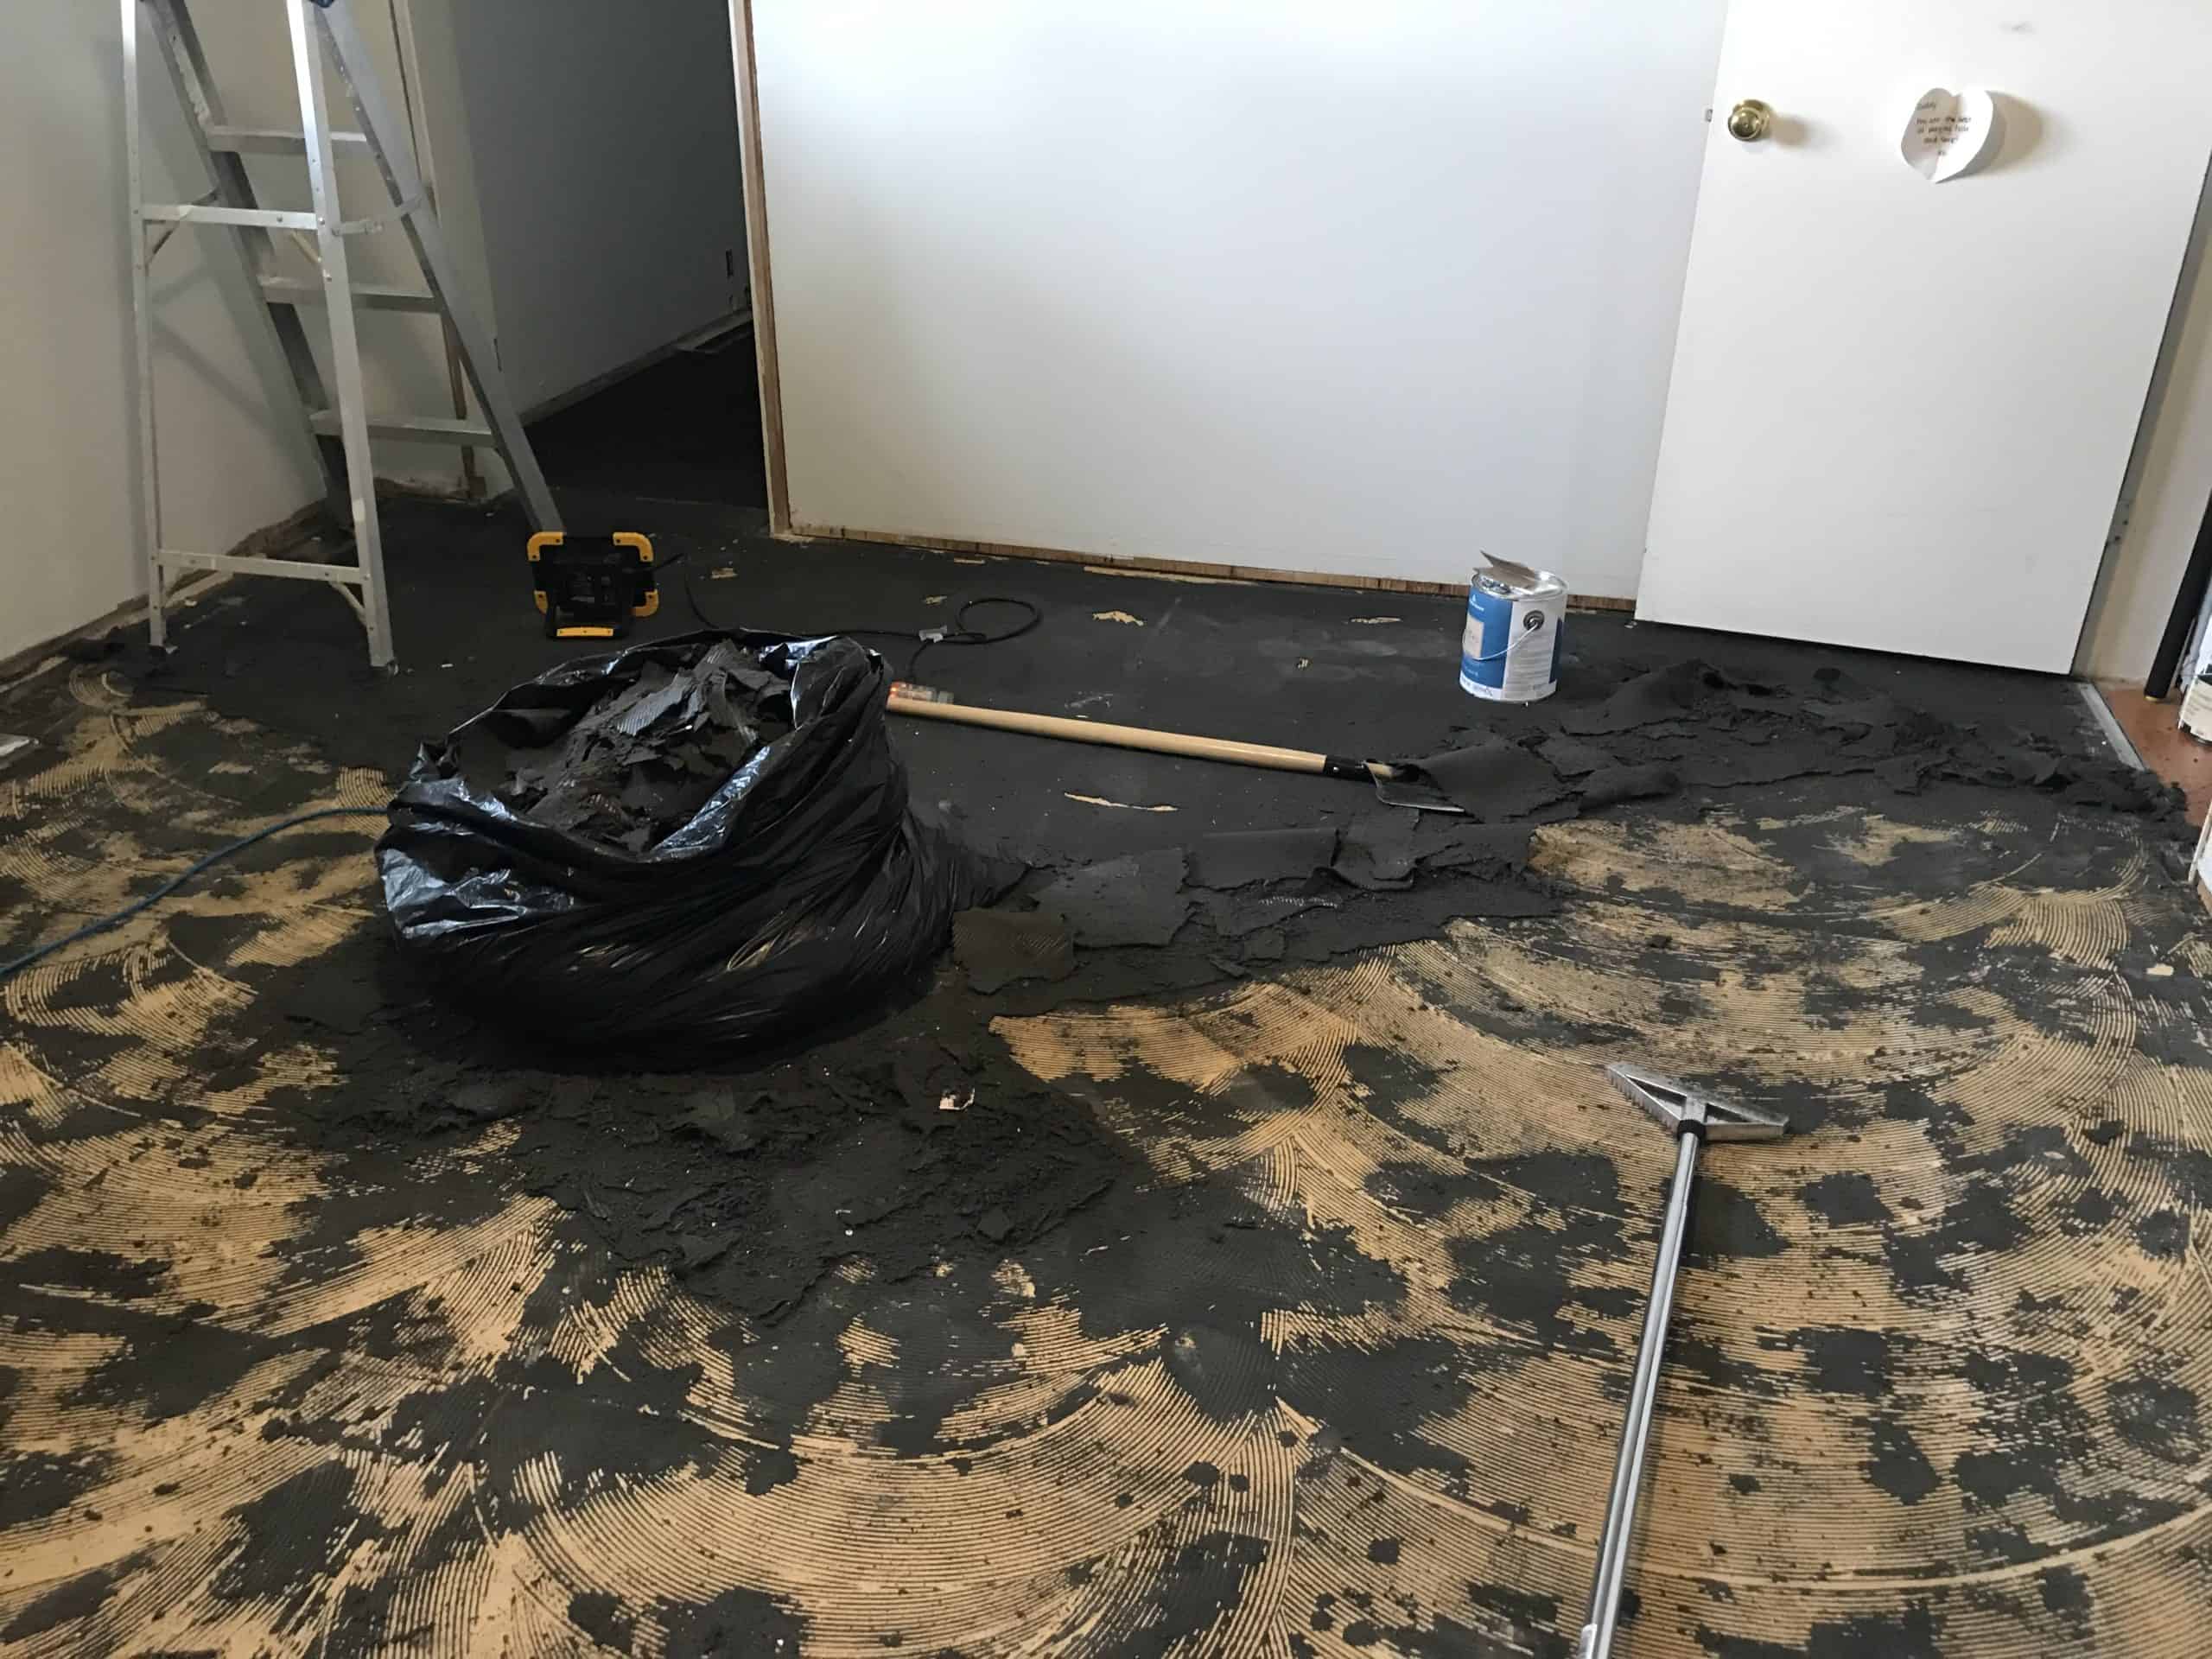
With the exception of the carpet, we did everything ourselves, including the installation of the new ceiling fan. Note to self: hire an electrician next time! I’m sure thankful for my cousin who is on speed dial when it comes to electrical, if only I would have remembered to call him before we got to day 3 of working on it, lol! BUT, we are still married and fan is up AND working, so the rest is history. Here’s a few photos of our work in progress.
We uncovered some pretty awesome carpet in the closet (which was taken out) and we constantly ran into issues, like the door jam that was cut out, but we managed to fix everything as best we could. At least it looks much nicer now!
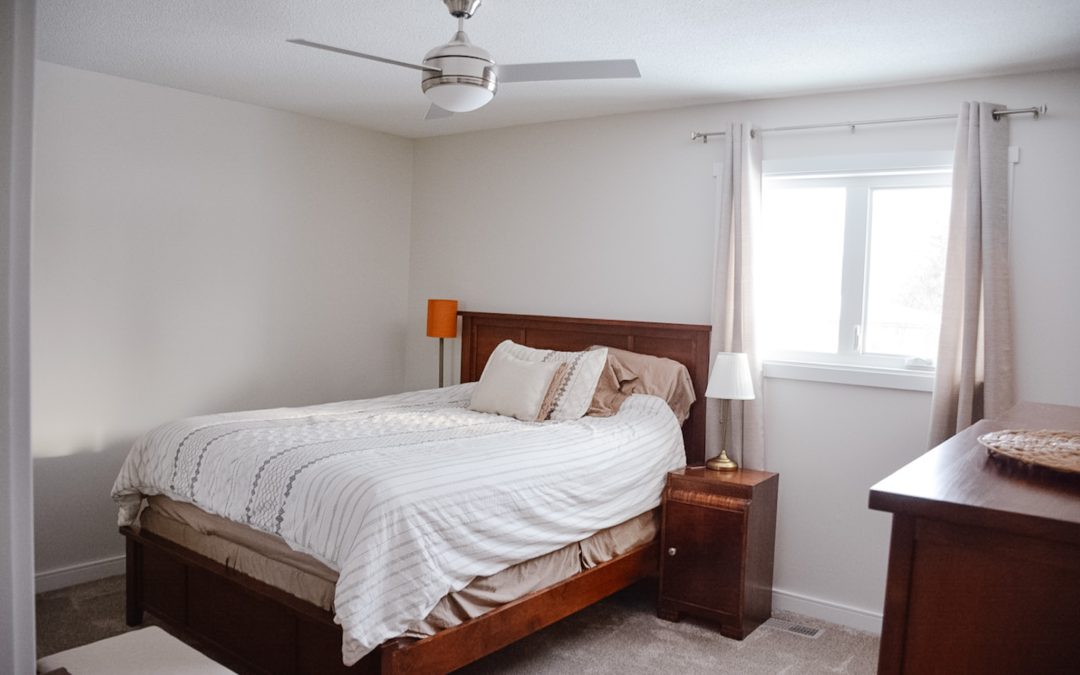
After
It was all worth it! I’ve done my best to share links to all the things I could think of in the “Shop this Post” section below! Let me know if I’m missing anything 🙂
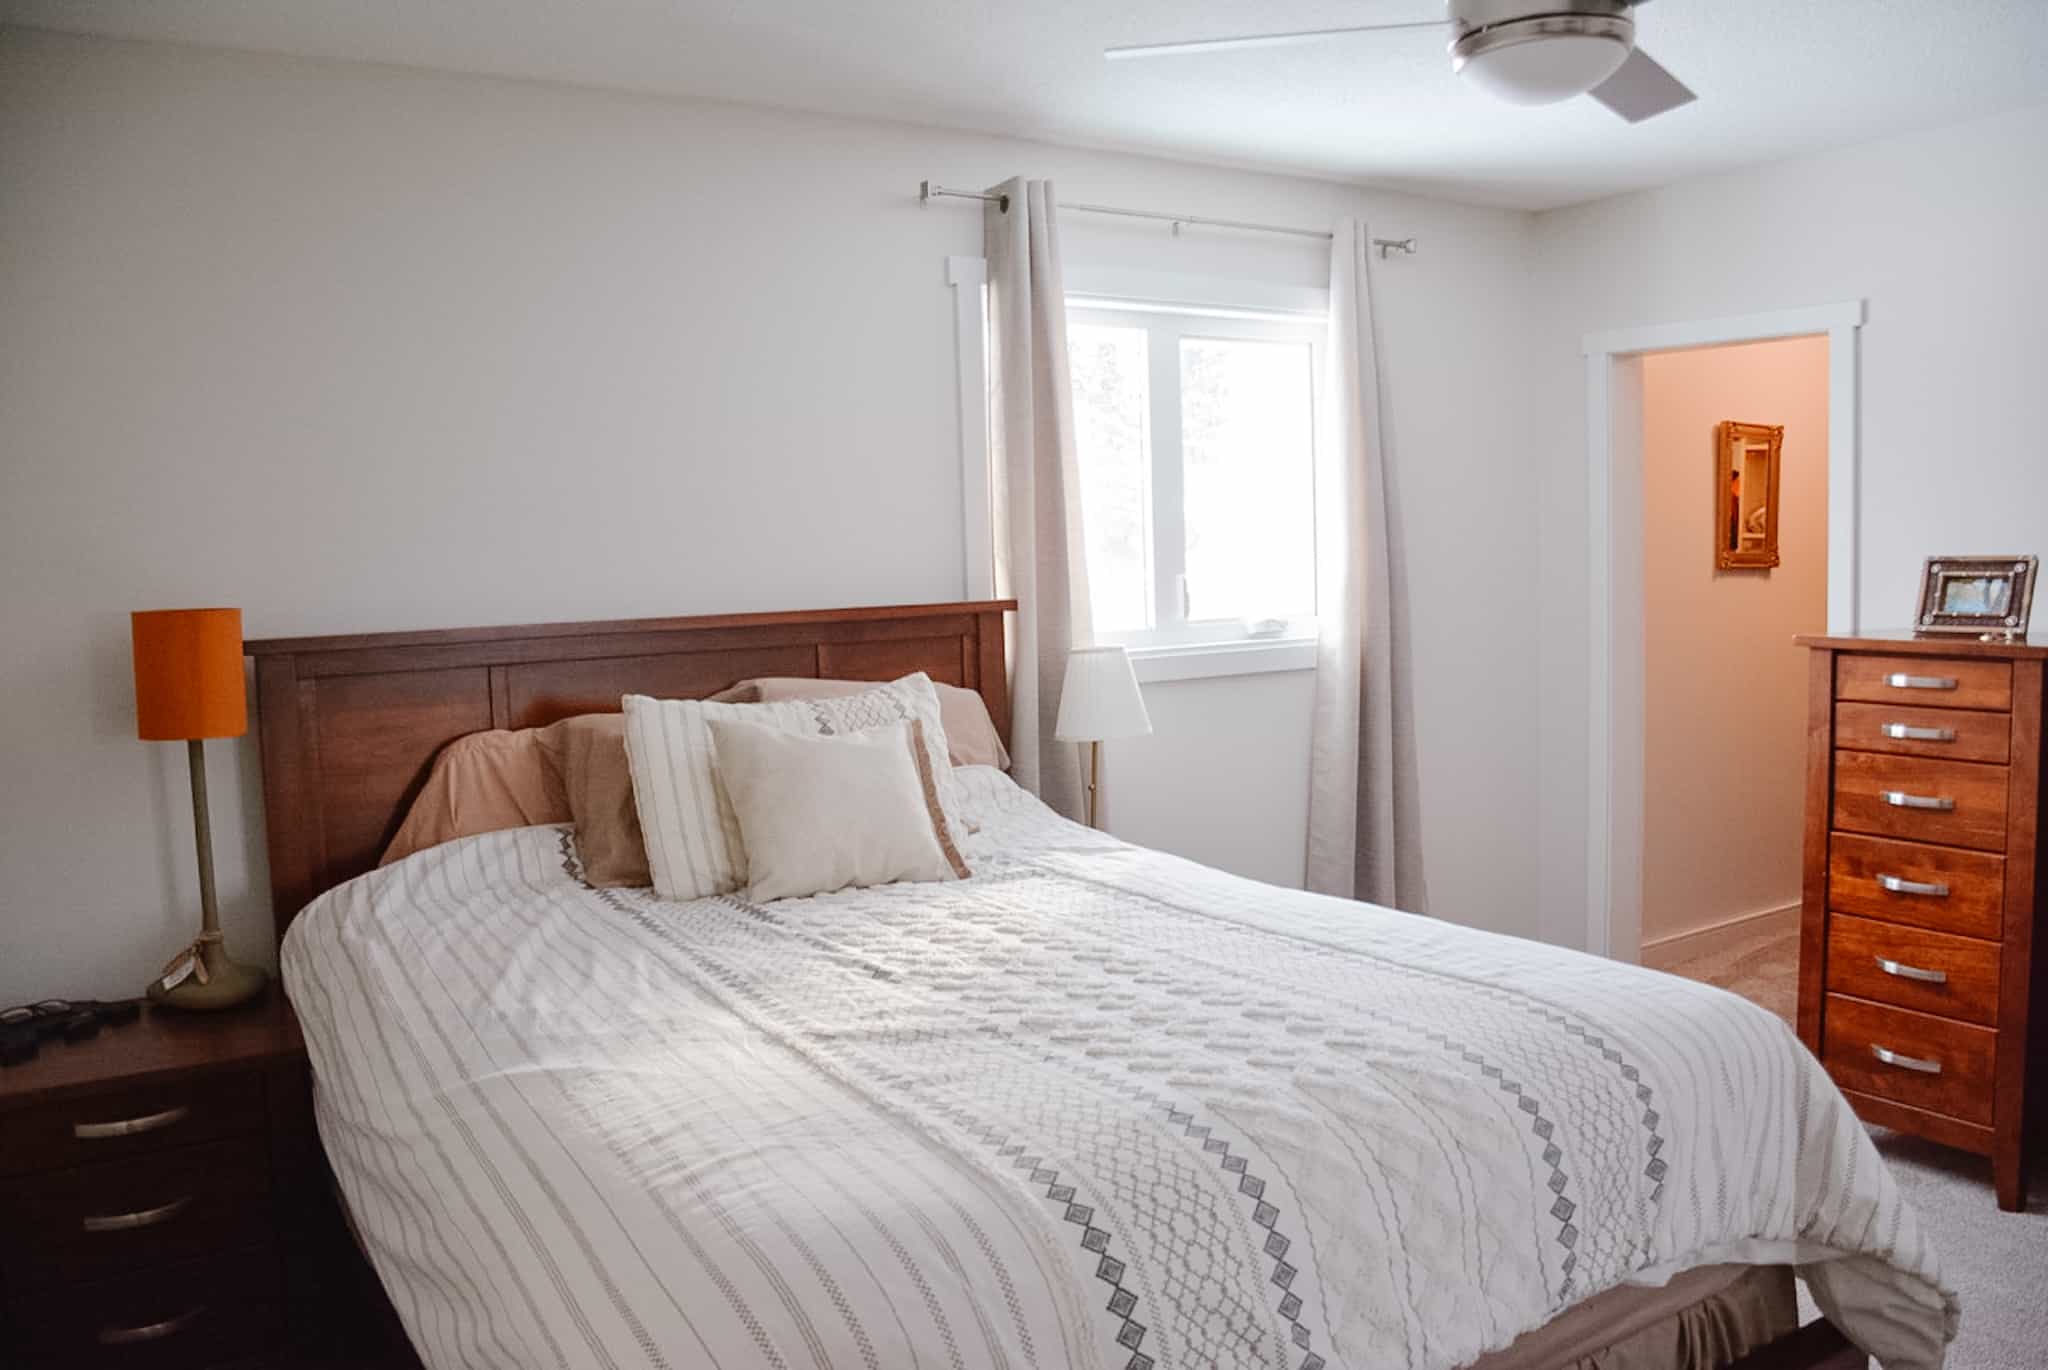
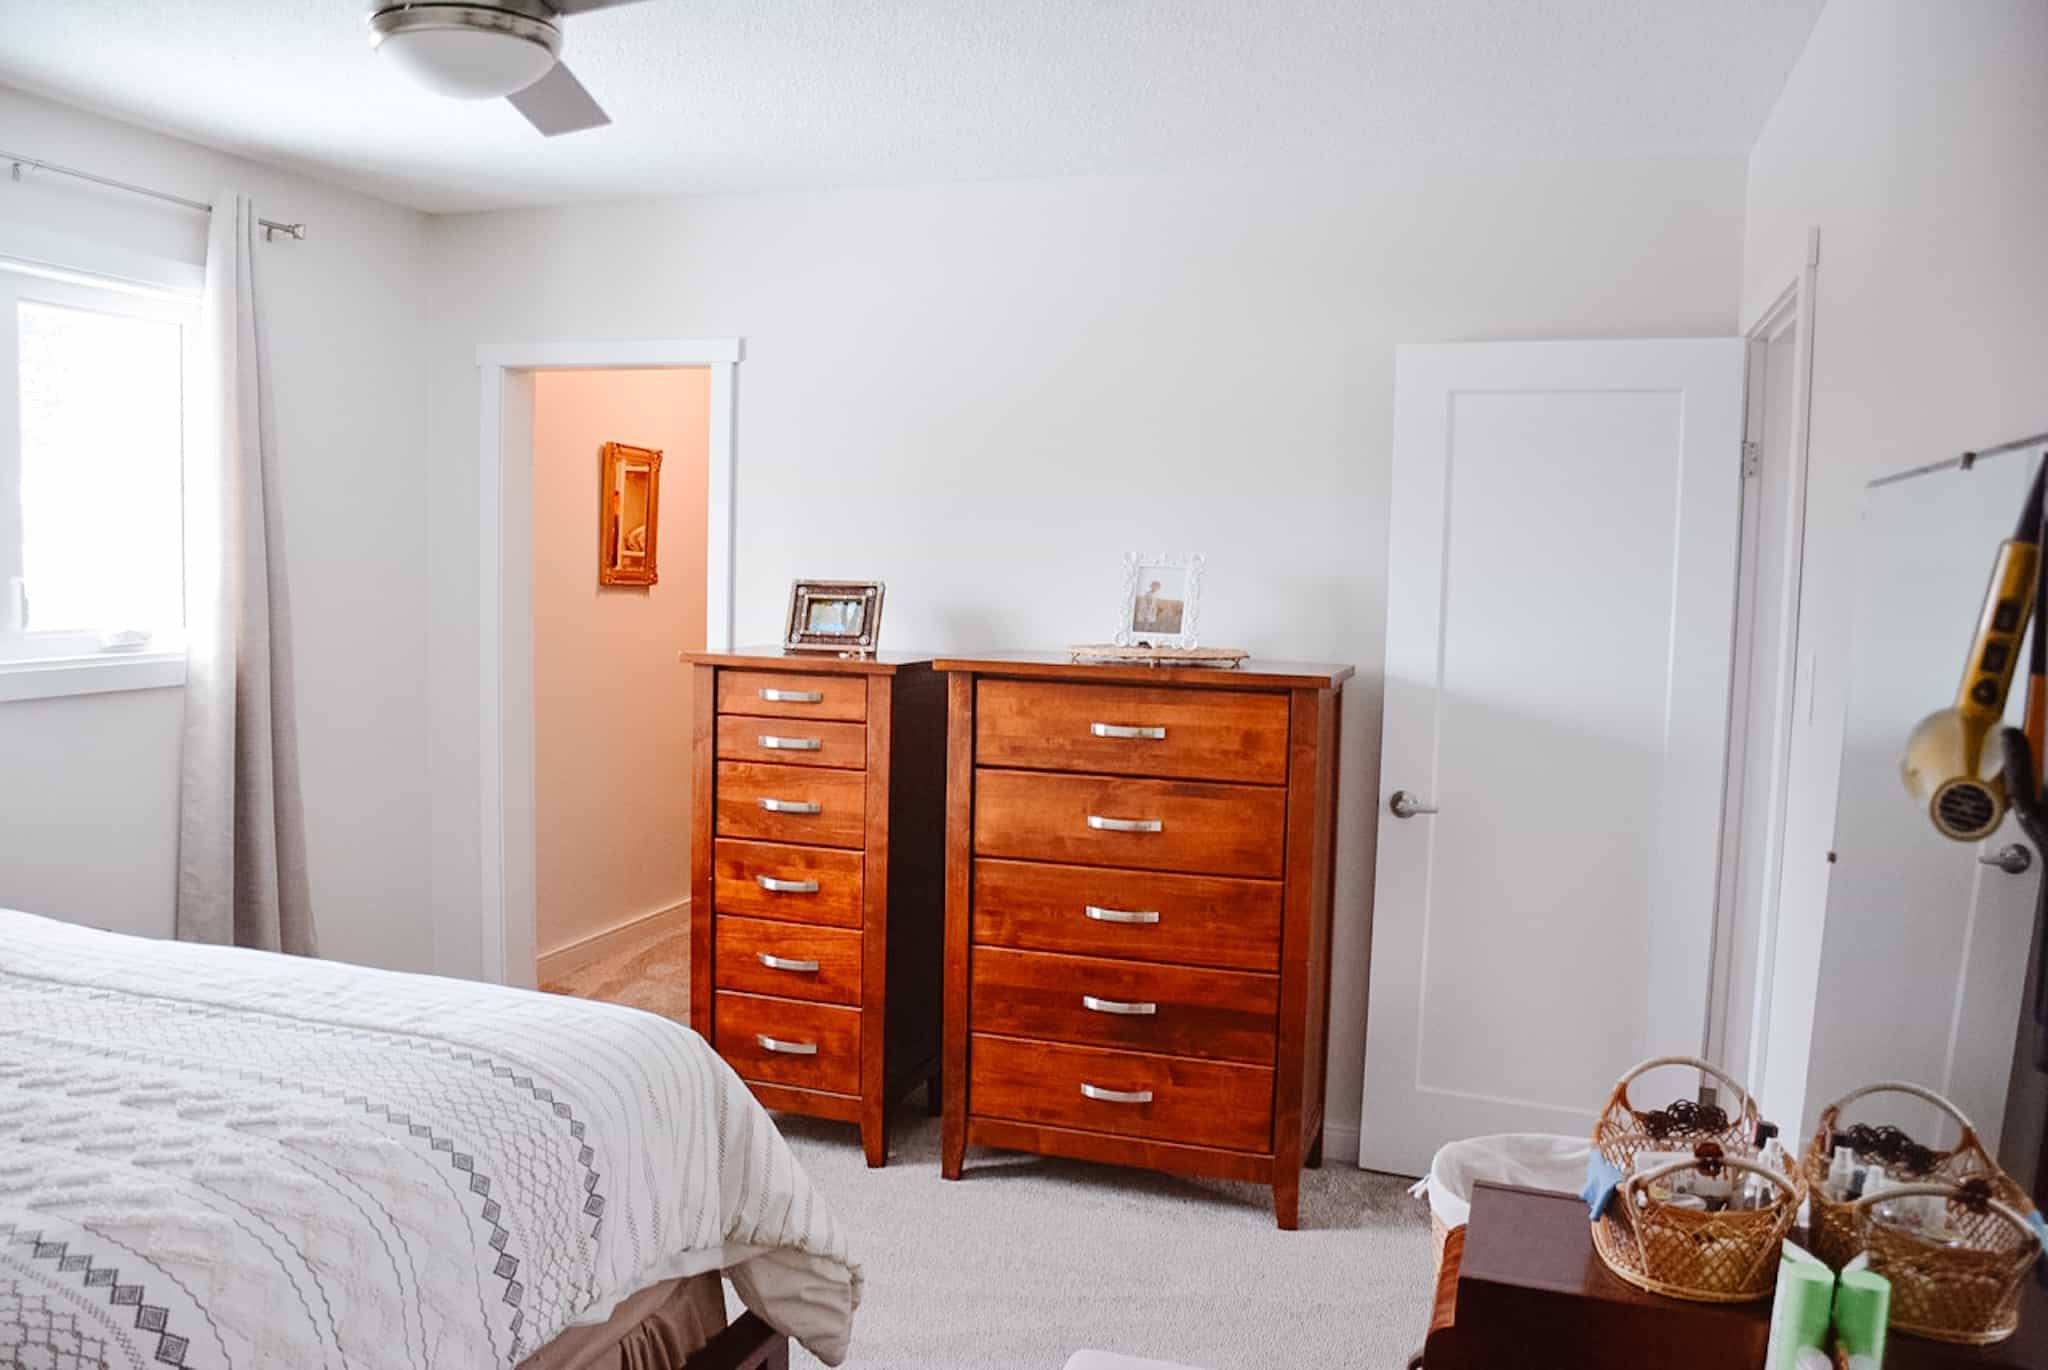
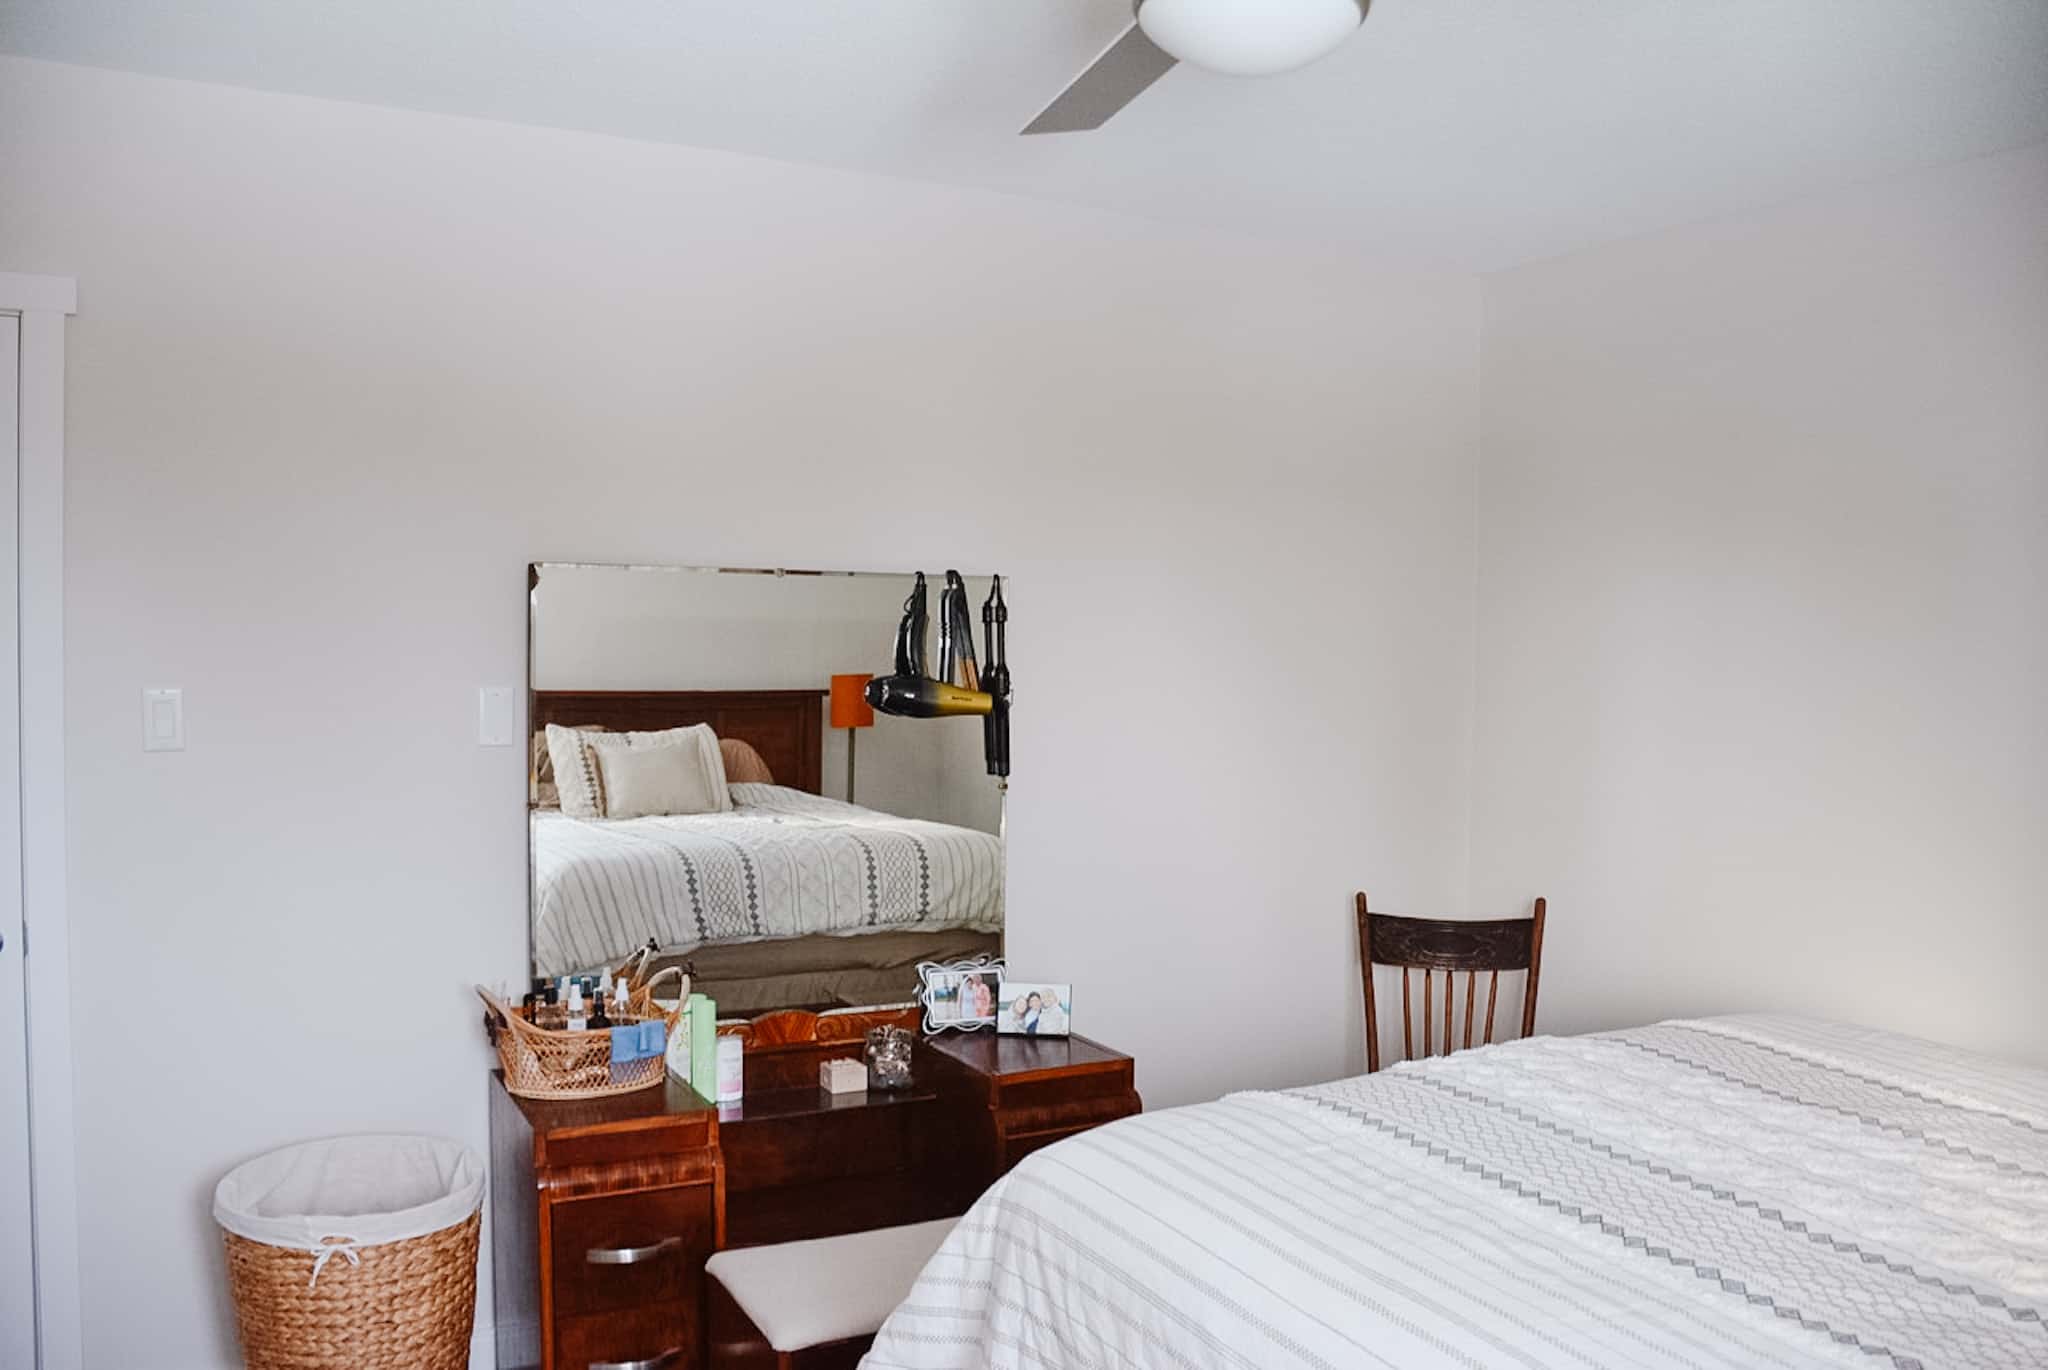
<Click the blue writing for direct links>
- Ceiling Light/Fan – Home Hardware
- Closet Light – Canadian Tire
- Laundry Basket – Canadian Tire (the lid is used for decoration on top of the dresser)
- Bedding Comforter (not a duvet) – Bed, Bath & Beyond <was on sale last time I checked>
- Curtains – bought locally at the Red Apple (no link available)
- Curtain Rod – Amazon (linked below, just click on photo)
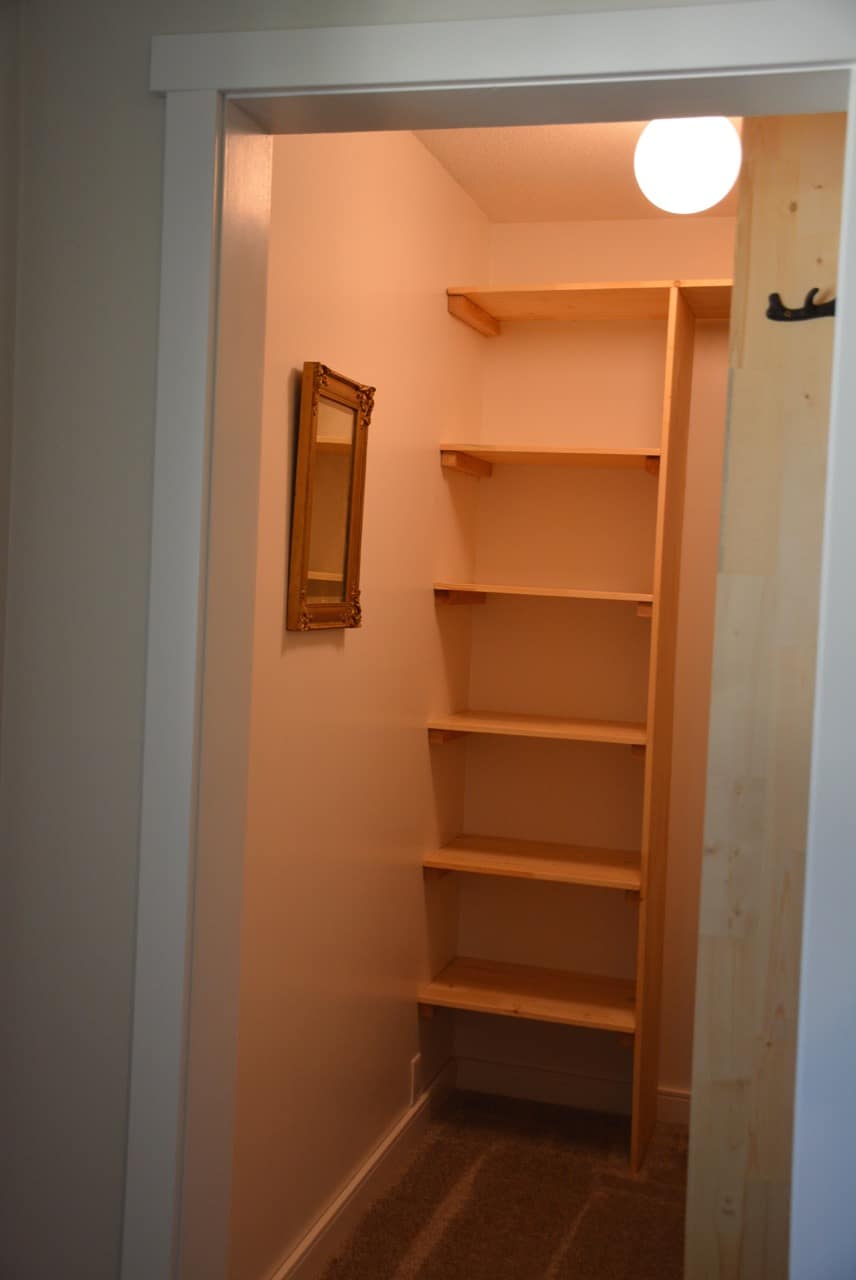
- Vanity, Rocking Chair & Mirror in closet – Family Heirlooms, no links 🙂 The cushion on the rocking chair was custom made and I refinished the seat on the vanity bench with linen. I used the leftover linen to made the small pillow on the bed.
- Dressers, Night Stand & Bed Frame –
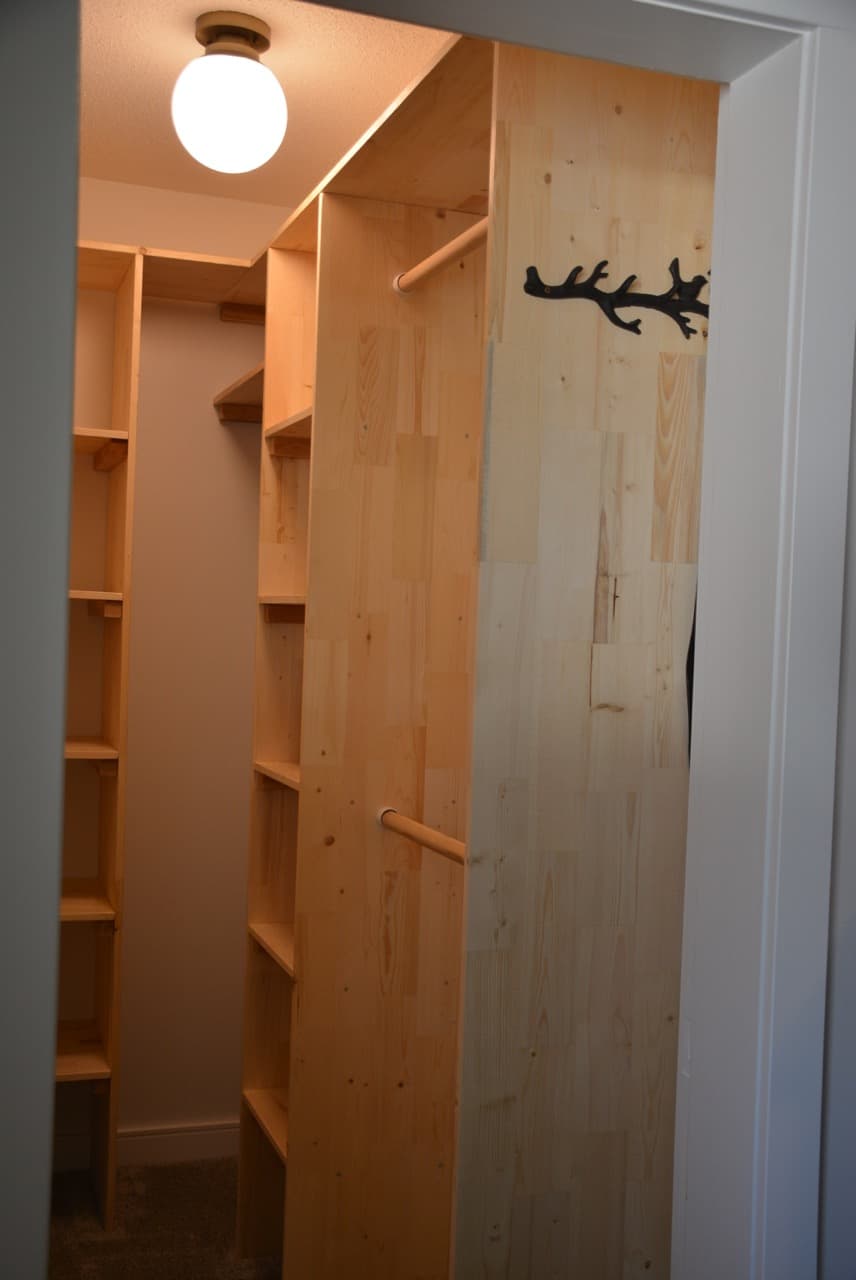
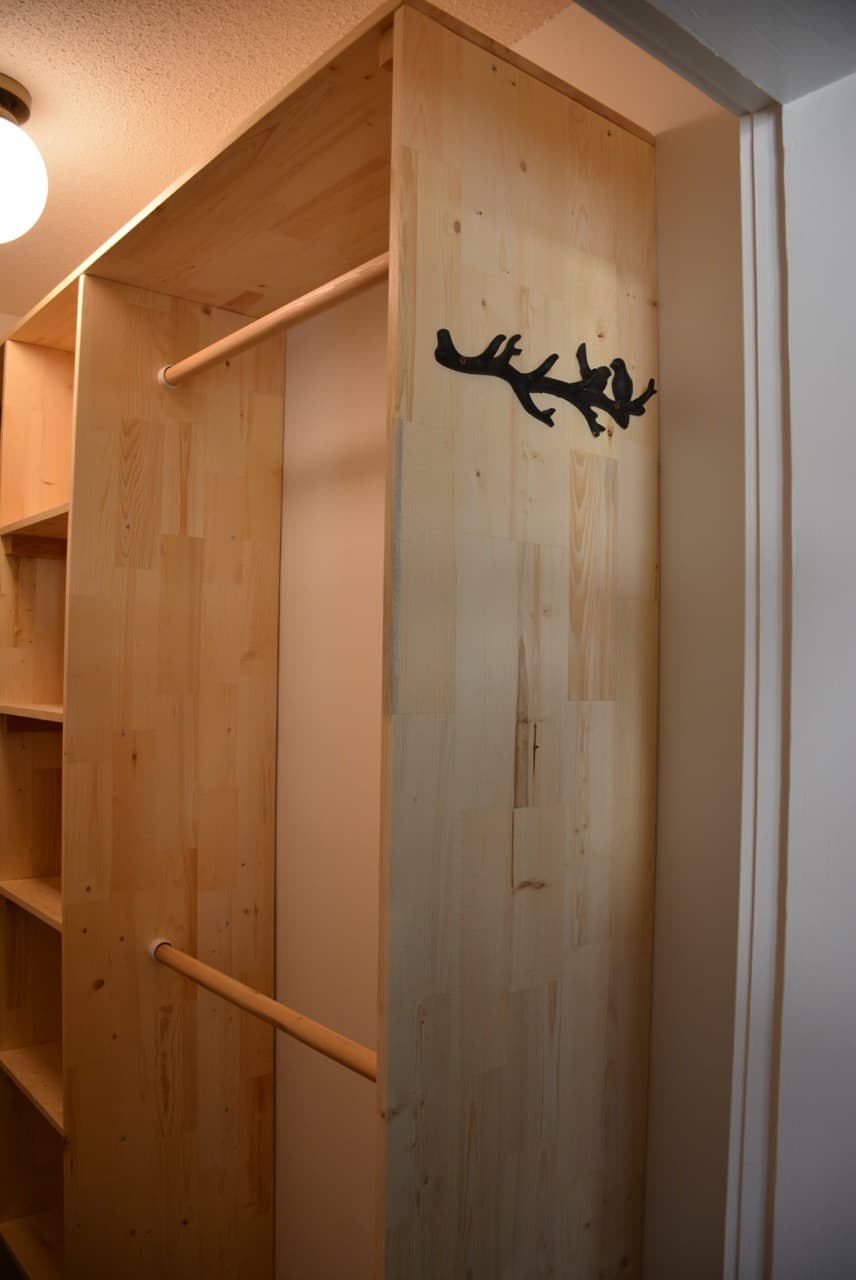
- Closet Shelving – we built using pine shelving from a local building supplies store and put a clear coat of Varathane on it
- Wall Paint – Benjamin Moore – Classic Grey, Trim is white
- Carpet – Total Floors (local)
- Door – Tricon (local)

HERE’s A FEW OTHER RELATED POSTS THAT YOU MIGHT LIKE TO CLICK ON!
- How I Renovated the Front Entrance and Closet for Under $100
- My DIY Sewing Room Makeover
- A Quick DIY Guide on How to Renovate a Bedroom
This post contains affiliate links; however the opinions and photos are of Sew Bright Creations’. Sew Bright Creations make a small commission when you purchase from the links to help keep this blog going. It is at NO extra cost to you.
Want to collaborate? Email Jackie at sewbrightcreations@gmail.com.
