This post is not sponsored however some links may be affiliate, which means I may earn a small commission if you shop using the links. There is NO extra cost to you. The opinions and photos are of Sew Bright Creation’s.
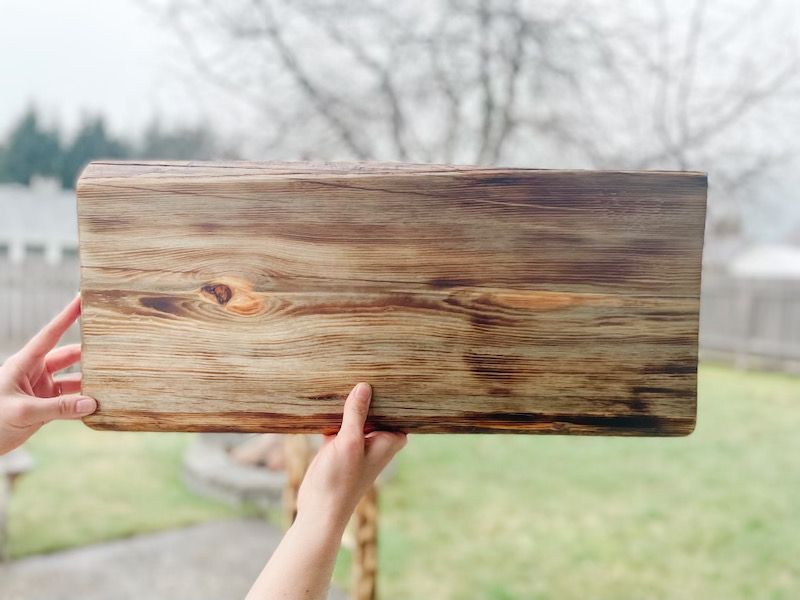
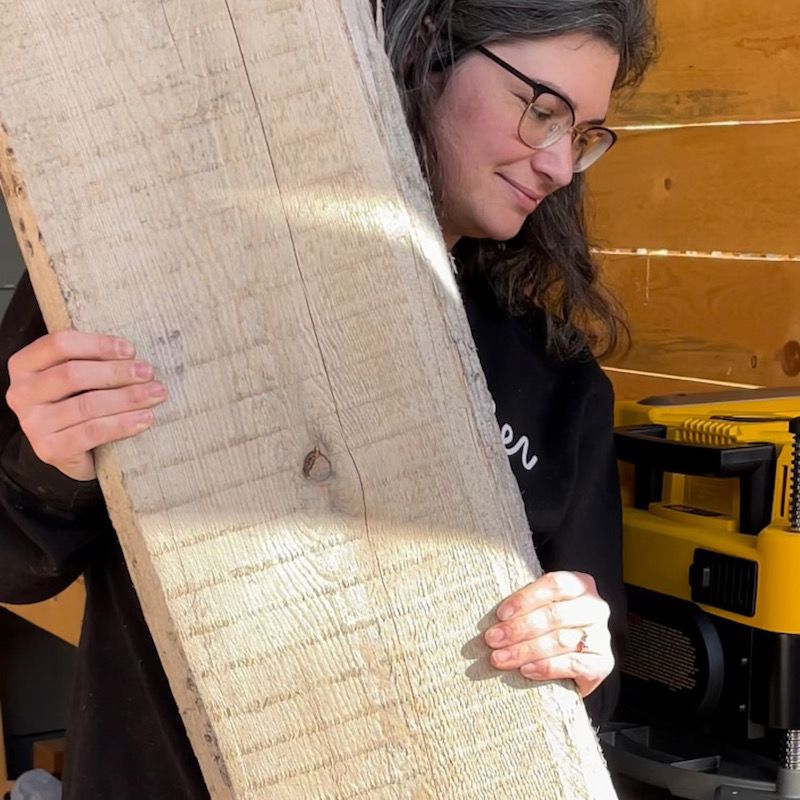
We salvaged this piece of scrap wood from the burn pile at a local mill and turned it into a gorgeous charcuterie board. This is what we started with. It’s got a live edge (the raw edge that is the shape of the tree), it’s cracked, its very rough and it was in the burn pile at a local mill – but this is the perfect piece of wood to make Charcuterie Board.
Supplies Needed to make your own charcuterie board
- Scrap Wood (Local Mill)
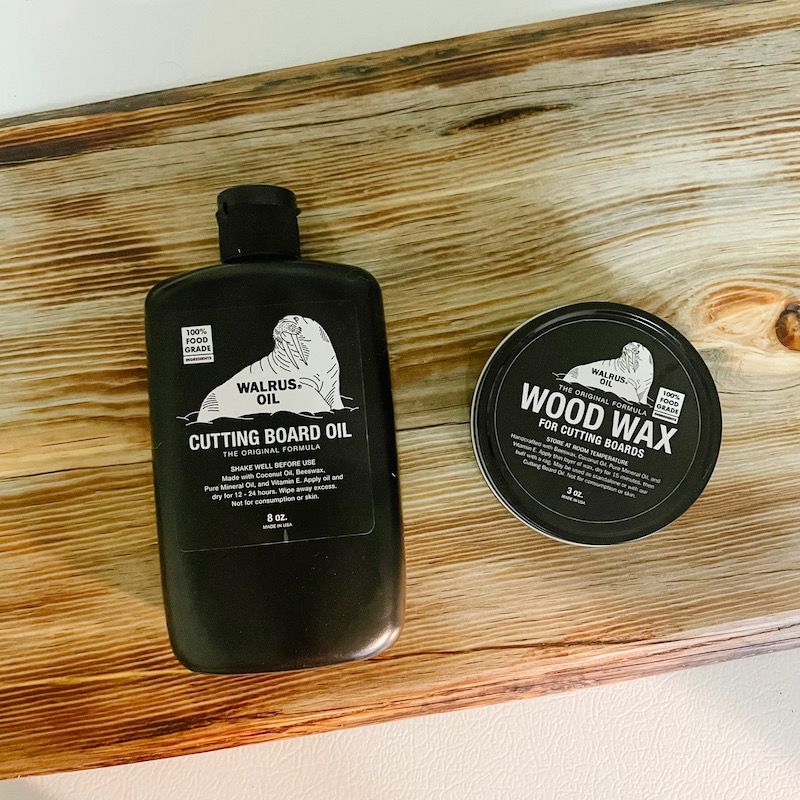
- Walrus Oil
- Walrus Wax
- Propane Torch
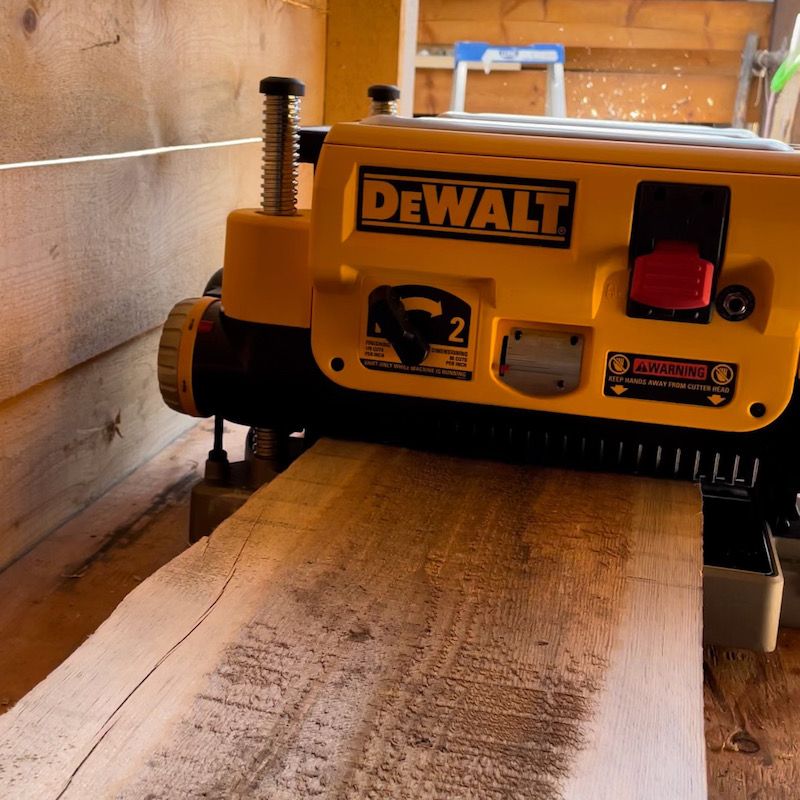
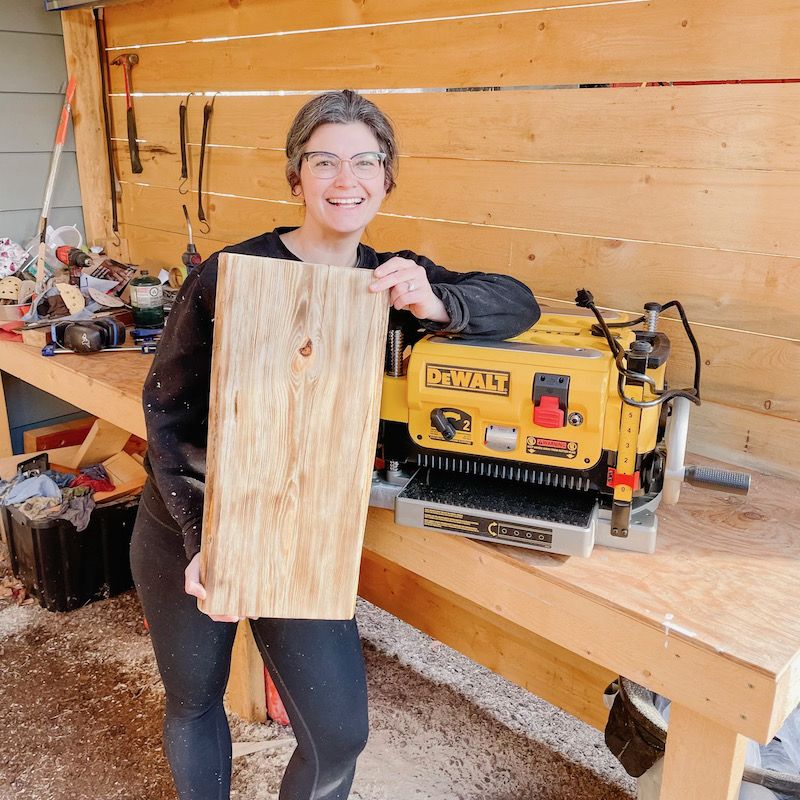
- DeWalt Thickness Planer 13″
- Orbital Sander Milwaukee
- 220 Grit Sand Paper
Check below for links! Note: I bought TASK brand sandpaper at our local building supplies store, but included another option for a variety pack below. Just make sure your sandpaper matches your sander (check the number of holes).
Get it Smooth
We put the scrap wood through our DeWalt Thickness Planer. Both sides, several times. Each time we turned it 1/4 of a turn. For the bottom, we did it enough only to make it sit flat. For the top, we did it enough to bring it down to an even, smooth surface.
To make it really smooth we used an orbital sander with 220 grit sand paper on the top and edge.
NOTE: It is best to dry your wood inside first. Ours was not, but we did dry it inside after planing it, prior to applying the finish.
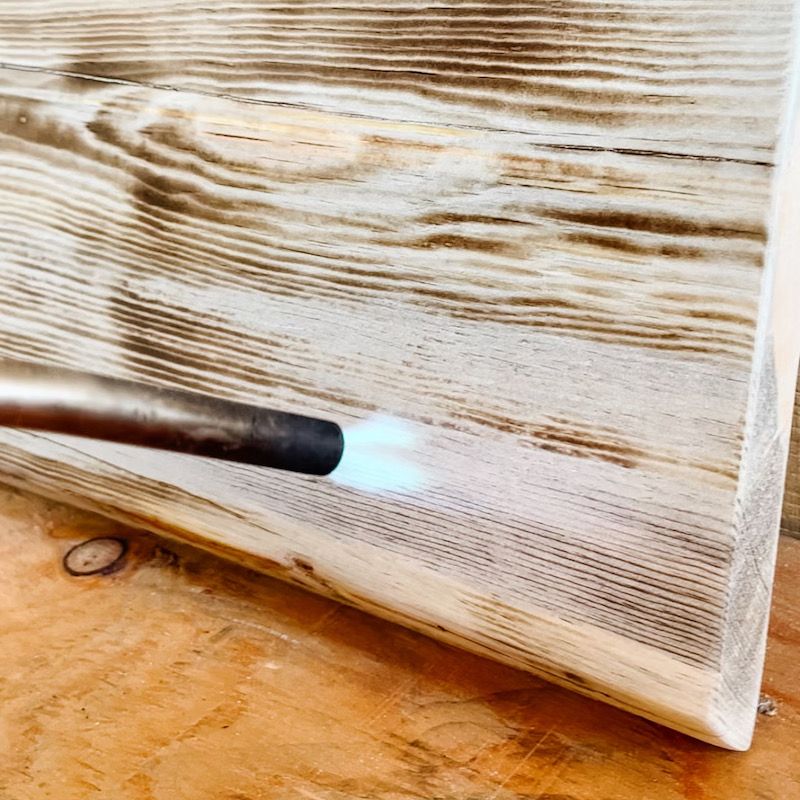
We then used a small propane torch to lightly burn the surface. This brings out the grain and looks really cool.
We sealed the board with Walrus oil and wax. Whatever you choose to seal it with, make sure it is food grade.
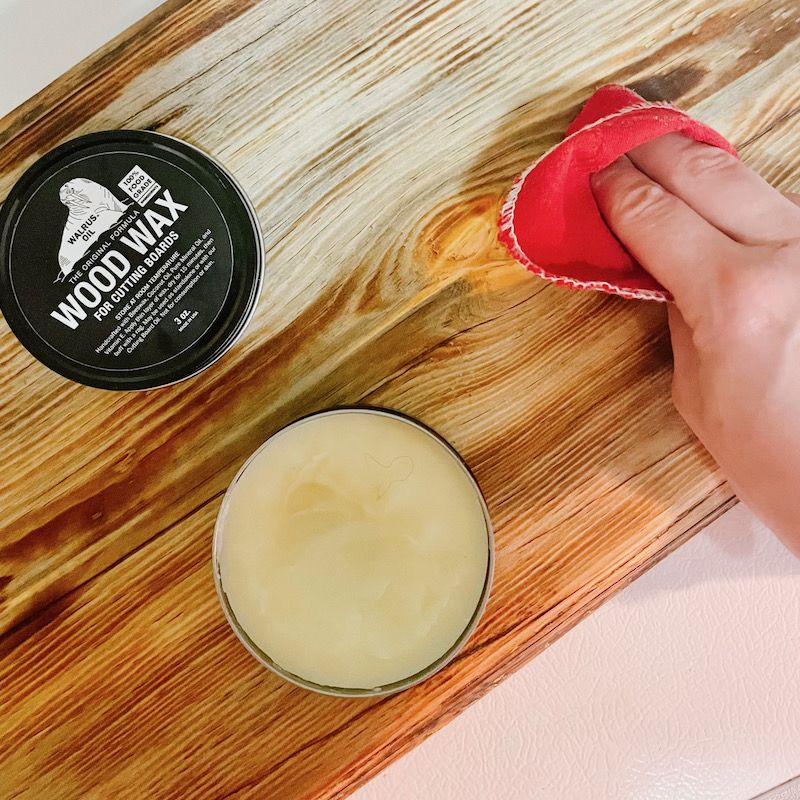
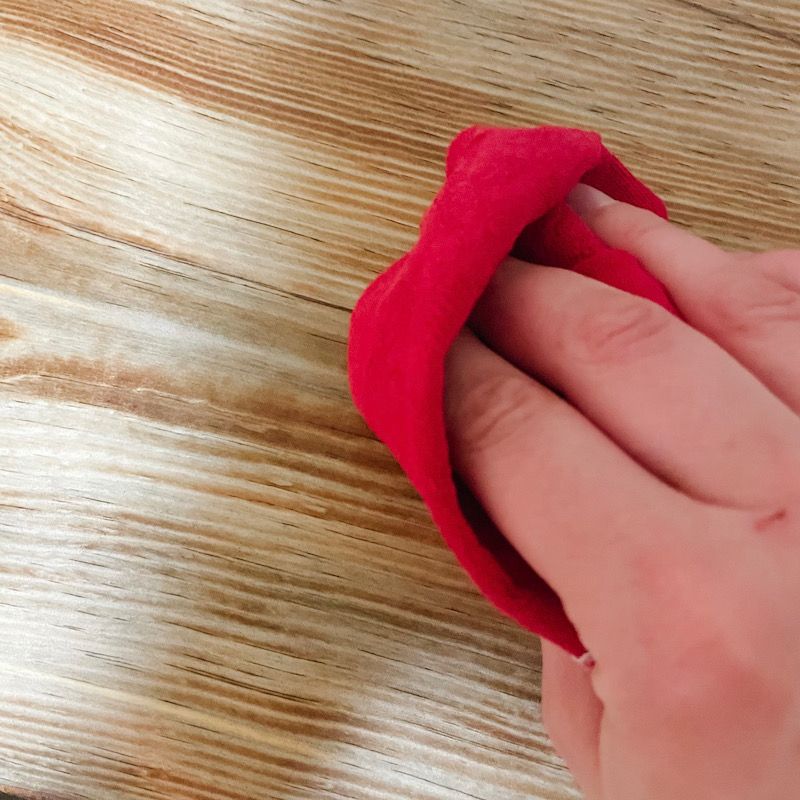
Use a soft (lint free) rag or cloth to apply oil on top and side of board. As per the instructions, apply oil, let dry for 12-24 hours then wipe off excess.
Apply a thin layer of wax, let dry for 15 minutes then buff with a rag.
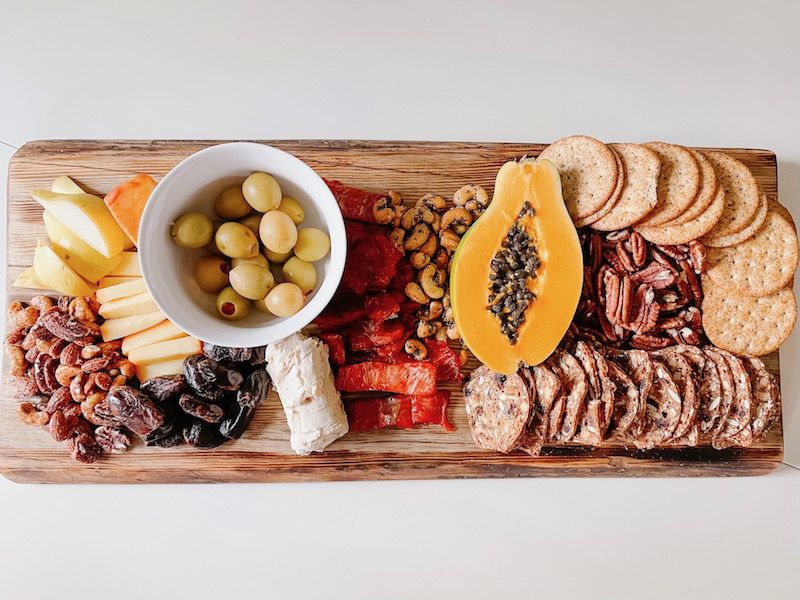
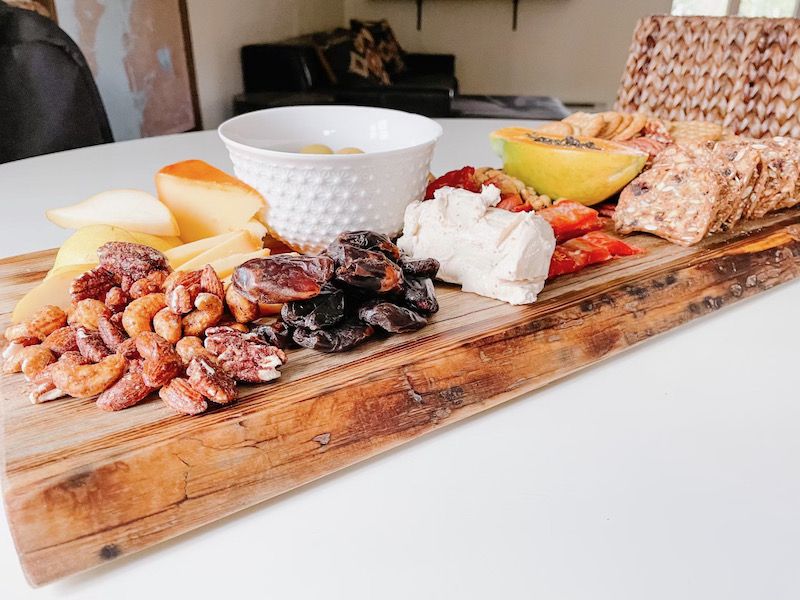
Add your favourite foods, serve and enjoy!
Any questions! Let me know in the comments!
We would love to see your projects! Please share with us by tagging us on Instagram @sewbrightcreations or email them to [email protected].
Click HERE for more of my Amazon Favourites!
