I don’t know about you, but as soon as the snow melts, I begin planning new DIY projects for my backyard! My favourite DIYs are the ones that cost me nothing, so free pallets are a popular source of wood at my house. In this post, I’m going to share instructions, a list of basic tools and materials needed, and step-by-step tutorials for three of my very favourite easy DIY pallet projects for beginners that are perfect for springtime backyard refreshes. So, if you want to create some great outdoor projects like new porch patio furniture, an herb garden, or a large tool organizer, you’re in the right place! Grab a couple of pallets, decide which project you want to try first, and let’s get started!
Where can I get free wood pallets?
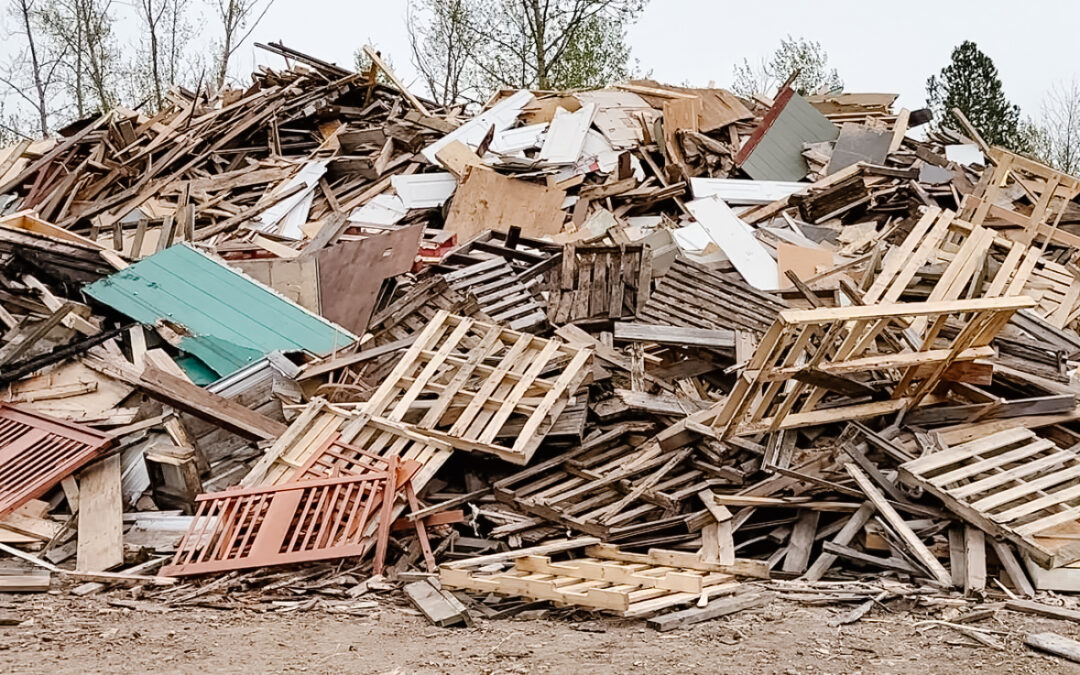
The answer to this question is: almost anywhere! Pallets are used for shipping goods to retail stores, so anywhere that sells or receives consumer goods is a possible pallet source. For example:
- Grocery stores
- Liquor stores
- Construction sites
- Garden centers
- Recycling depots
- Transfer stations or your local dump (This one is my favourite!)
So really, any local stores or local businesses that receive goods are worth checking out. Always get permission before taking a pallet from behind a store, and make sure you do not interrupt the loading/unloading process or get in the way and put yourself in danger.
Project 1: Outdoor Tools Storage Solution
My shovels, rakes, and other large garden tools were out of control and had completely taken over the small space beside my shed where I wanted them to live. So, when I came across an idea for using a pallet to create hanging tool storage, I knew it was going to be the easy beginner project I needed to clean up my backyard space! This is a very easy pallet project that required no extra materials other than a few screws.
Tools Required
- Tape measure
- Chainsaw (a reciprocating saw would do the job too!)
- Hammer
- Impact driver
- Orbital sander + 150 grit sandpaper
- Level
Making the Tool Organizer
I made this tool organizer to hang on the side of my shed. I measured the height of my tools and thought about exactly where the pallet would sit on the wall before I started cutting anything. You don’t have to get fancy about this! I just leaned the pallet against the fence and then set my shovels and rakes up against it to get a feel for where I needed to cut the pallet. You can use a tape measure if you want.
Then, I got to work! I used my tiny chainsaw to cut the pallet down to the right height. I cut it at a natural joint area, right under one of the horizontal boards. Make sure your cut leaves a natural end for what is going to be the bottom of your organizer.
Next, I removed the nails and extra support wood from one of the boards on the section I cut off. Then, I used my impact to screw this board to the bottom of the pallet where I had made the first cut. I used six screws for this, two on each end and two in the middle.
Once that board was attached, I grabbed my orbital sander and gave the whole thing a quick sand to make sure there were no splinters or rough spots. You could take it one step further by adding a coat of paint if you wanted to, but since my organizer was going to hang on the side of my shed where no one sees it, I left it the way it was.
When it was ready to hang my new organizer, I set it on a base that was the right height to support it while I secured it to the wooden wall of the shed. I used a level to make sure the organizer would be straight.
Once I had the organizer on top of the base, I used a level to double-check! Then, I used my impact and put some screws through the back of the pallet and into the shed wall.
That’s it! My modified pallet is now ready to hold my shovels and rakes and keep them organized and off the ground. Such a dramatic change for zero dollars and a bit of effort!


Project 2: Pallet Chair for my Front Porch
Pallet furniture is a great way to freshen up your porch for spring without spending a lot of money! This chair was a little more work and required a few more materials than the last project (including two wooden pallets instead of just one), but still worth it! Full disclosure: the pallets I chose were difficult to work with, and Mr. So Bright ended up helping me remove nails and cut through the tough wood.
Additional Materials Needed
- An extra wooden pallet (in good condition if possible)
- Screws
- Rough 2X4 (for a spacer)
- Finished 2X4 (for extra support pieces)
Tools Required
- Hammer
- Metal square
- Carpenter’s pencil
- Jigsaw (a reciprocating saw would work too)
- Orbital sander + 150 grit sandpaper
- Clamps
- Impact driver
Making the Pallet Chair
When I chose the pallets for this particular project, I made sure they had:
- One support piece down the middle and one on either end
- Even spacing between the wood pallet boards
The first thing I did was take the boards off the back of the first pallet. I left the support pieces and the front horizontal pieces intact.


Next it was time to make the frame into a chair! I used my metal square and carpenter’s pencil to mark the horizontal boards where I wanted to cut them off flush with the centre support piece. I started out using a circular saw, but the pallet wood was a bit too tough for that tool, so I ended up using a jigsaw instead.
Once I cut the pallet apart, I removed the top two boards from one of the two pieces, including all of the nails. I put half of the pallet aside.
I used the support board from the second half of the pallet and cut two legs for my chair out of it. We used the square to mark the bottom of the legs and cut them down at an angle so they would sit flat on the ground. Then, I sanded them down before clamping them to the first half of the pallet and screwing them on. Now, I had the seat of my chair!
Then, we took our second pallet apart and used the support beams to create the frame for the back of our pallet chair. Once the vertical support pieces were attached (clamped and then screwed on), I used the pallet boards as slats of the back of the chair. I attached the first slat using my impact driver and screws, and then used an old 2X4 as a spacer to mark where the next slat should go, attached it, and then continued clamping and screwing the boards in place until all the back slats were attached.
Once the chair’s form had taken shape, it was time for the finishing touches and some extra planks to make sure the chair was well-supported:
- One of the extra boards from the second pallet was added to the front of the seat to make it look finished
- A piece of 2X4 went between the legs at the front to add support
- One of the extra boards went on top of the legs at the back for the same reason
And that’s it! Once the chair was fully assembled, I gave it a really good sanding to make it comfortable to sit in. I left it unpainted (feel free to choose a paint color or a stain that complements your other decor, but I like the raw wood!) and will add some cushions later for comfort. For now, I sat it on the porch next to the cute DIY outdoor table I made from a lampshade, and I think it looks so cute and comfy.


Project 3: Pallet Planter for Herbs
This planter is another SUPER easy beginner pallet project for your backyard. It’s not always possible to use reclaimed wood to grow things in because it is treated with paint or other harmful chemicals. But pallet wood is rough and untreated, so it’s perfect for gardening.
Additional Materials Needed
- Scrap 1X4s
- Soil
- Herb plants
- Cricut stencils + Mod Podge + acrylic paint (optional!)
Tools Required
- Hammer
- Reciprocating saw
- Orbital sander + 150 grit sandpaper
Making the Pallet Herb Planter
I’m going to show you how I made a three-tiered planter from a single pallet. To create three separate planter box spaces, I simply decided how far apart I wanted the bottom, middle, and top sections to be and then knocked out the slats in between them. I did it with a hammer from the back of the pallet.
Once I had my basic planter shape, I laid the pallet down on the ground and gathered the boards I just knocked off. I reattached the boards with their original nails to make the planter spaces at the bottom, middle, and top larger. I used three boards for the bottom box, two for the middle, and two for the top.
Once the boards were reattached, I took a reciprocating saw and cut off the bit of pallet that stuck up above my highest planter box. I saved those boards and nails. After flipping the pallet over, I attached the extra boards on the back at the same level as the boards on the front to create three full boxes. I didn’t have QUITE enough pallet wood and used a couple of scrap 1X4s to fill in the gaps. A piece of 1X4 was fastened to the bottom of each planter tier.
I gave the whole thing a quick sand with my orbital sander. Then, I filled the boxes with soil and planted my favourite herbs.
The last thing I did was a little bit extra and totally optional! I added some labels for a finishing touch by printing out the names of my herbs as a Cricut stencil. Then, I used transfer tape to stick them to the appropriate planter and used Mod Podge and acrylic paint to create beautiful scripted labels. You absolutely do not have to do this step, but I love the effect.
And now I have a gorgeous herb garden that I will be proud to show off to my backyard visitors!

ANOTHER EASY BEGINNER BACKYARD PROJECT
I love backyard decor projects that are little to no cost. This birdbath made from thrift store vases is no different. The beauty of this project is that no two bird baths will be the same, and your garden will look stunning with this one of a kind repurposed bird bath. Follow my easy, step-by-step directions to create your own thrifted glass bird bath.

Questions? Let me know in the comments!
We would love to see your projects! Please share with us by tagging us on Instagram @sobrighthome or email them to jackie@sobrighthome.com.
This post is not sponsored. However, some links may be affiliate, which means I may earn a small commission if you shop using the links. There is NO extra cost to you. The opinions and photos are of SO BRIGHT HOME.


