It started out with great intentions, it always does. Of course I was inspired by Pinterest and I thought it would be great to make some DIY bath bombs for Easter, in the shape of easter eggs. Such a great idea, right? I was also super excited to try Young Living Essential Oils. Do you use oils? I haven’t before now and I am honestly not really into diffusing them in the house, BUT I am interested in making more DIY things with them such as bath bombs, soap, cleaners, etc.
How NOT to Make DIY Bath Bombs
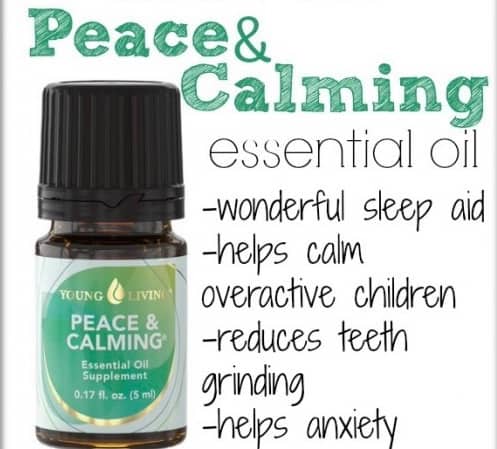
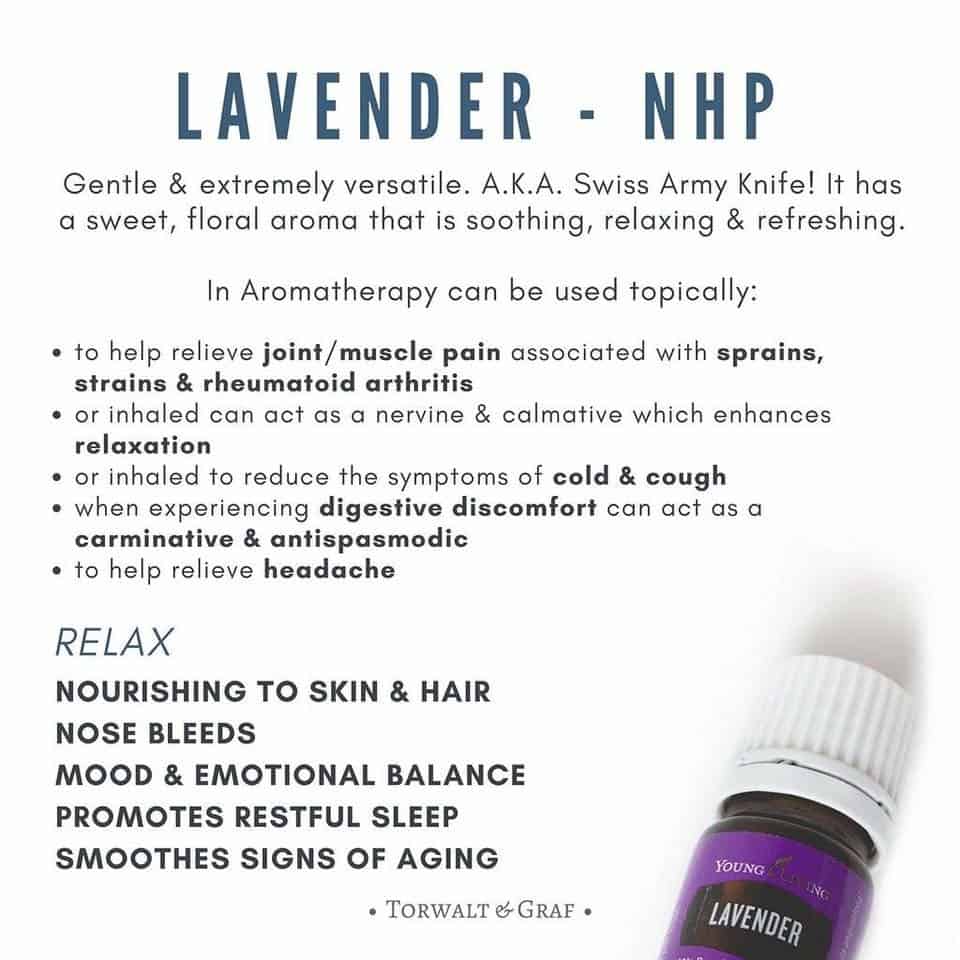
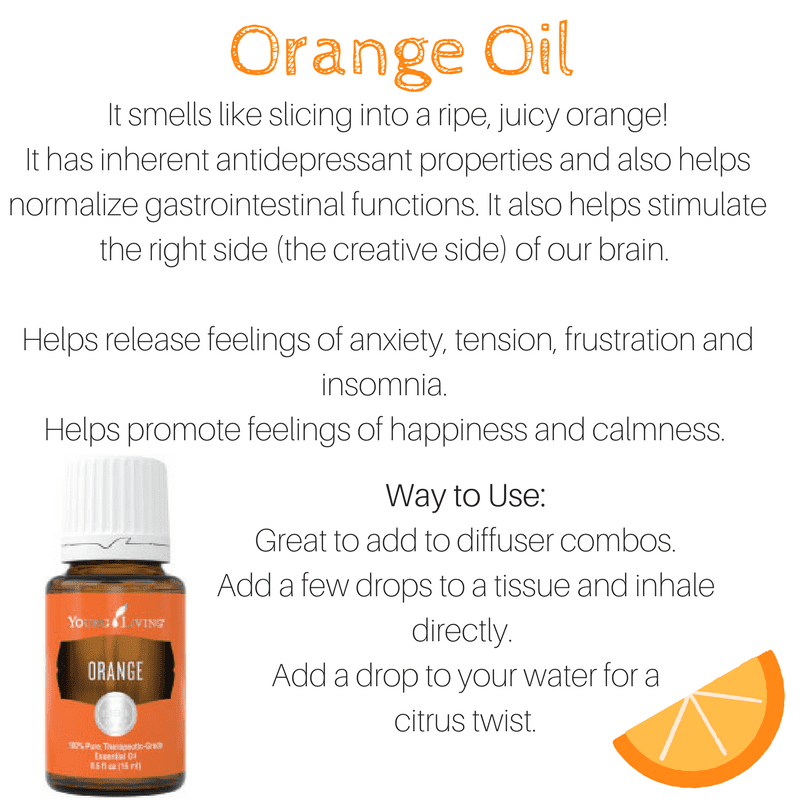
I received 3 oils from Brittany, my new Young Living rep! I wasn’t even sure where to get started, but Britteny was SO HELPFUL and she even provided me with this great information about each of the oils that I used for the bath bombs. Make sure to check out her Facebook group for more information!

#1 Recipe
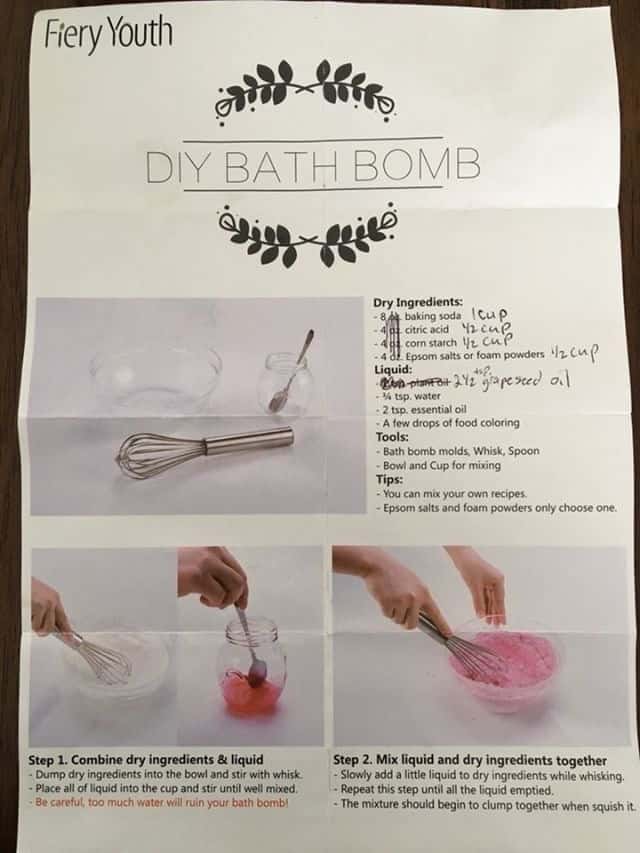
I recommend getting a recipe off someone who has tried it before or you read the reviews and make sure to properly follow the recipe. I did get a recipe from a friend, she makes beautiful bath bombs and even sells hers! You can find her on Instagram @elleinad_c. Where I went wrong, was following the recipe … this is a common problem I have.
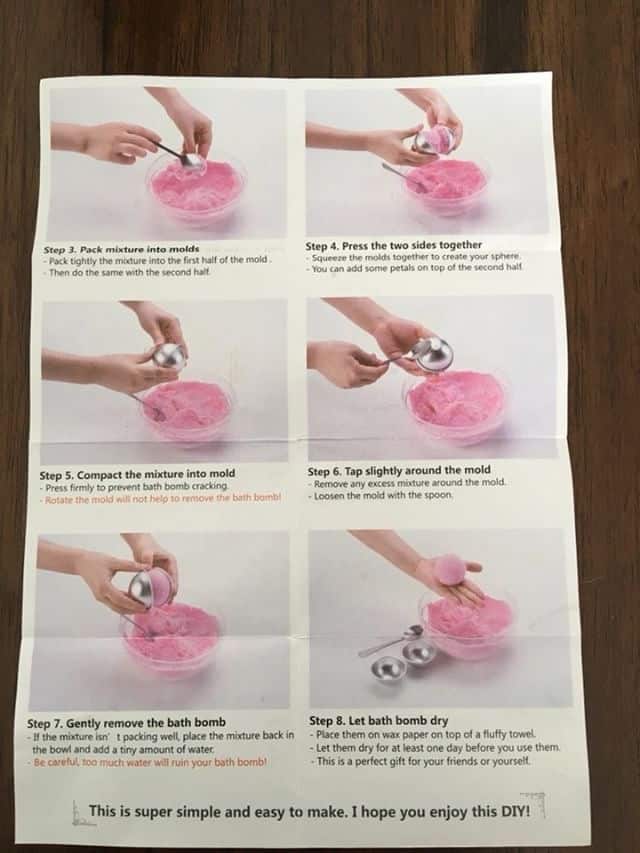
#2 Ingredients
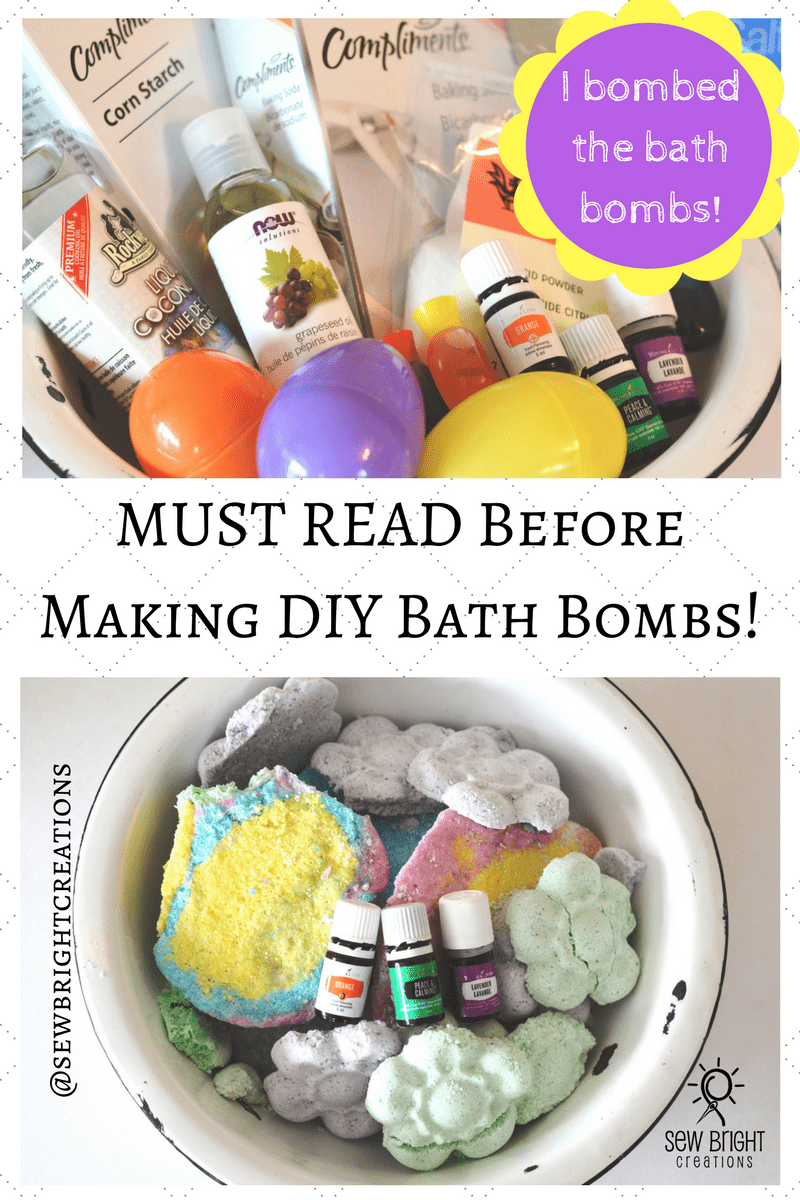
I don’t think I did anything wrong here, although I did substitute the grape seed oil for coconut oil (in liquid form) for the ones with the orange essential oil. Coconut orange sounded pretty good to me! As I mentioned above, the essential oils were from Young Living, the coconut and grape seed oils and citric acid were purchased from a local health food store (Nature’s Pantry) and the rest from the grocery store.

#3 Forms
Plastic Easter eggs sounded like the perfect forms, but I was wrong. I tried wiping the inside with coconut oil to make them come out easier, but that made it worse. I ended up using plastic flowers that were shallow and I only used one side so they were flat on the back. Make sure to pack firmly into the forms and choose ones that are simple. If I were to try again I think I’d use ice cube trays.
#4 Colour
Because I was going for the whole Easter egg effect, I divided the first batch into 4 parts. Since I am not that great at following directions, this was another step that didn’t go over well. I didn’t properly divide the amount of liquids between each one, which resulting in adding even more liquid than I should have. For some reason I also wanted to colour code them so I knew which scent was for each one. That’s a bit ridiculous though because all you have to do is smell it to tell the difference… So, don’t worry about colour! You’re better to focus on following the recipe!


#5 Water
This is where I really went wrong. Remember I mentioned above about following the recipe? Well, I used a spray bottle to add water, because such a small amount was required. Although the spray bottle is a great idea, I added too much water. I kept squirting to get a texture where it stuck together, which I thought was a good thing, but nope! You want to make sure it is more powder like, like how the flower ones turned out. So remember don’t add too much water!

#6 Leave Them
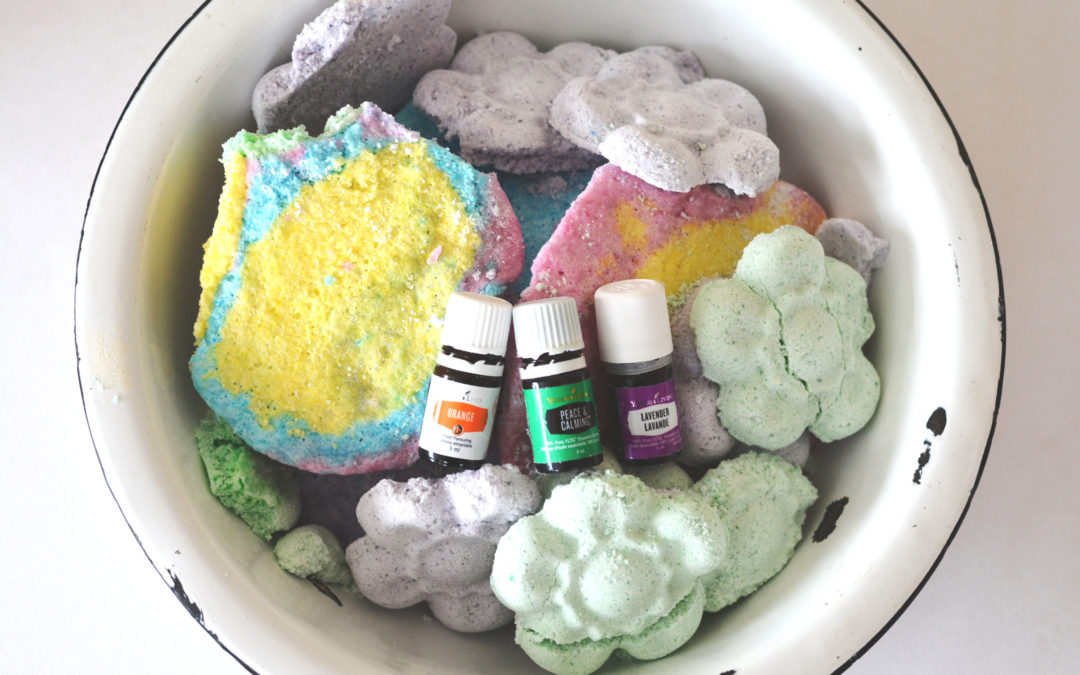
Even though the flower ones semi turned out, I was touching them all right away and wrecked them. Let them sit over night and they will be good. Well, if you don’t add too much water they will! This is what mine looked like the next morning! Did I ever bomb the bath bombs! haha

#7 Function over Fashion
They may look pretty mangled, but man do they work! I had a bath with the Peace and Calming one the other night and it was so lovely! I don’t know that I’d use this one for my daughter because it is a bit strong, but she LOVED the orange coconut one! It was also a fun change from bubbles. Although I won’t be giving any of these ones away or stuffing any Easter baskets with them we will definately continue to enjoy them in our baths!

#8 Ditch the Bomb
The shape is over rated. I do love the idea of making bath bombs, but why bother with making it into a bomb shape? Mabe they harden too much? Not sure….but I think I’d look for more of a bath salts recipe and just keep it in a jar. Doesn’t that sound so much easier?!
#9 Get your Oils!
Ready to get started? Make sure to contact Britteny and let her know that Sew Bright sent you! Not sure where to begin? The starter kit is great for getting going. I can’t wait to make more DIY products for my family & home using these oils!
I love to know, have you made bath bombs before or do you use essential oils?
Looking for some DIY Easter activities that actually turned out? Check out our DIY Natural Easter Egg Die or Fabric Covered Easter Eggs! Happy Easter!
This post was sponsored by Britteny, Young Living Rep; however the opinions and photos are of Sew Bright Creations’.
Want to collaborate? Email Jackie at sewbrightcreations@gmail.com.


I was really surprised reading through this post at how many points you need to be careful to make sure you follow the instructions closely or things can go wrong. I guess the message here is to be attentive and careful although it doesn’t necessarily need to be perfect to get enjoyment from it.
Definitely! Yeah I had no idea they would be so finicky to make.
This is one of the reasons I haven’t tried these. I tend to follow recipes loosely and that doesn’t always work out for me.
These look cool though and I do really love a bath bomb.
I’d recommend just making some salts, I think it would turn out much better!
Those bath bombs look like the bomb! They must smell amazing too since you used Young Living Essential Oils. I’ve used the orange scent to make homemade playdough and it smelled delicious.
Oooh that would be so good in play dough! Definitely going to give that a try!
Awe I think you did great for your 1st lot of trying!
Highly recommend you get a kit, the recipe olive is a starter point and a more professional recipe will definitely work better for you!
I’m so grateful for an honest post telling us truthfully exactly how trial & error bath bomb making can be!
Thanks for sharing!
You bet, honest crafting over here!
Also, there is a big difference between coconut oil and grape seed oil. One is a hard oil and one a soft oil. When substituting oils, you need to substitute hard for hard. So for coconut you need to use palm, cisco, cocoa butter, Shea butte,etc. Even though you melt the coconut to liquid, when cool it becomes hard again.
I didn’t melt the coconut oil though, I used it in a liquid form, that’s how I bought it. Does that make a difference?
Yes, it does. I always use coconut oil from BV wholesale in the solid form. If it was liquid it would stay liquid.
Okay that makes sense. I used the liquid form.
I just read your recipe it was in weight measure and you converted to volume measure, which are very different, you need a scale to make bombs, soaps, etc.
My friend did the conversions, but hers have turned out!
The coconut oil would not be the issue as it just said liquid oil. It would be the measurements that are the issue. There is a big difference between volume and weight measures.
Ah ok, will have to keep that in mind for next time!
Projects that go awry, I’ve so been there too! Glad to know what worked and what didn’t work. Thanks for sharing!
Also, good call on not putting them in easter baskets. It would look too much like candy and a child may be tempted to eat it.
Yes for sure!
Oh bless you for your cautionary tale! Super helpful.