We’re back for another update of my office renovation as part of the One Room Challenge! It’s week 3 already. I love participating in the ORC because my fear of missing deadlines holds me accountable!
FYI, ORC = One Room Challenge, you’ll see this acronym a lot over the next 8 weeks!
Click HERE for a recap of the Spring 2022 ORC Workshop Renovation and HERE for a recap of the Fall 2022 ORC Basement Living Room Renovation.
First, let’s talk about what the One Room Challenge is. Have you heard of it? It’s a biannual event that is held every spring and fall. Anyone with a blog, Instagram or TikTok account is welcome to join the fun. It goes over 8 weeks and each week you share an update on on our room. It’s a fun way to connect with other like minded people and be able to encourage each other through all the ups and downs of renovating! I highly encourage you to check out all the other participants HERE.

Week 3 One Room Challenge Progress
The goal for this week was to complete all the painting. I had some prep to finish from the previous week, so I started with sanding all the drywall. THIS SUCKED. But I DID IT! I actually wore my respirator this time and it was a game changer. I don’t know why I haven’t taken the time to do that in the past. It really wasn’t that uncomfortable and the benefit was WAY better than any discomfort. It was so much easier to breathe during and after! I HIGHLY recommend taking the time to wear a respirator when sanding drywall.
Okay enough about that. Next Mr. Sew Bright helped prime the walls and then I painted. I only managed to do one coat, so I’ve got one left this coming week, but WOW does it brighten the space up!
What is this office renovation costing?
I’m talking about the thing that everyone shys away from. WHY? Because its a HUGE part of renovating! I don’t want to paint an unrealistic picture for you so I’m sharing the cost breakdown as I work through this renovation. If you follow on Instagram, you’ll find the cost breakdown in the caption of my reels and posts. If I’m missing something, just ask!
Here’s what I bought this week:
$17.87 painters tape & foam sealant
$9.78 outlets.
$93.79 paint
Last week I made $80 from selling the desk & shelf
TOTAL SPENT $41.44
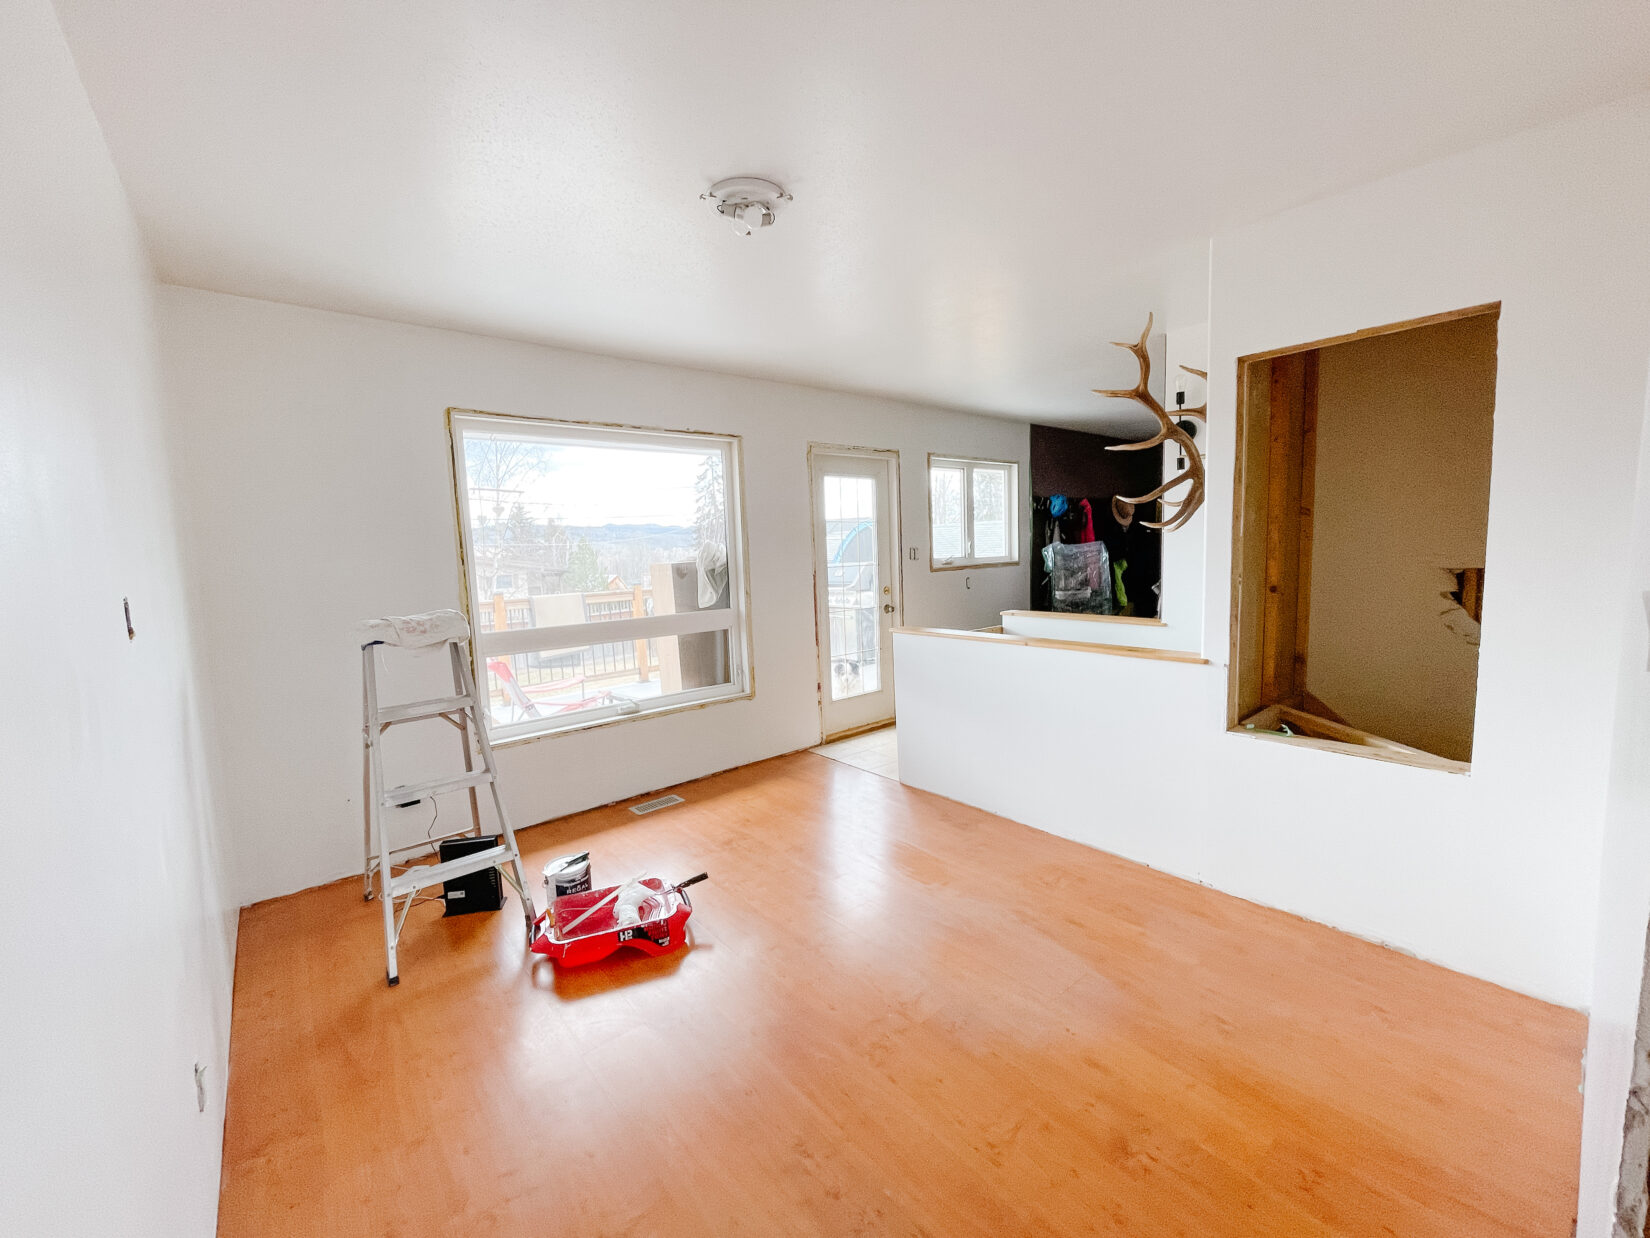
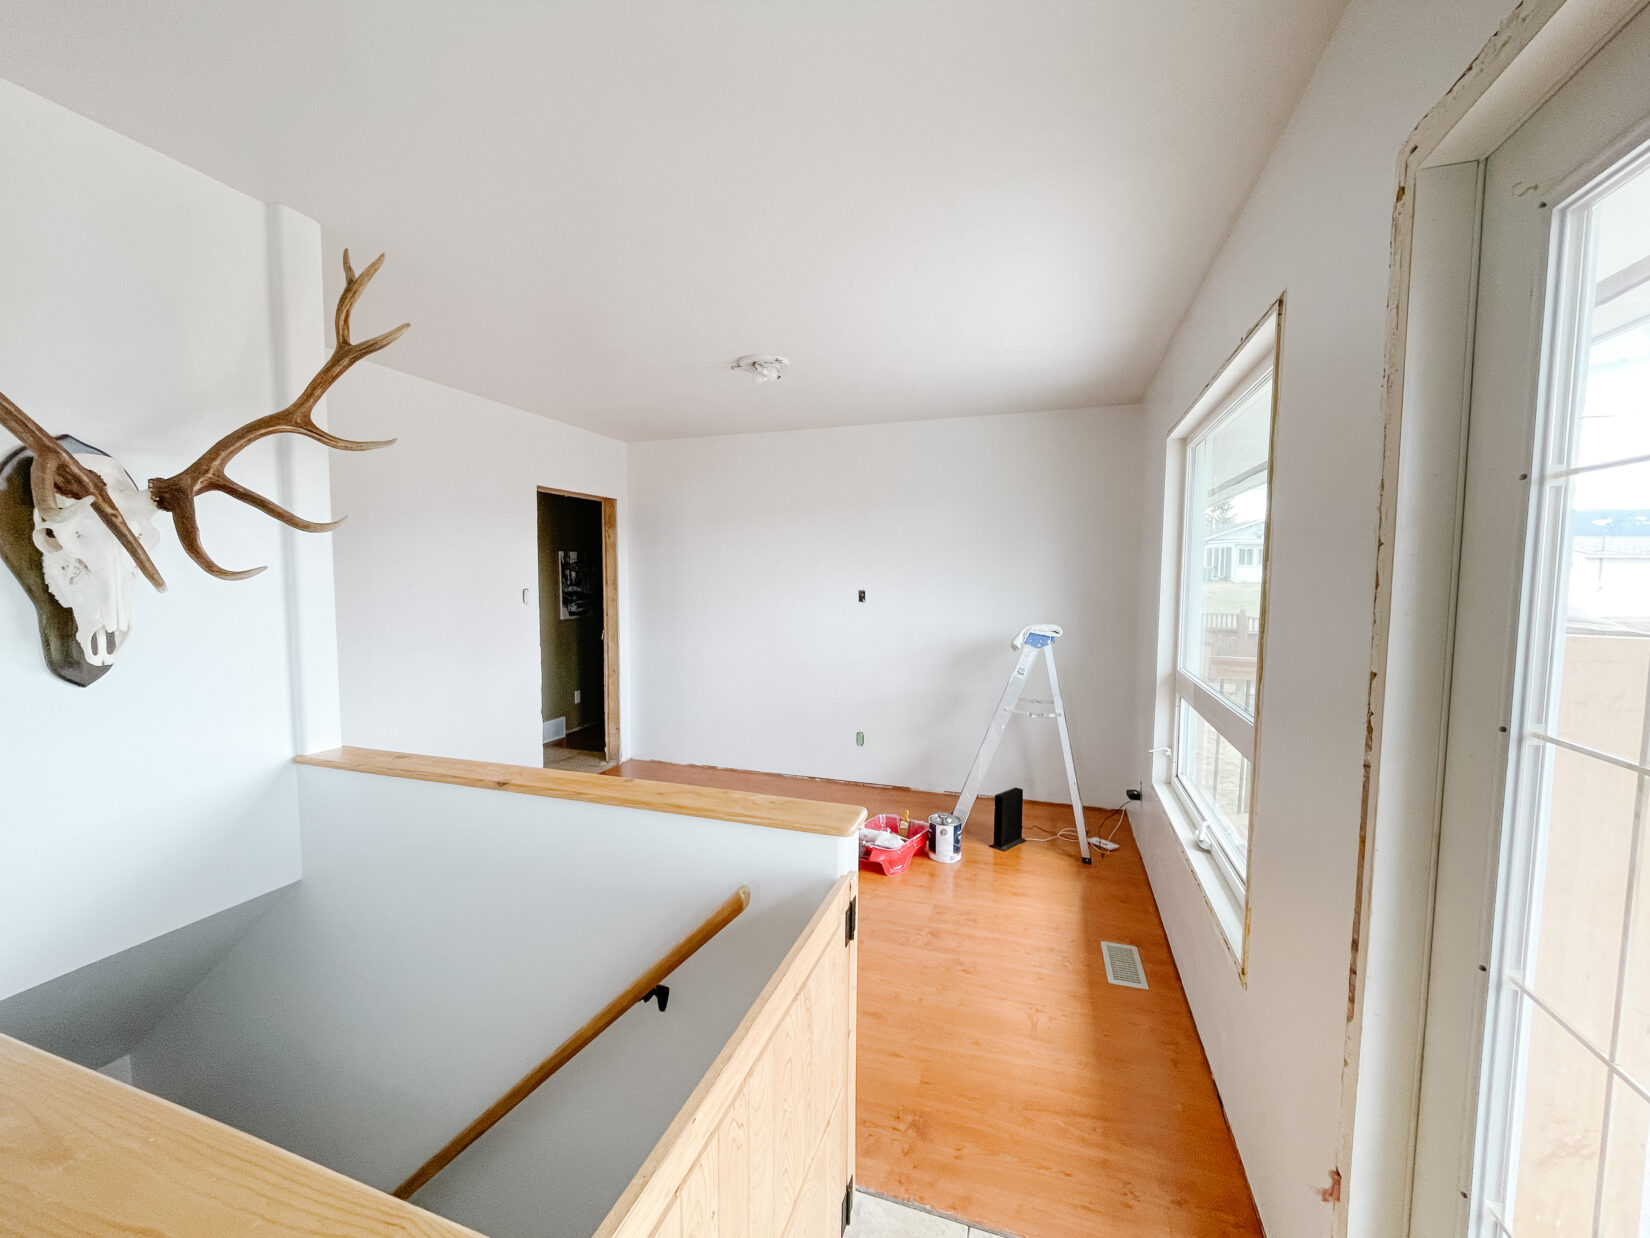
Keep following along to see where we get to next week! I’m going to complete the final coat of paint and start on the arch or windows, I’m not sure yet!
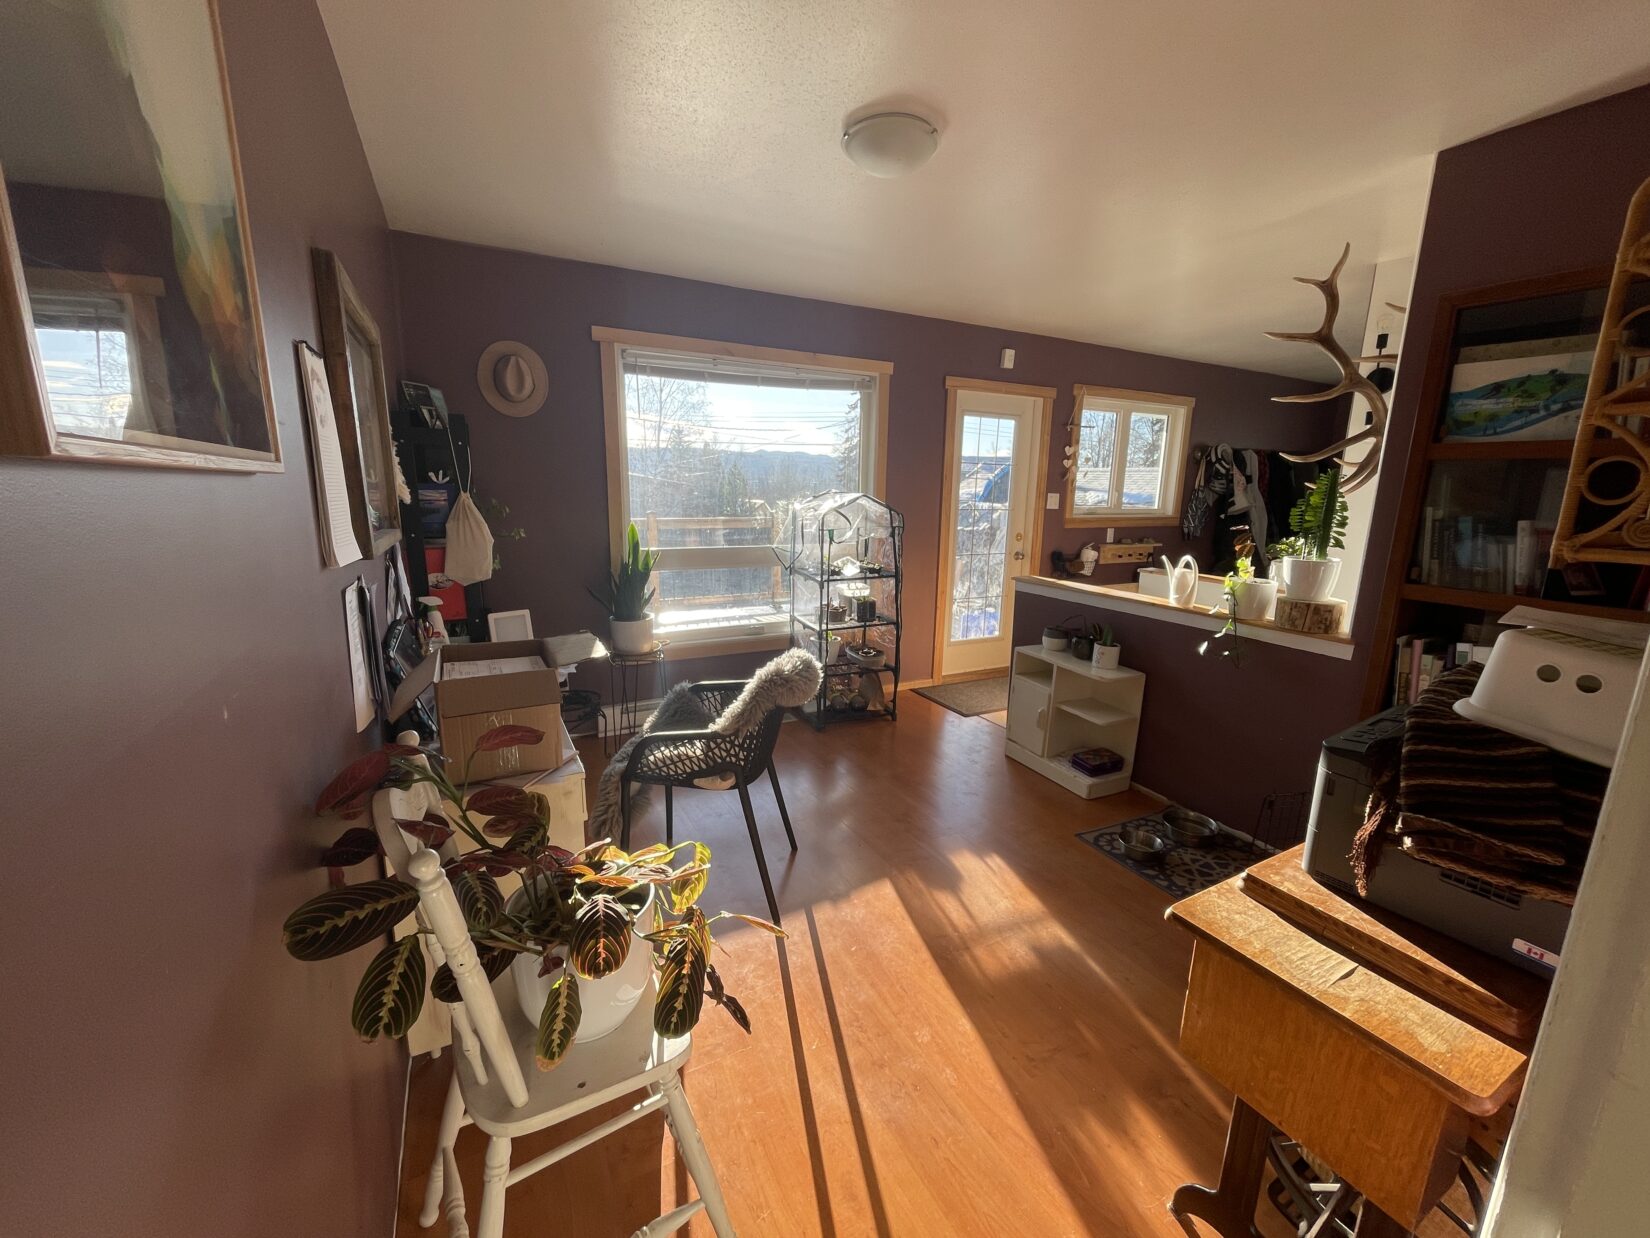
Before Photos of our office
PROJECT GOAL: Make this space bright, neutral and functional so I actually want to do my office work … do you think that’s possible? lol
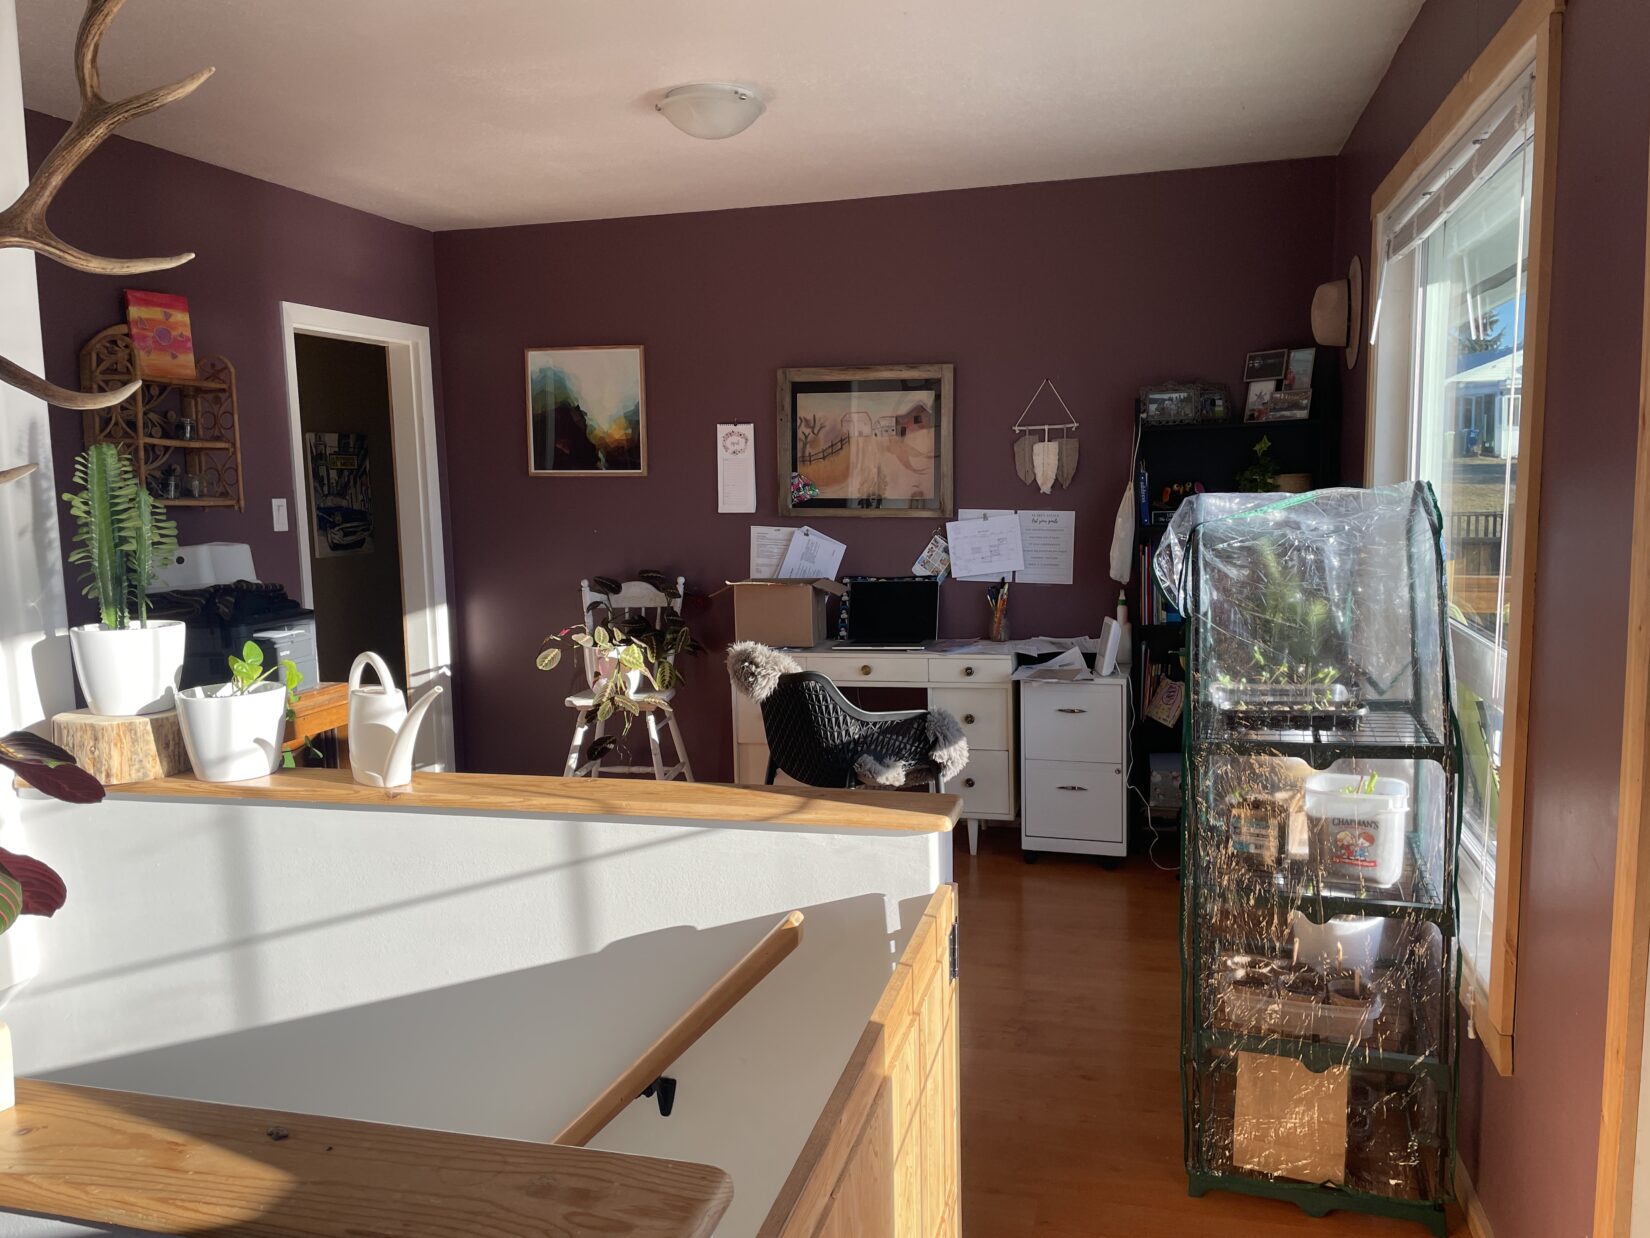
Here’s the plan for our Office One Room Challenge
Planning isn’t my strong suit, but I’m working on it!
- Week 1: Plan >> Click HERE for the first post.
- Week 2: Paint prep, there’s a lot. Fill holes and there’s a lot of work to do around the window sills >> MOSTLY DONE Click HERE for the video.
- Week 3: Prime and paint walls Click here for the video.
- Week 4: Window casings & blinds >> UP NEXT… or will I skip ahead to the arch, because that’s more fun?!
- Week 5: Work on arch
- Week 6: Work on arch some more
- Week 7: Set up desk and add shelving
- Week 8: Touch ups, decor and reveal!!
For daily progress, follow along on Instagram.
Here’s my inspiration! Still sourcing blinds, rug and deciding on shelving. Soooo not sure how much is really planed!
Any questions! Let me know in the comments!
We would love to see your projects! Please share with us by tagging us on Instagram @sewbrightcreations or email them to sewbrightcreations@gmail.com.
This post is not sponsored however some links may be affiliate, which means I may earn a small commission if you shop using the links. There is NO extra cost to you. The opinions and photos are of Sew Bright Creation’s.
Have you seen our latest YouTube video?
We purchased more supplies for this renovation and checked out the Northern BC Home and Garden show for some inspiration!
