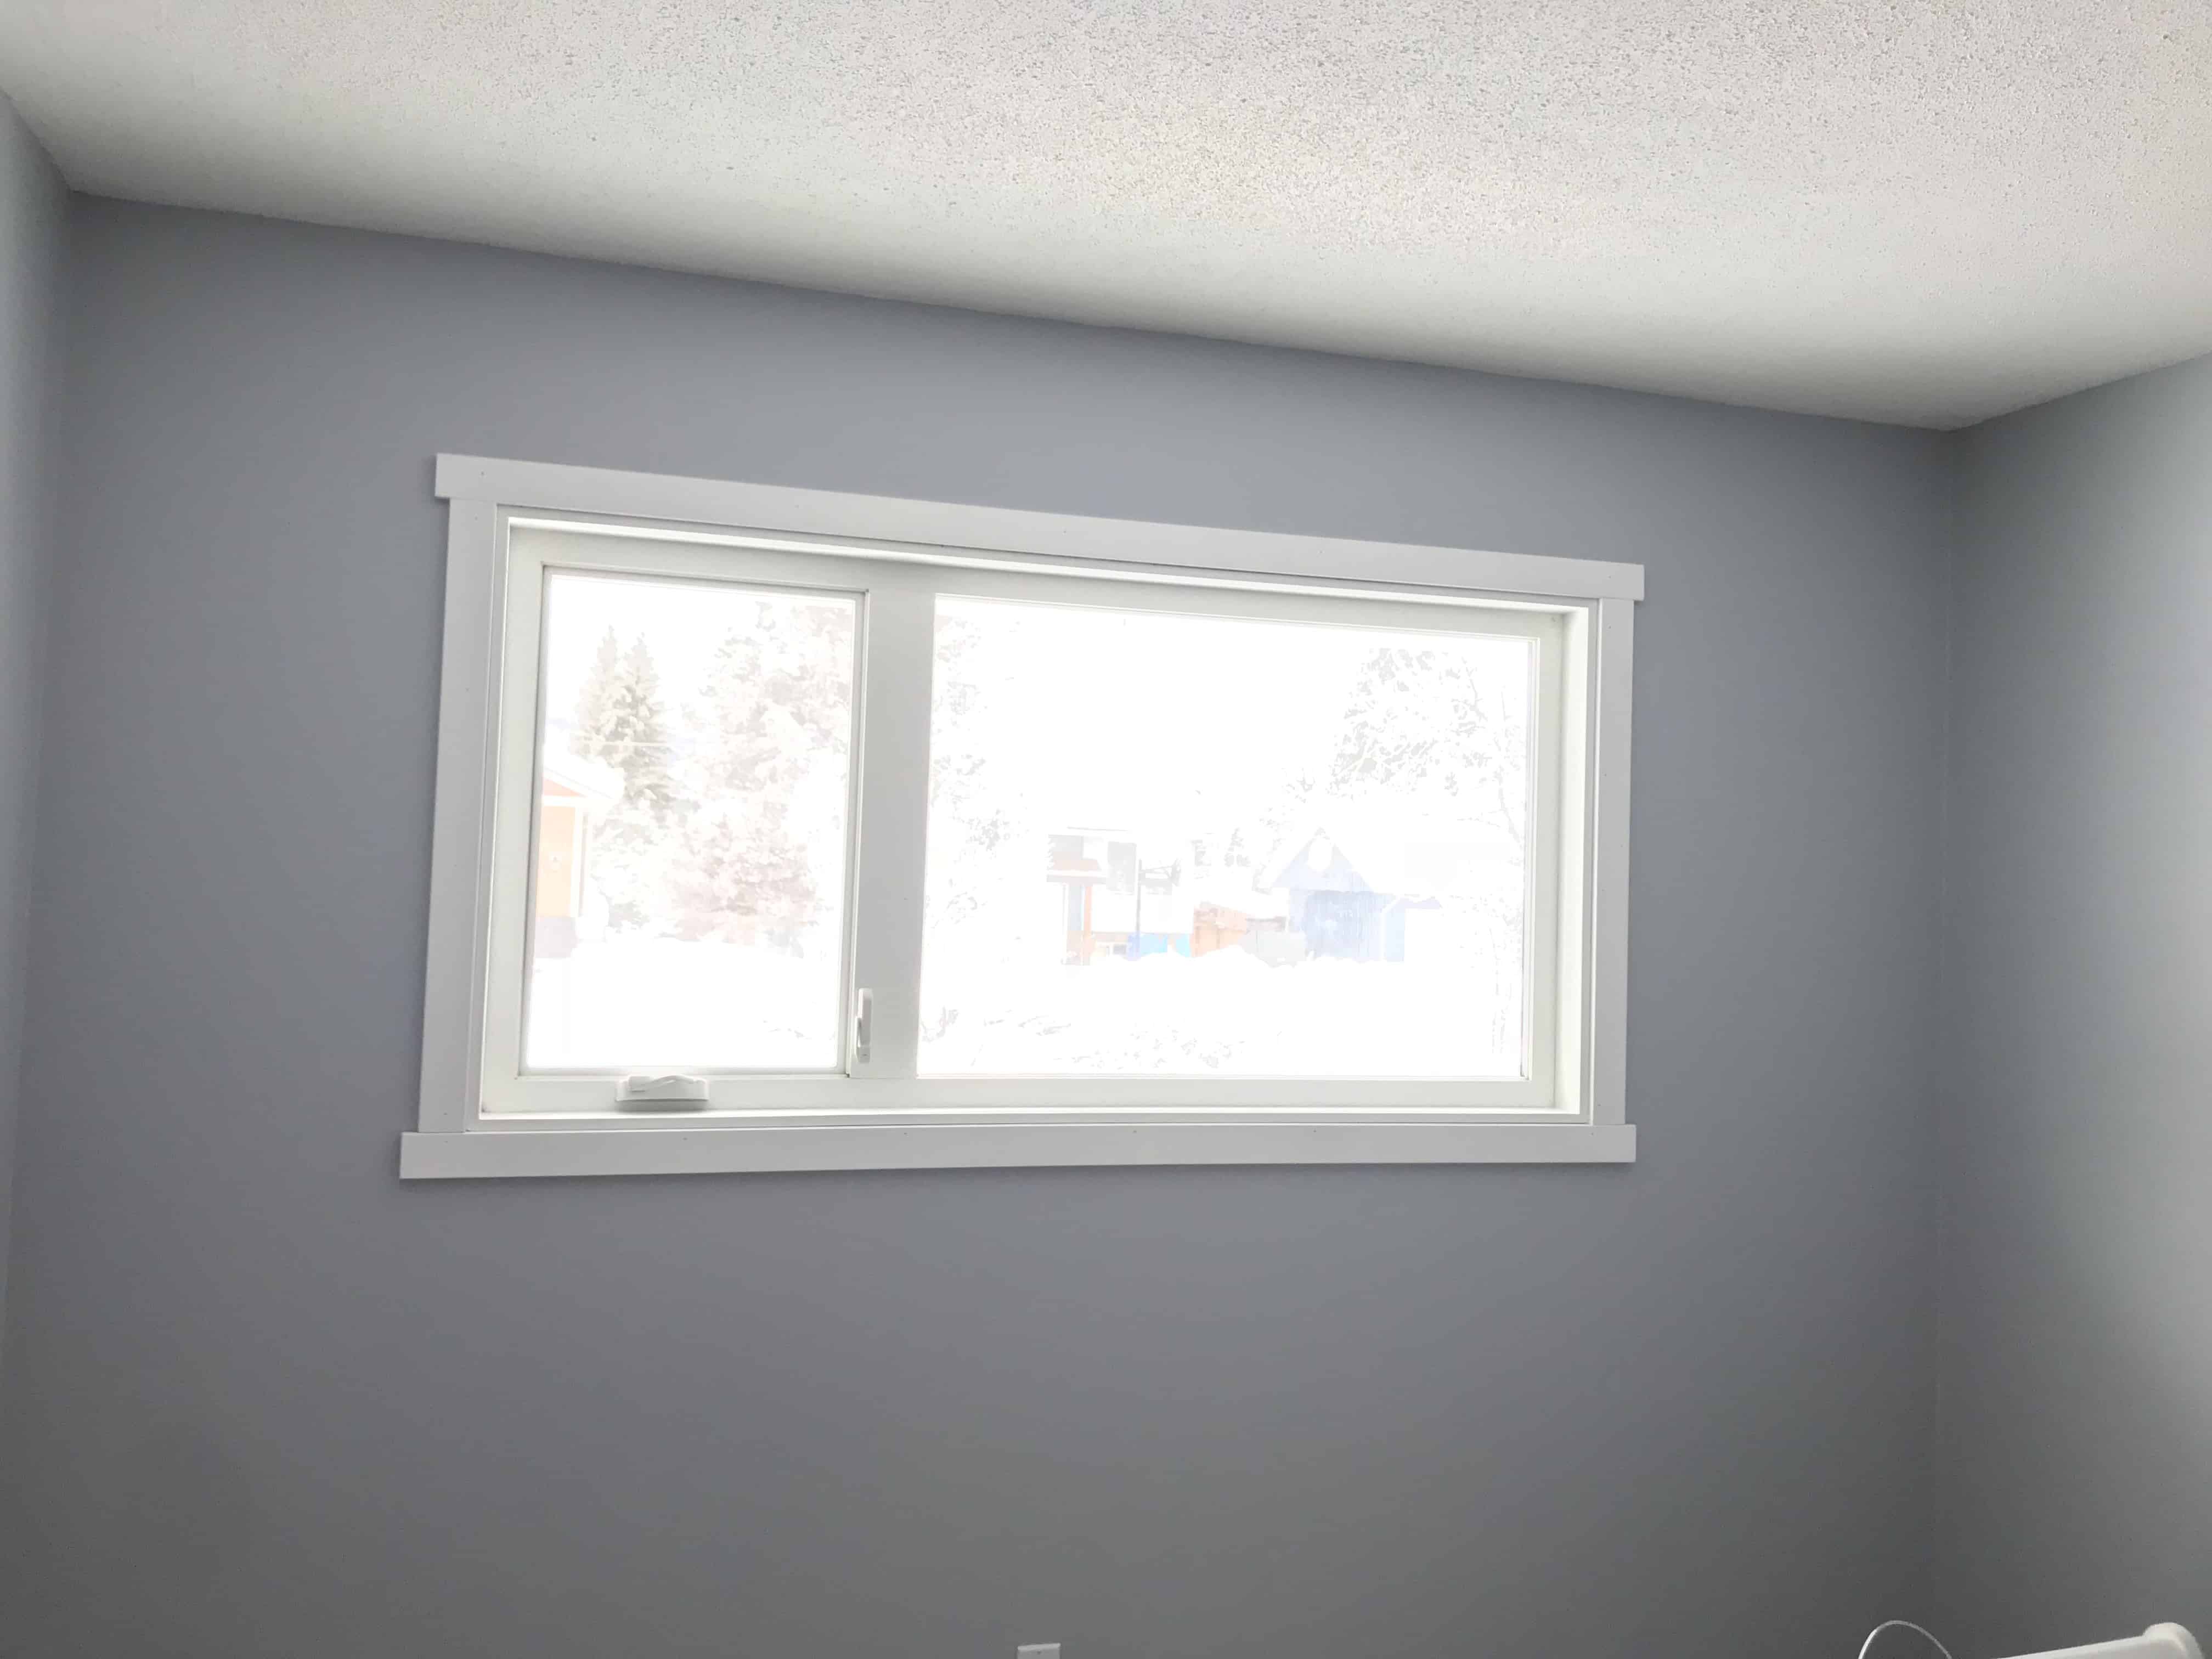
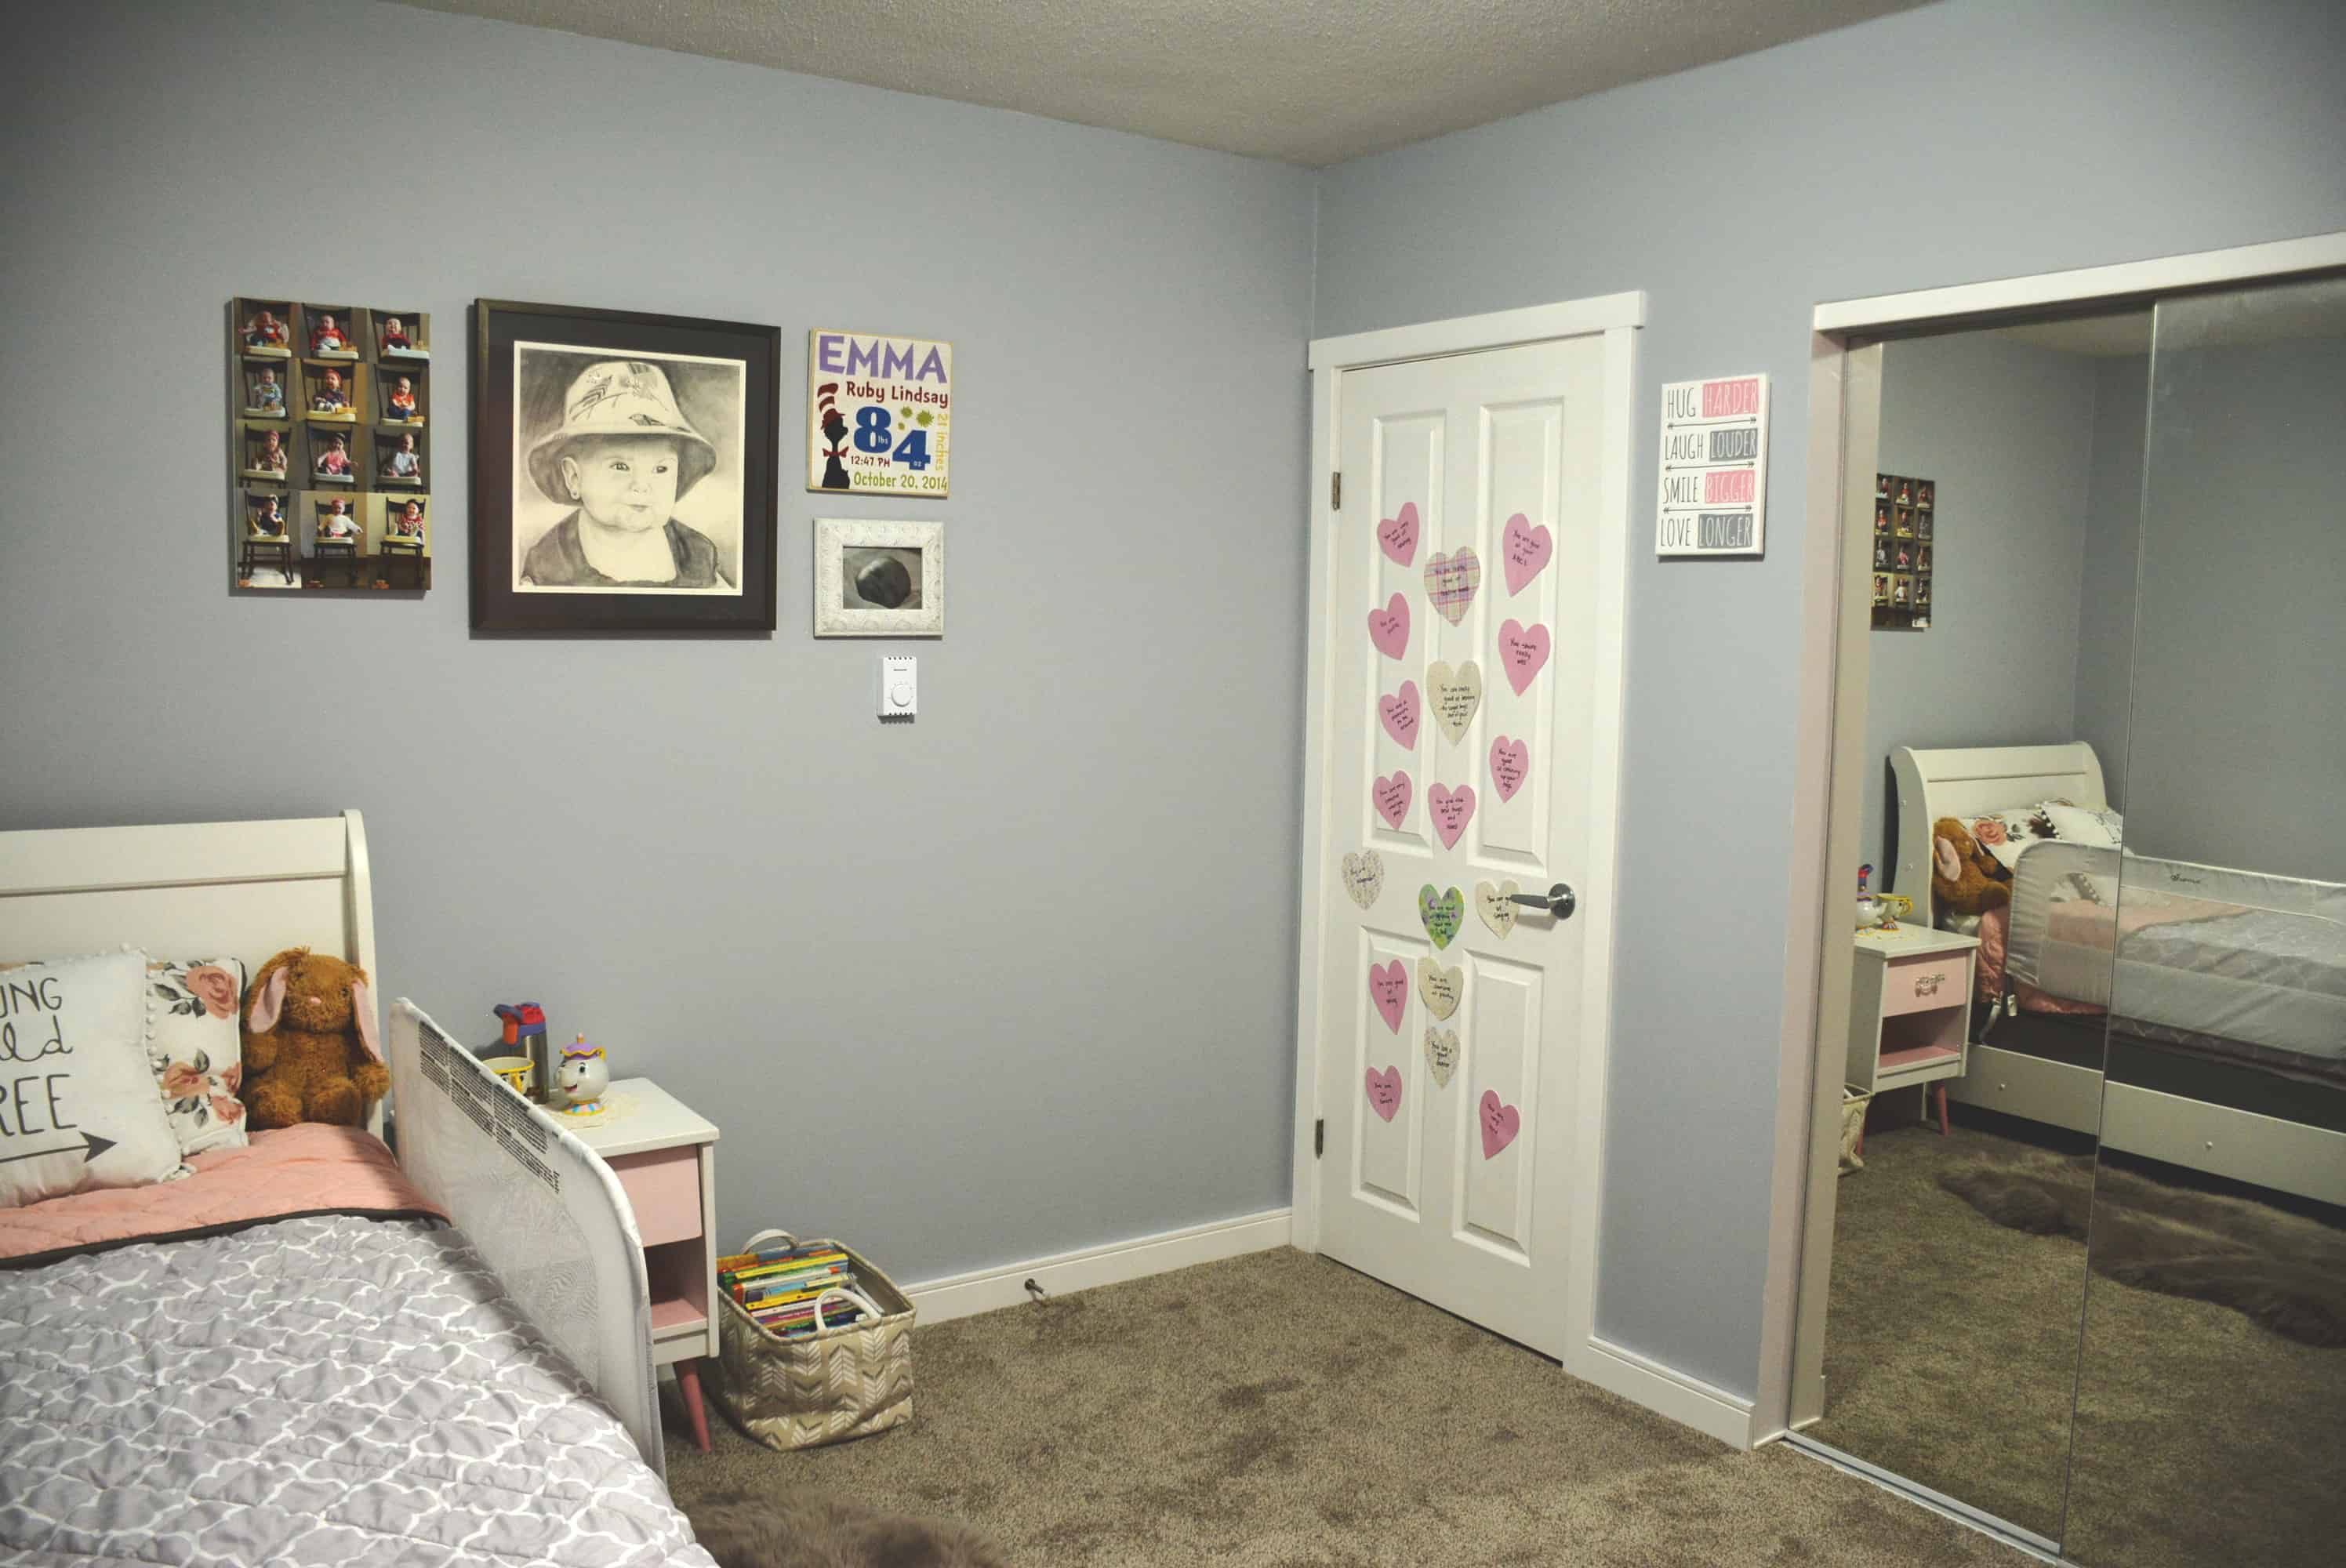
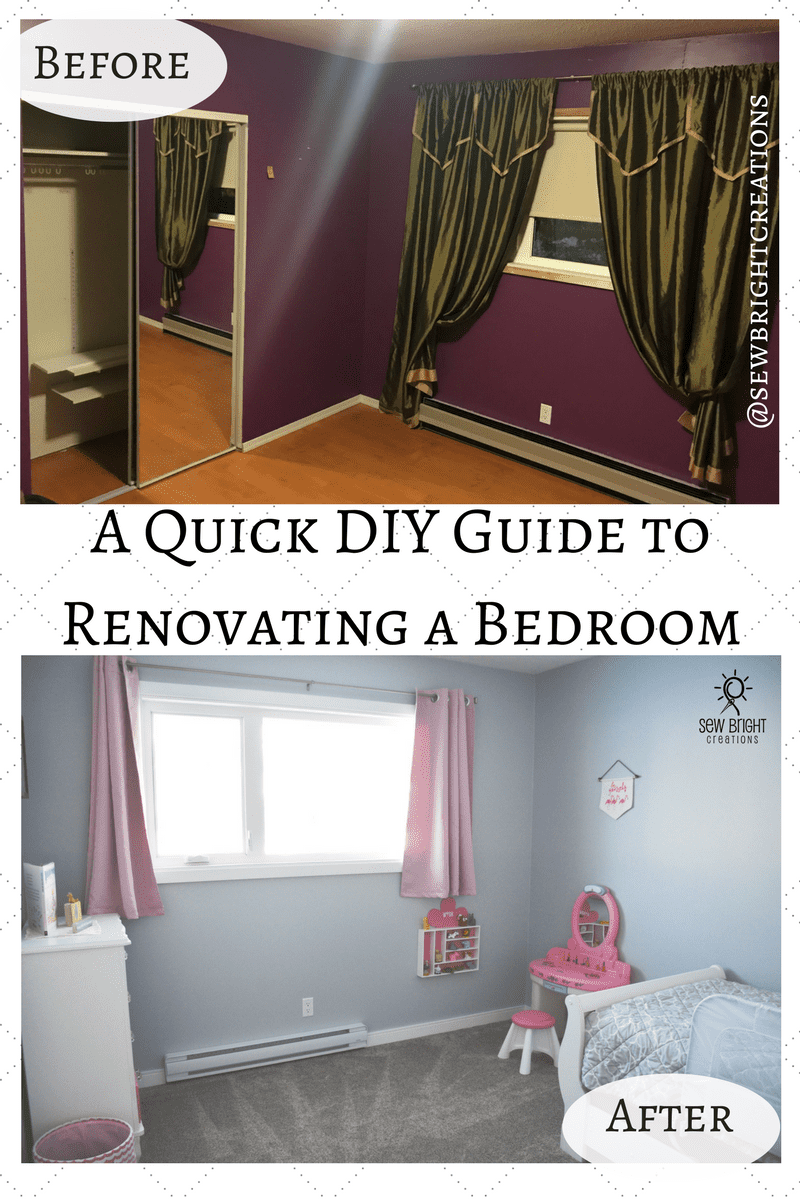
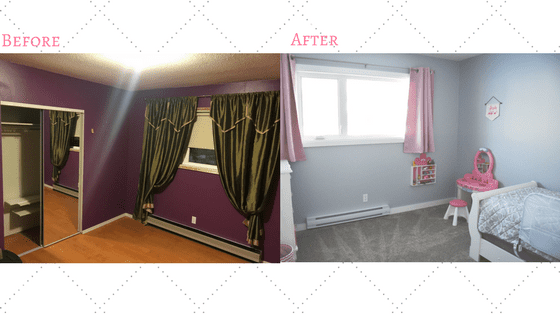
If you’ve been following along my Instagram stories, you’ve probably already seen most of this, including the progress! We have a whole house to renovate, but the first room we have completed was for our daughter, in hopes to make it look more like her room at our previous house. We went from dark purple to grey and we did everything ourselves except laying the carpet.
Here are some before and after photos and check below for a basic list of all the things we did. It’s a great quick guide for re-finishing a bedroom.
A Quick DIY Guide on How to Renovate a Bedroom
This is by no means a comprehensive guide…thus the word “quick” guide, but hopefully it’s enough to get you started if you are looking to renovate a bedroom. These are the things that my husband and I did (mostly me of course, but I do have to give him credit for the roller painting and electrical, especially since he did take one for the team and got a minor electrical shock)! Yeah…I would recommend getting an electrician if you are not familiar with electrical work!
1. Remove all window coverings (blinds, curtains, rods, etc) and decor on the walls.
2. Disassemble and remove all closet parts (doors, runners if you are removing flooring), shelving.
3. Remove all window casings, baseboards, nails and flooring (if applicable).
4. Remove outlet covers and baseboard heater (don’t completely remove baseboard heater unless you are replacing it and of course, make sure to turn off the breaker before doing any electrical work and test to make sure you turned off the right one!)
5. Replace light bulb and clean or replace light fixture. We used LED lights and this also made the room a lot brighter.
6. Fill all nail holes in with drywall putty. The walls in this room were particularly bad and required several passes at this.
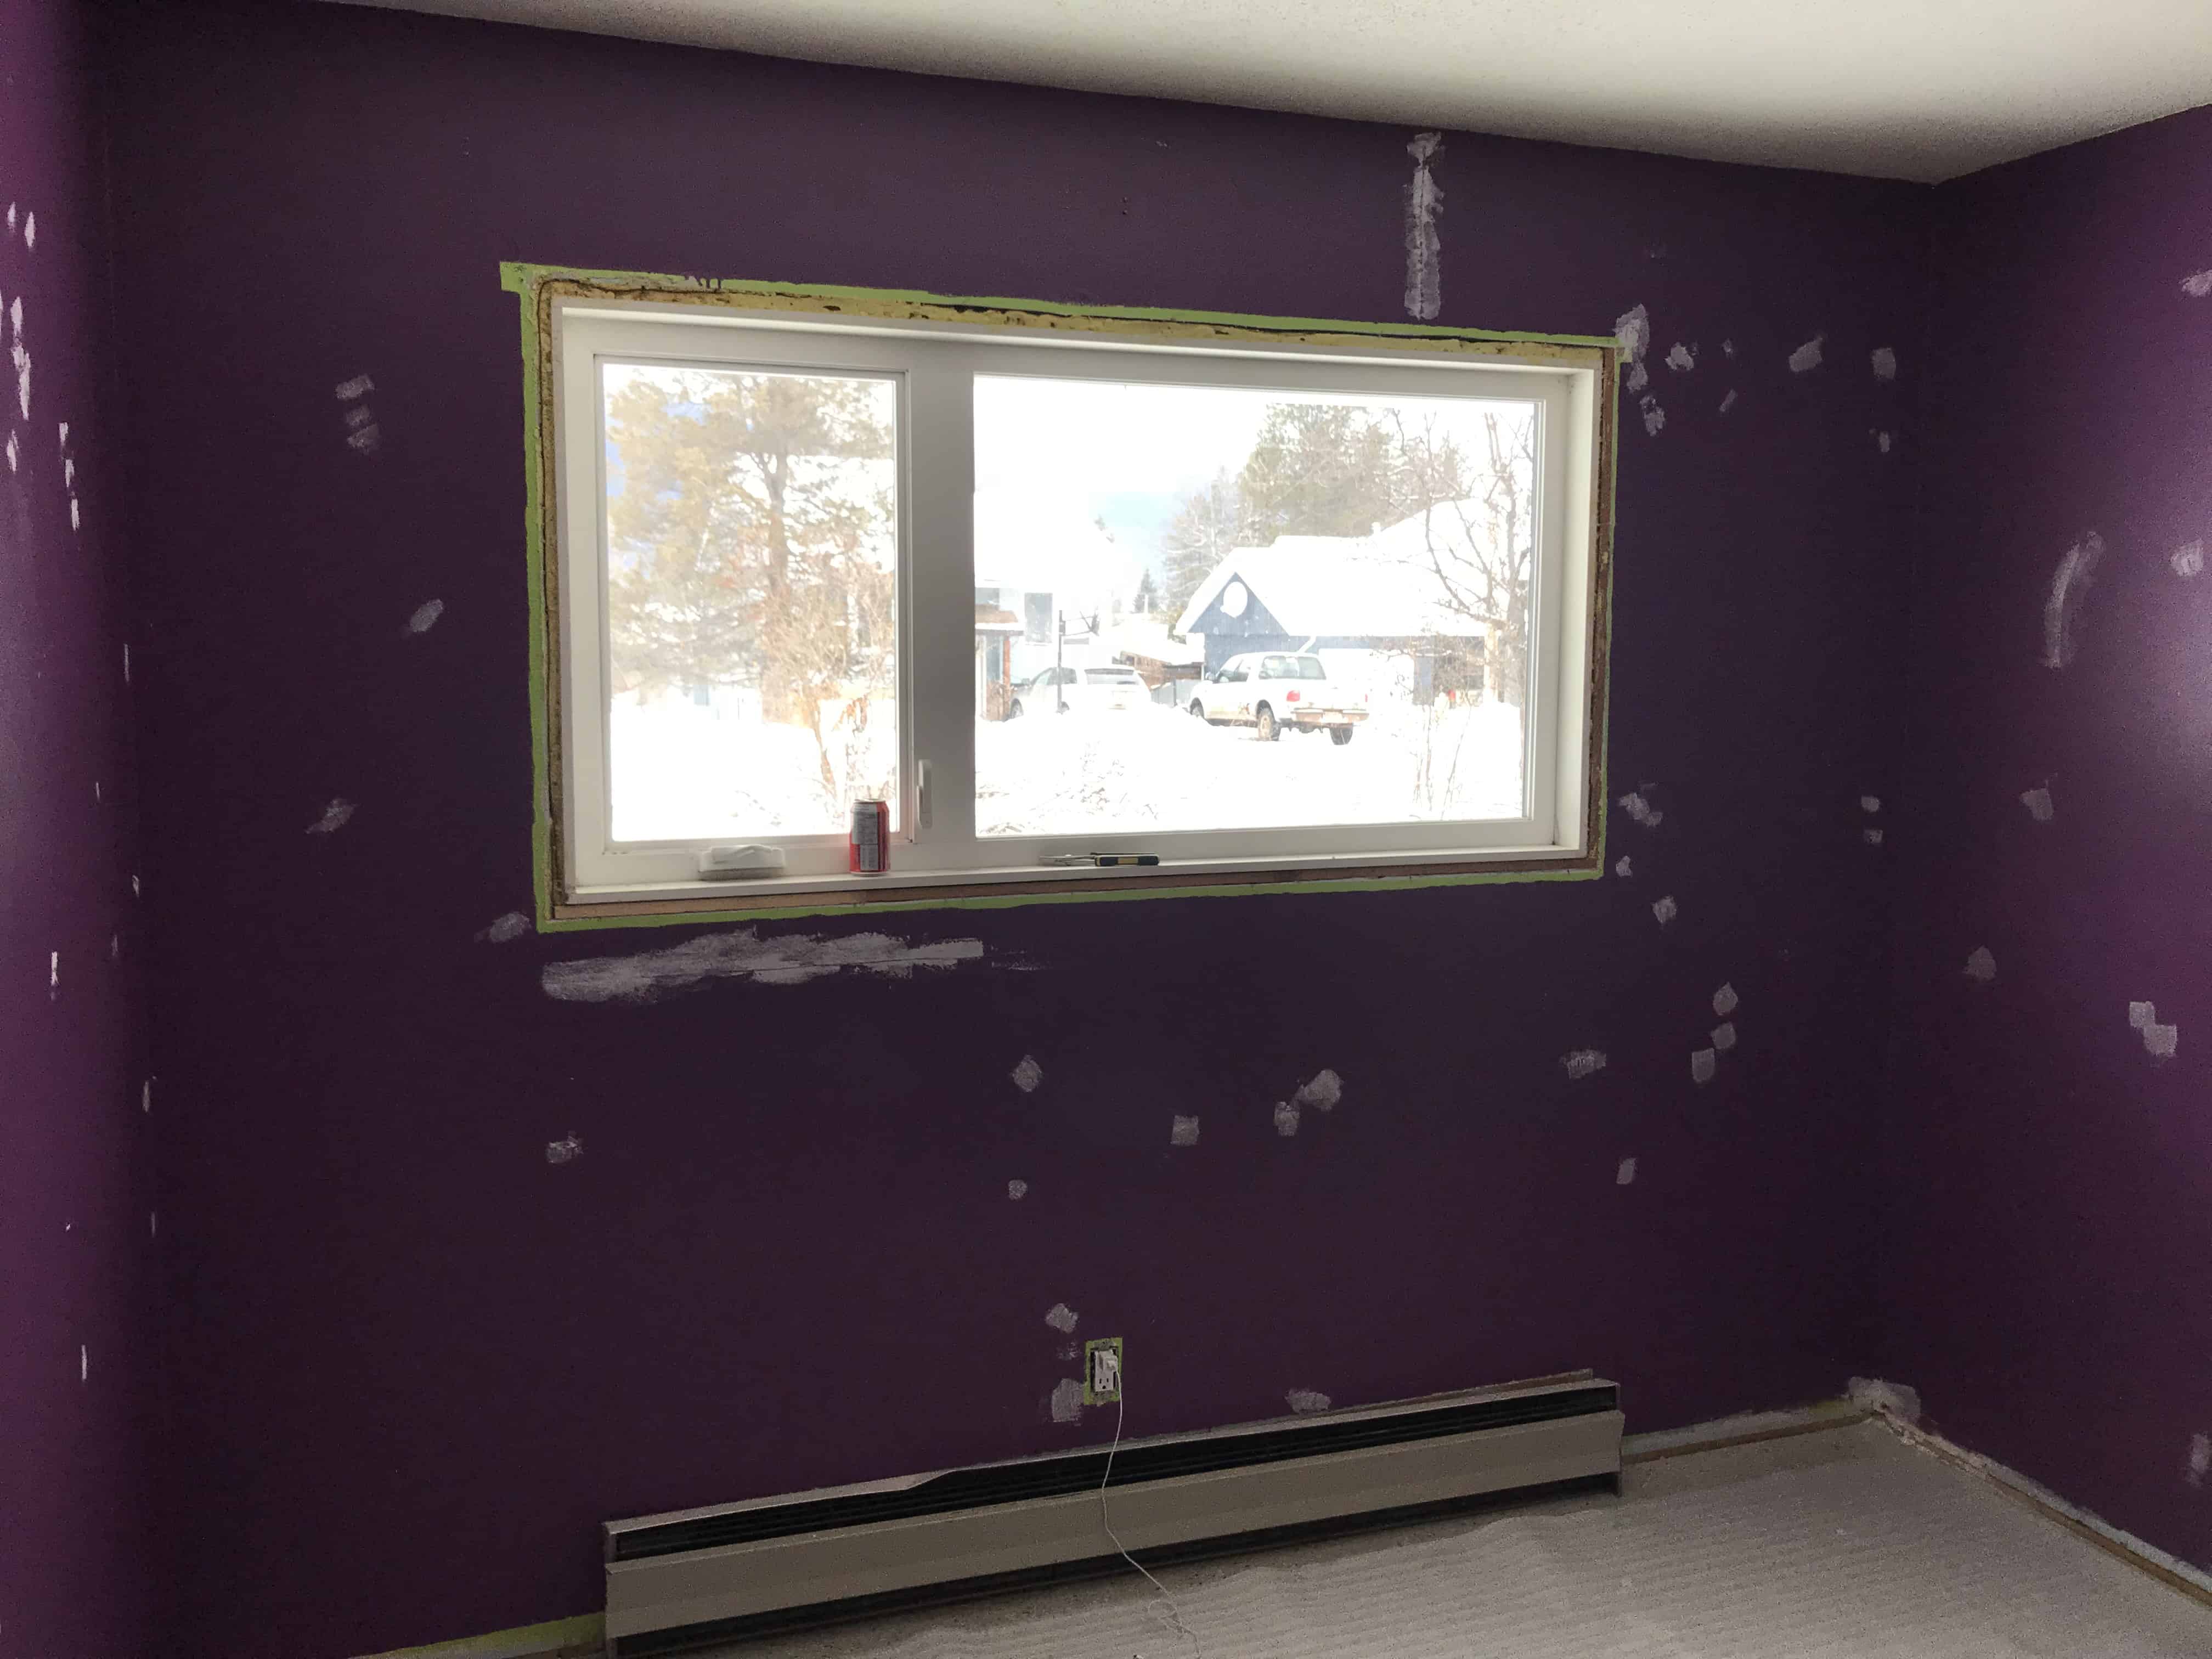
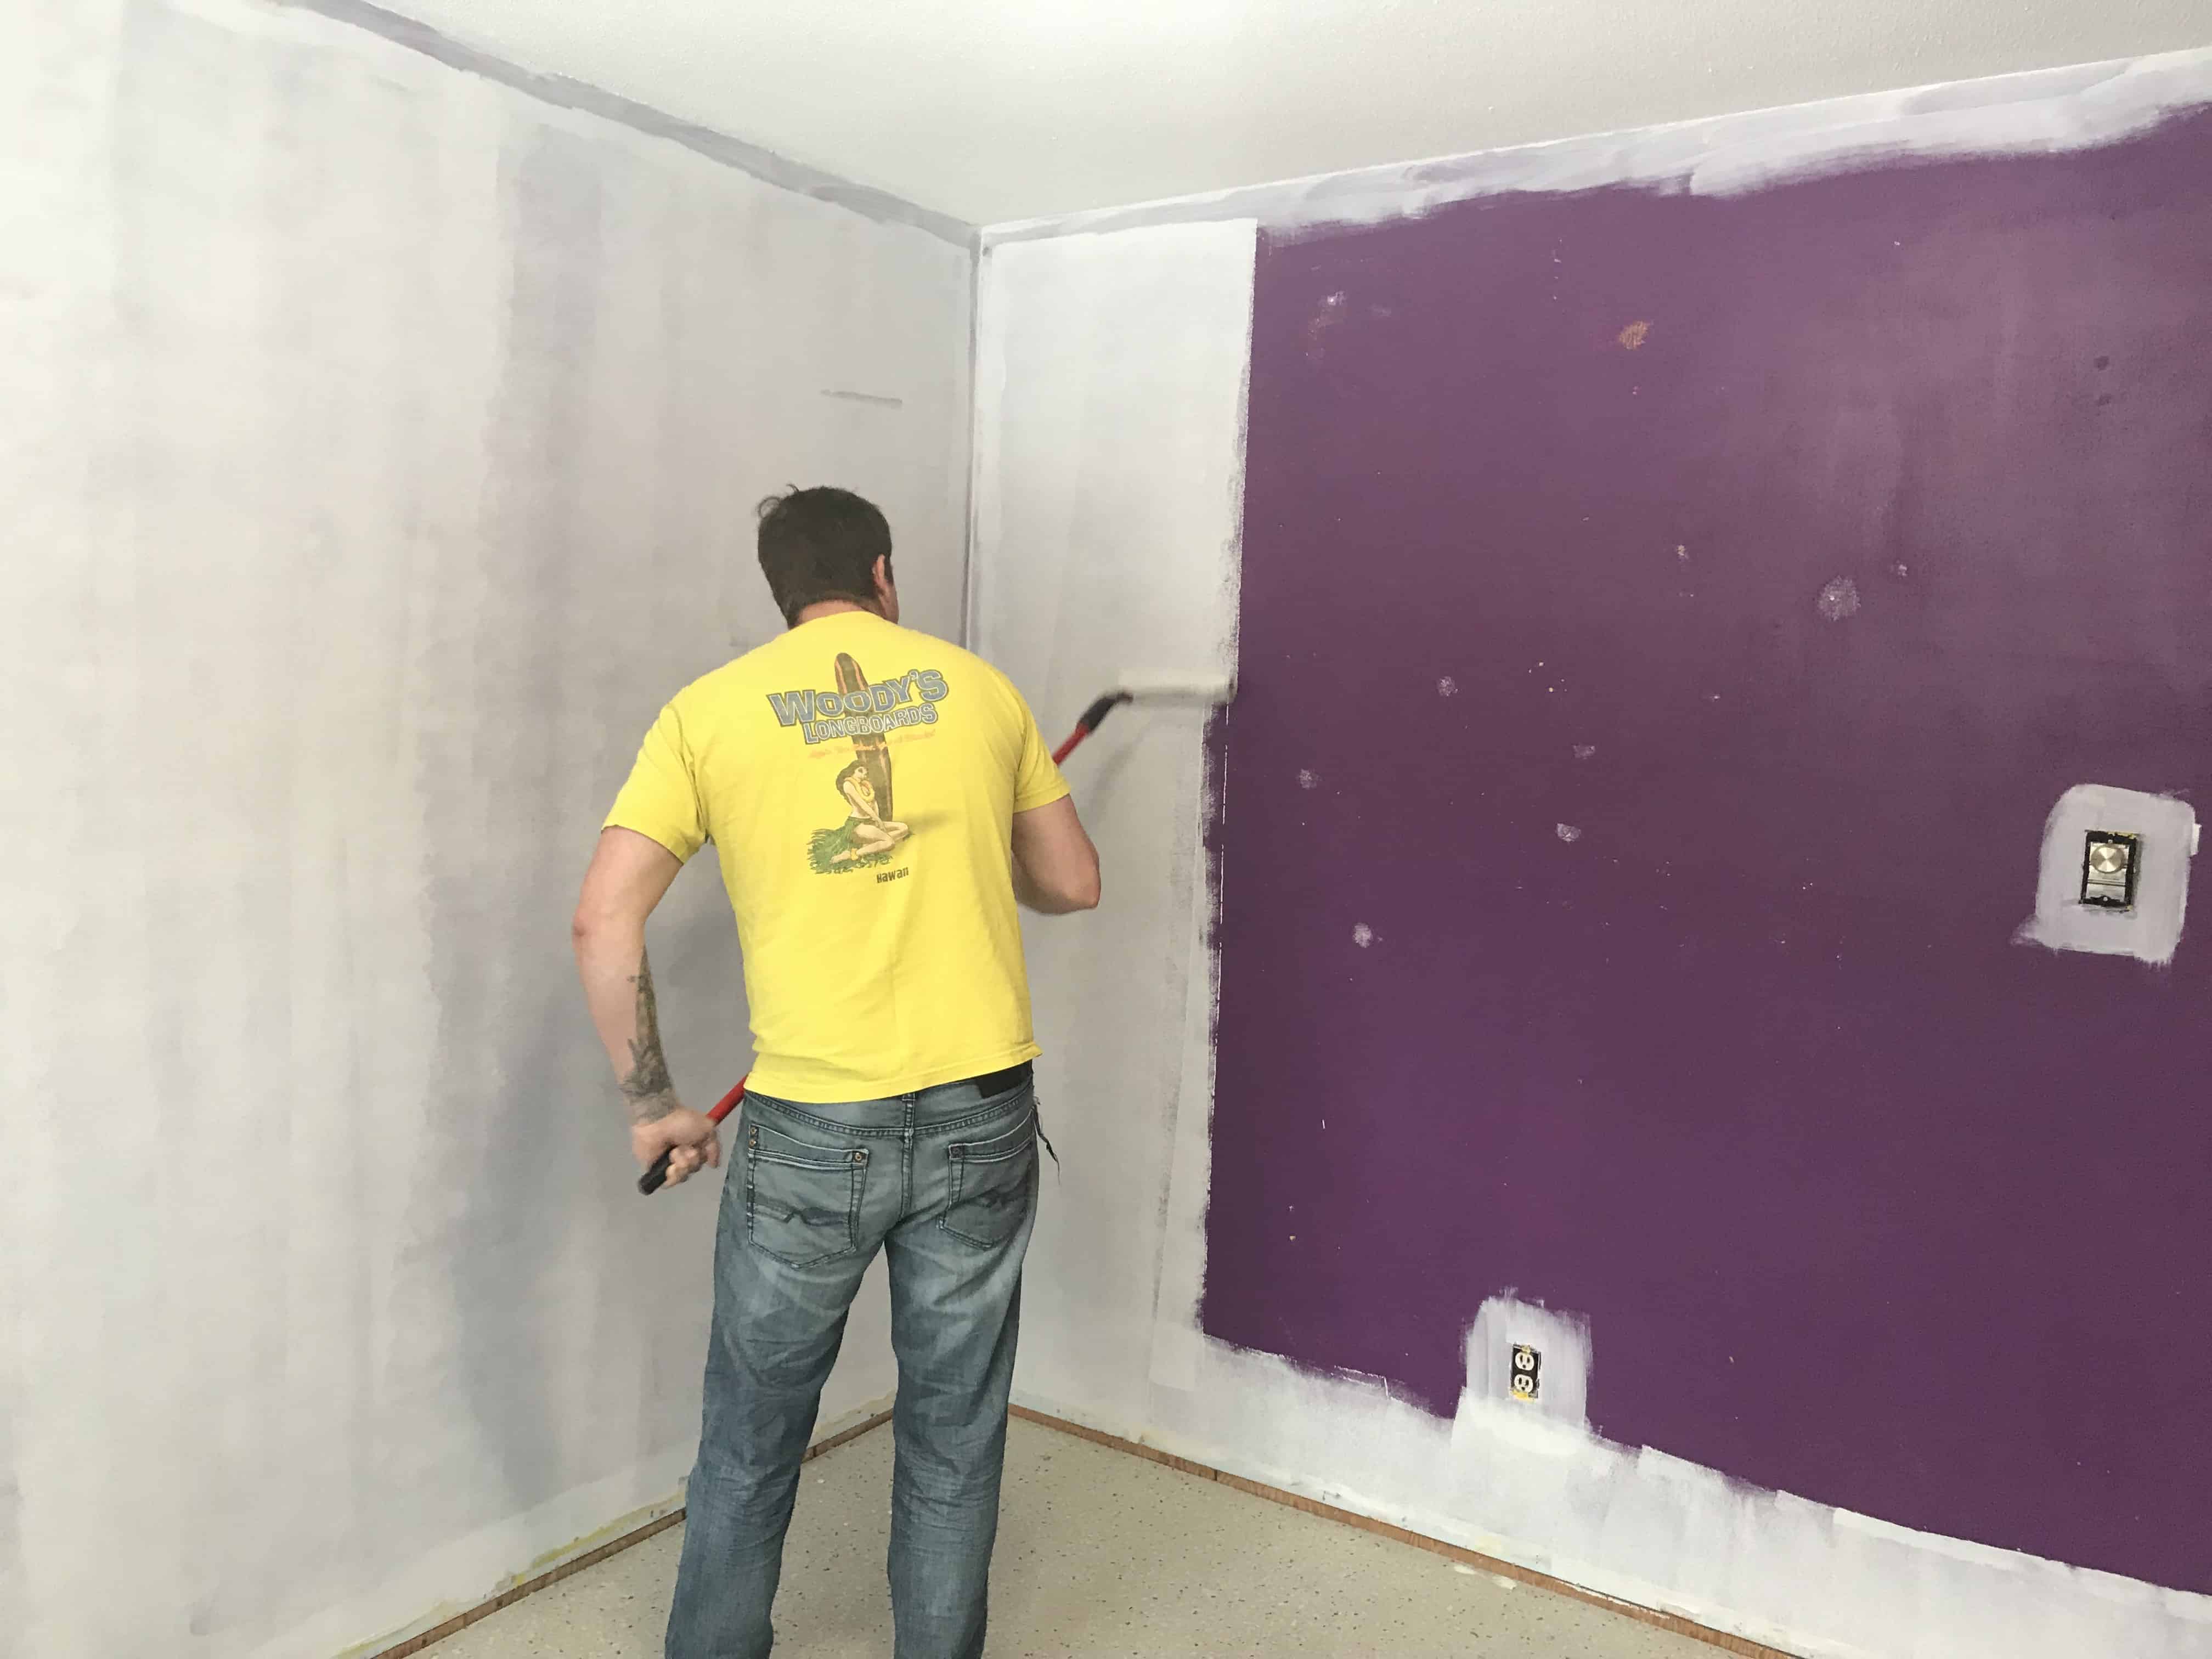
8. Once dry prime and paint. Because we went from dark to light we used one coat of primer and two of paint. The paint was Metallic Grey by Benjamin Moore. It covered very nicely!
9. Lay new carpet / flooring.
10. Measure and cut trim for window and door frame. Oh yeah, don’t forget to paint the door jam and door as well. This is assuming you removed the door too! For the window, we followed THIS tutorial by the DIY Mommy. It was super simple and I loved that it was less angle cuts, which meant the chances of it looking good were better for us! After we cut them, I painted one coat of paint, put them up then did one more once they were on. We did the same for the baseboards and we filled the cracks at the corners with paintable caulking.
12. The curtain rod and curtains were purchased from Amazon (links below). I did have to hem the curtains a bit, but I love that they are the black out ones, they really do keep the light out.
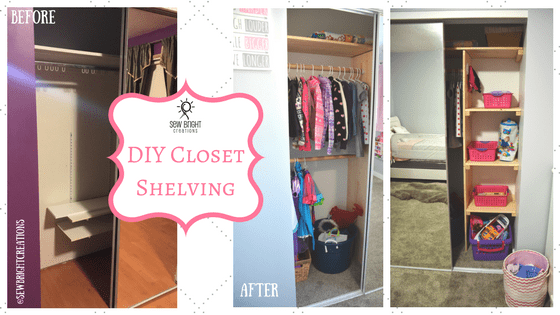
That’s it! Let me know in the comments if you think I’m missing anything on how to renovate a bedroom!
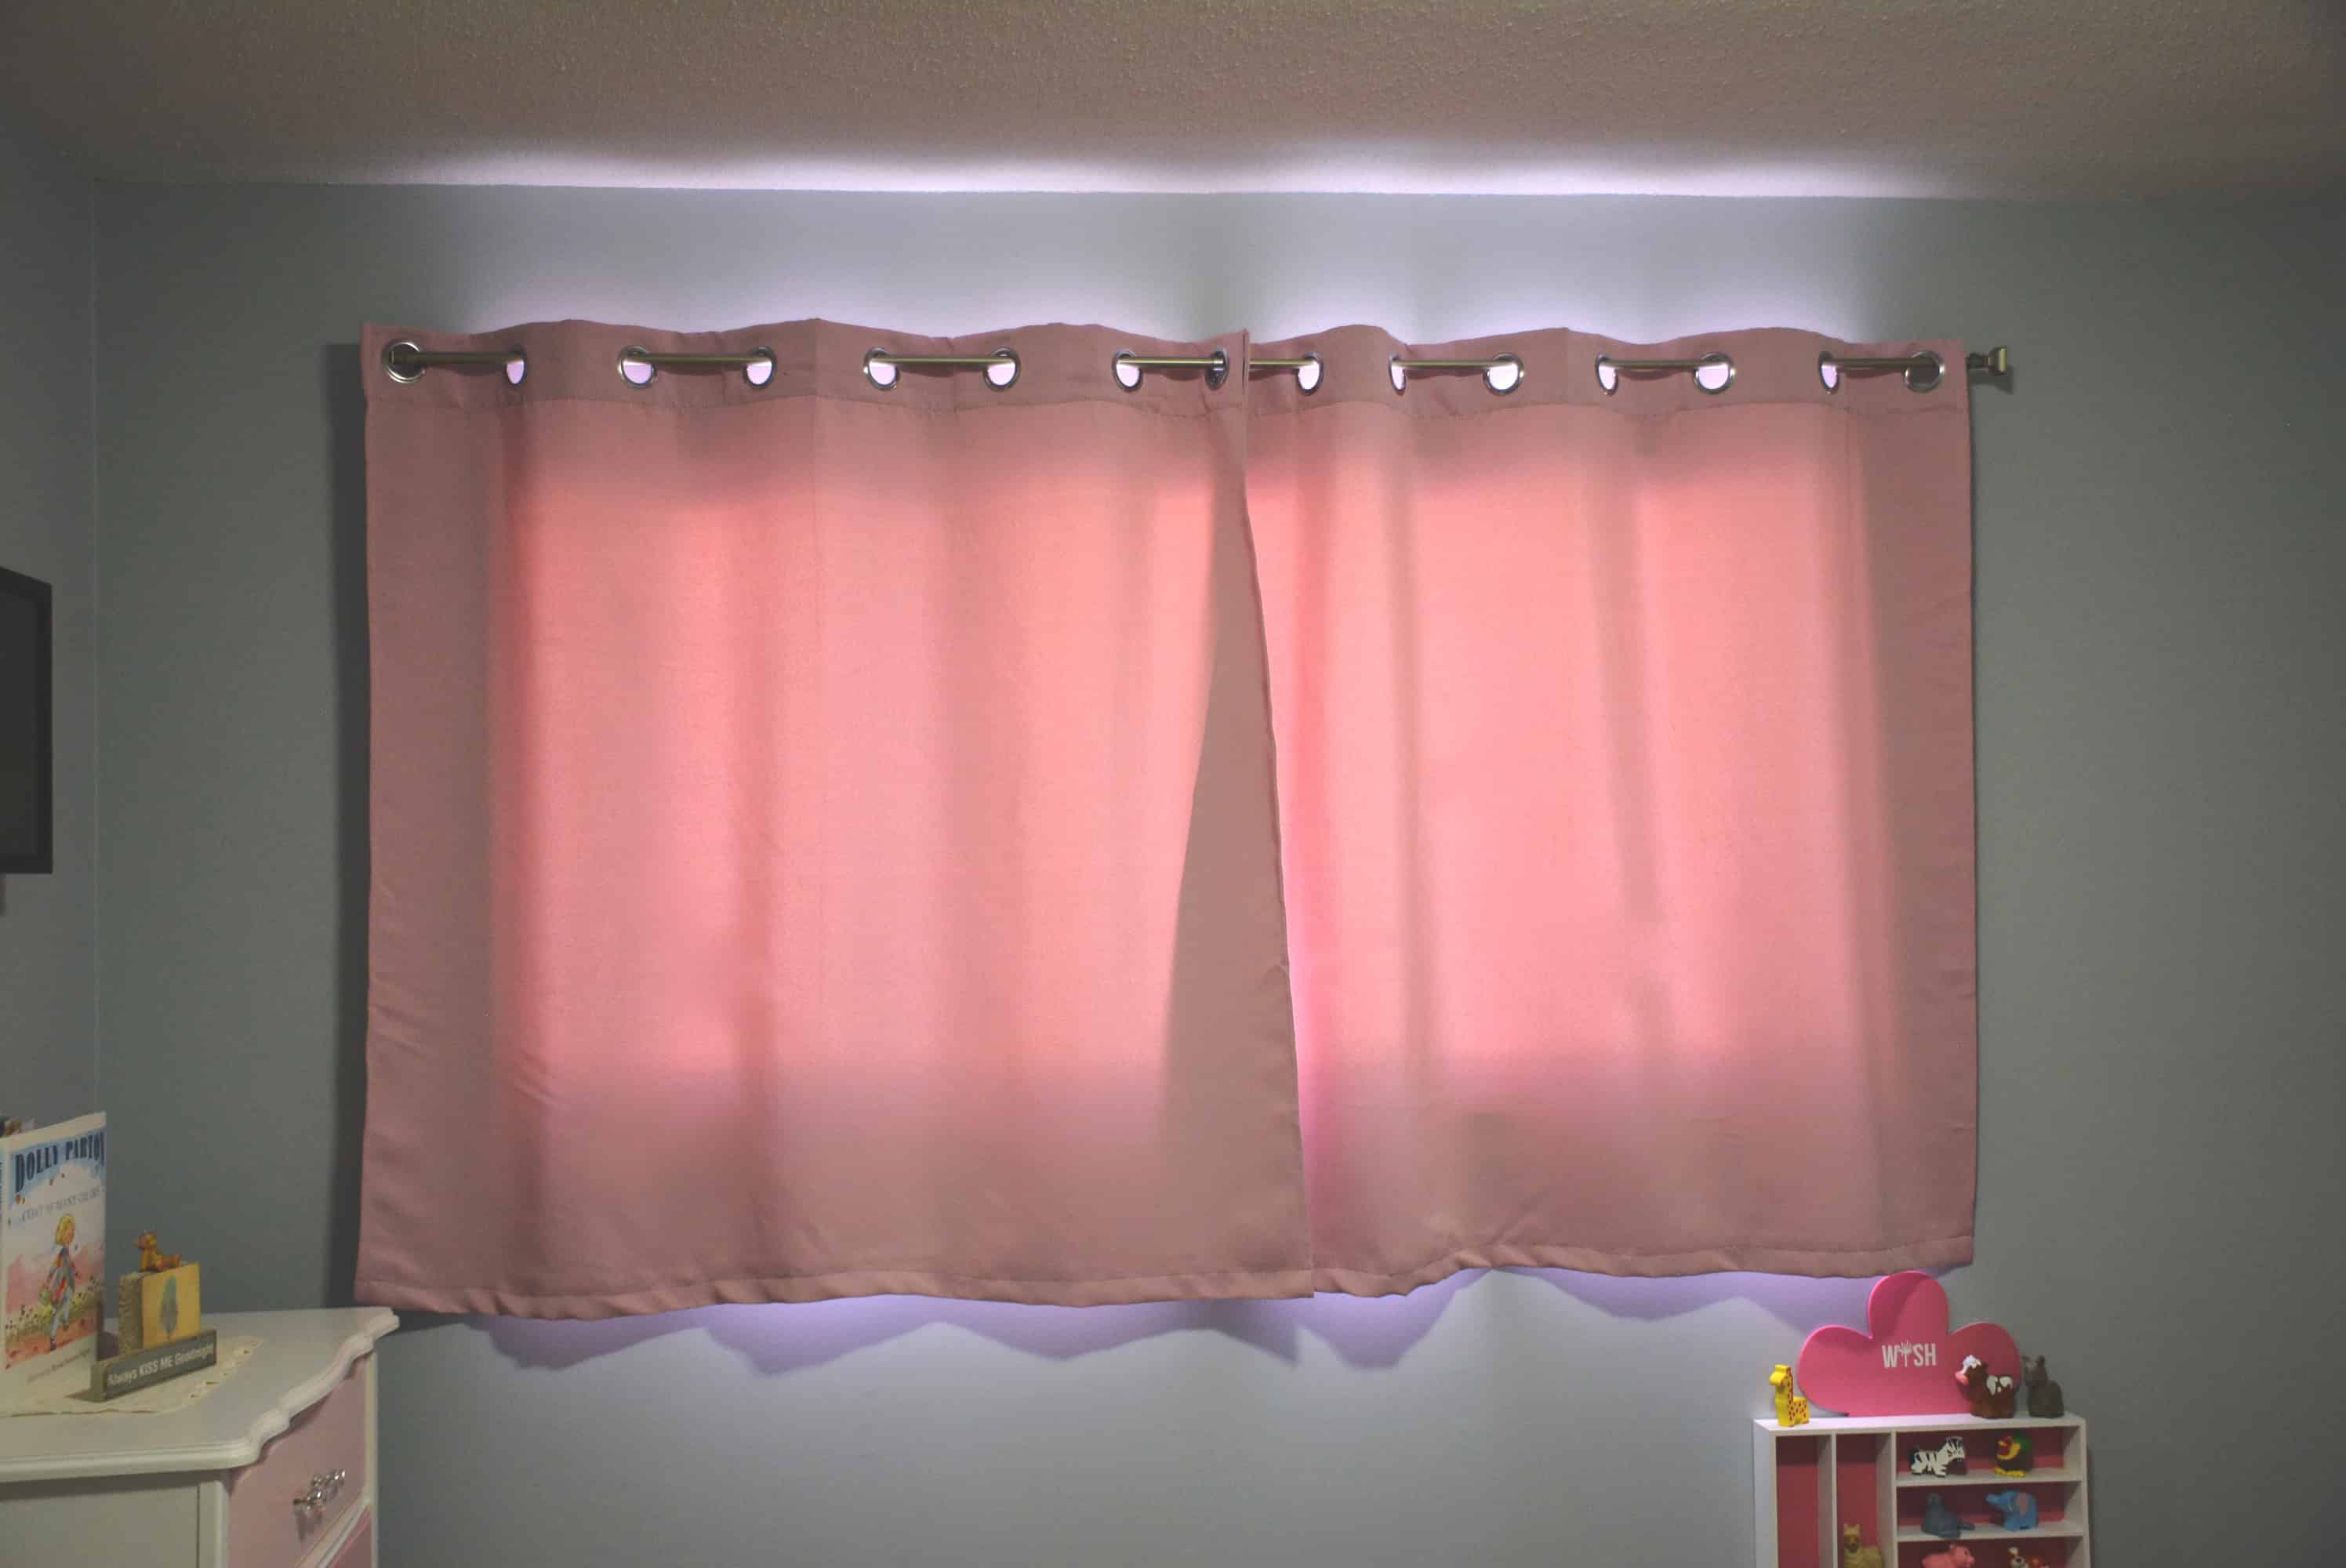
I tried buying the curtains and rod locally, but couldn’t find what I was looking for so I ordered it on Amazon and it came in only a few days! I’ve linked it below.
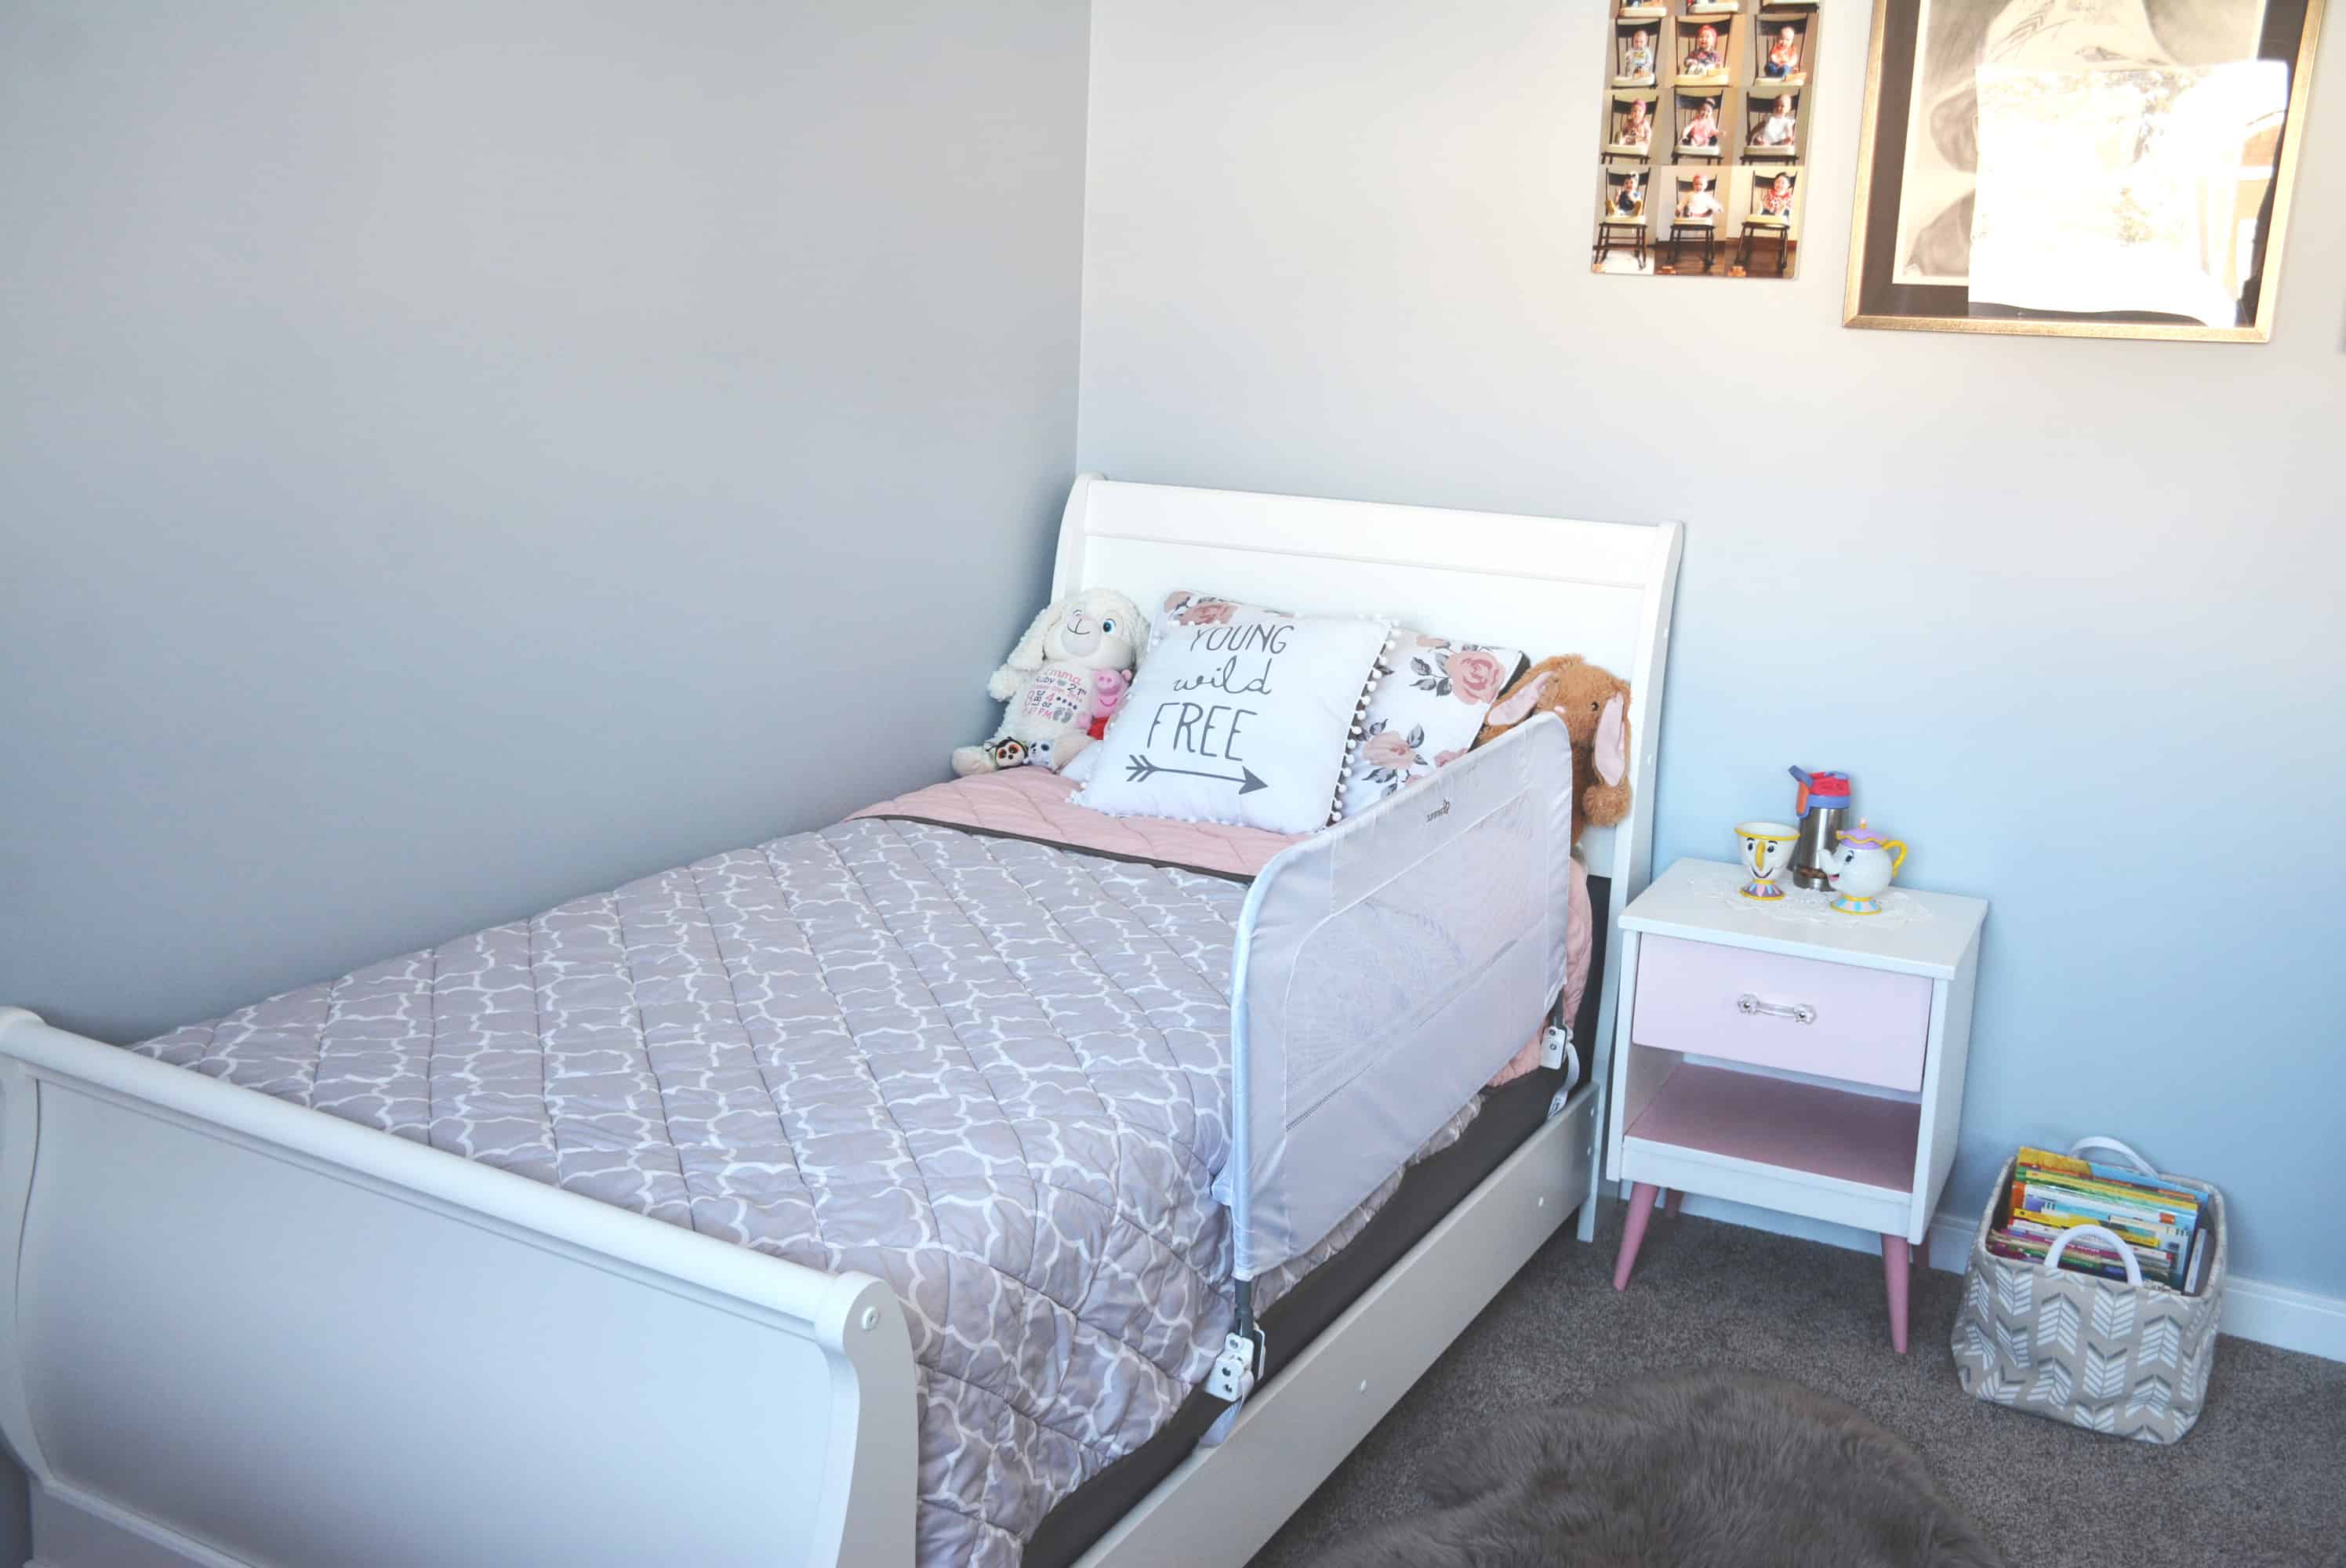
The bedding was also ordered on Amazon (also linked below). I spent HOURS searching in stores and online for just the right bedding! I know…ridiculous, but this comforter is seriously so soft! I have actually enjoyed the nights I slept with our daughter when she was sick.
Shop this post …
This post contains affiliate links; however the opinions and photos are of Sew Bright Creations’. Sew Bright Creations make a small commission when you purchase from the links to help keep this blog going. It is at NO extra cost to you.
Want to collaborate? Email Jackie at sewbrightcreations@gmail.com.

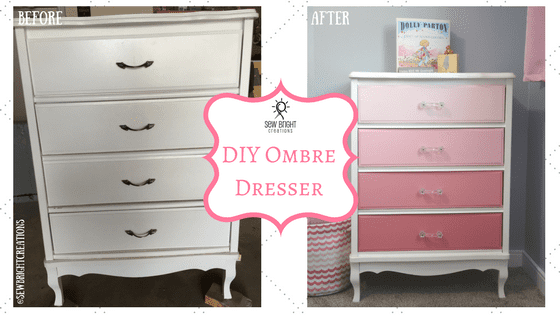
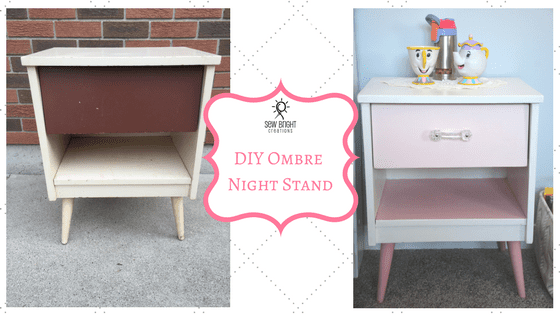


wow all of these changed look great! I’ve been going back and forth about doing some updates at my house.. it is so tough with a little one running all over the place!
It is, but it’s definitely do-able! I try and just work while I can and my husband and I switch off when he’s home.
This is so cute! Definitely saving for later!
Thank you!
One day I’ll be able to attempt a DIY! These are great and I love the end look. Well done.
Thanks so much!