This post is not sponsored however some links may be affiliate, which means I may earn a small commission if you shop using the links. There is NO extra cost to you. The opinions and photos are of Sew Bright Creation’s.
Hi friend! Thanks for checking back in on our One Room Challenge progress! We made it through Week 6 and I’m really excited about my progress! It is 100% not what I had envisioned when I planned this room, but I am so happy it turned out this way!
Click HERE for a recap of the Spring ORC Workshop Renovation.
Let’s talk about what the One Room Challenge is. Have you heard of it? It’s a biannual event that is held every spring and fall. Anyone with a blog or Instagram account is welcome to join the fun. It goes over 8 weeks and each week we share an Instagram or Blog post with an update on on our room. It’s a fun way to connect with other like minded people and be able to encourage each other through all the ups and downs of renovating! You can check out all the other participants HERE.

Before Photos
PROJECT GOAL: Make this space a cozy place for our family to enjoy and hide all the storage 🙂
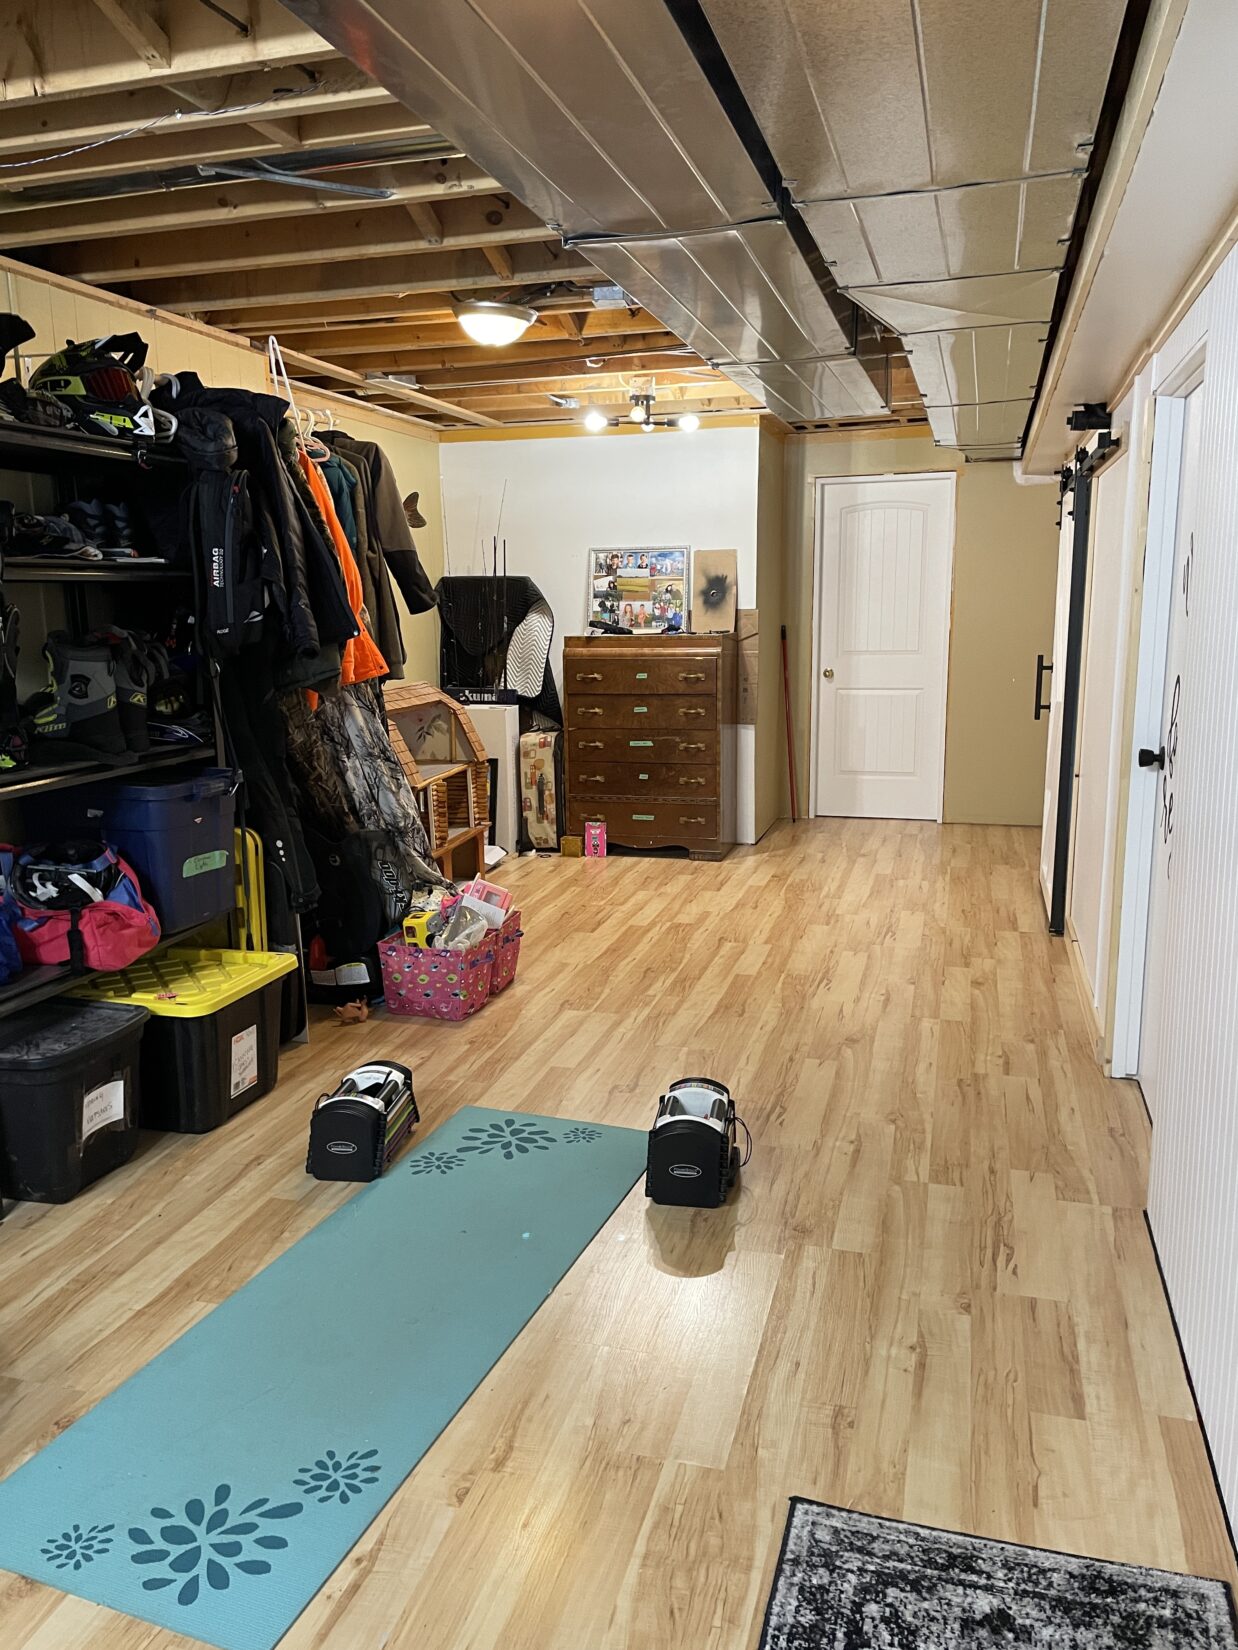
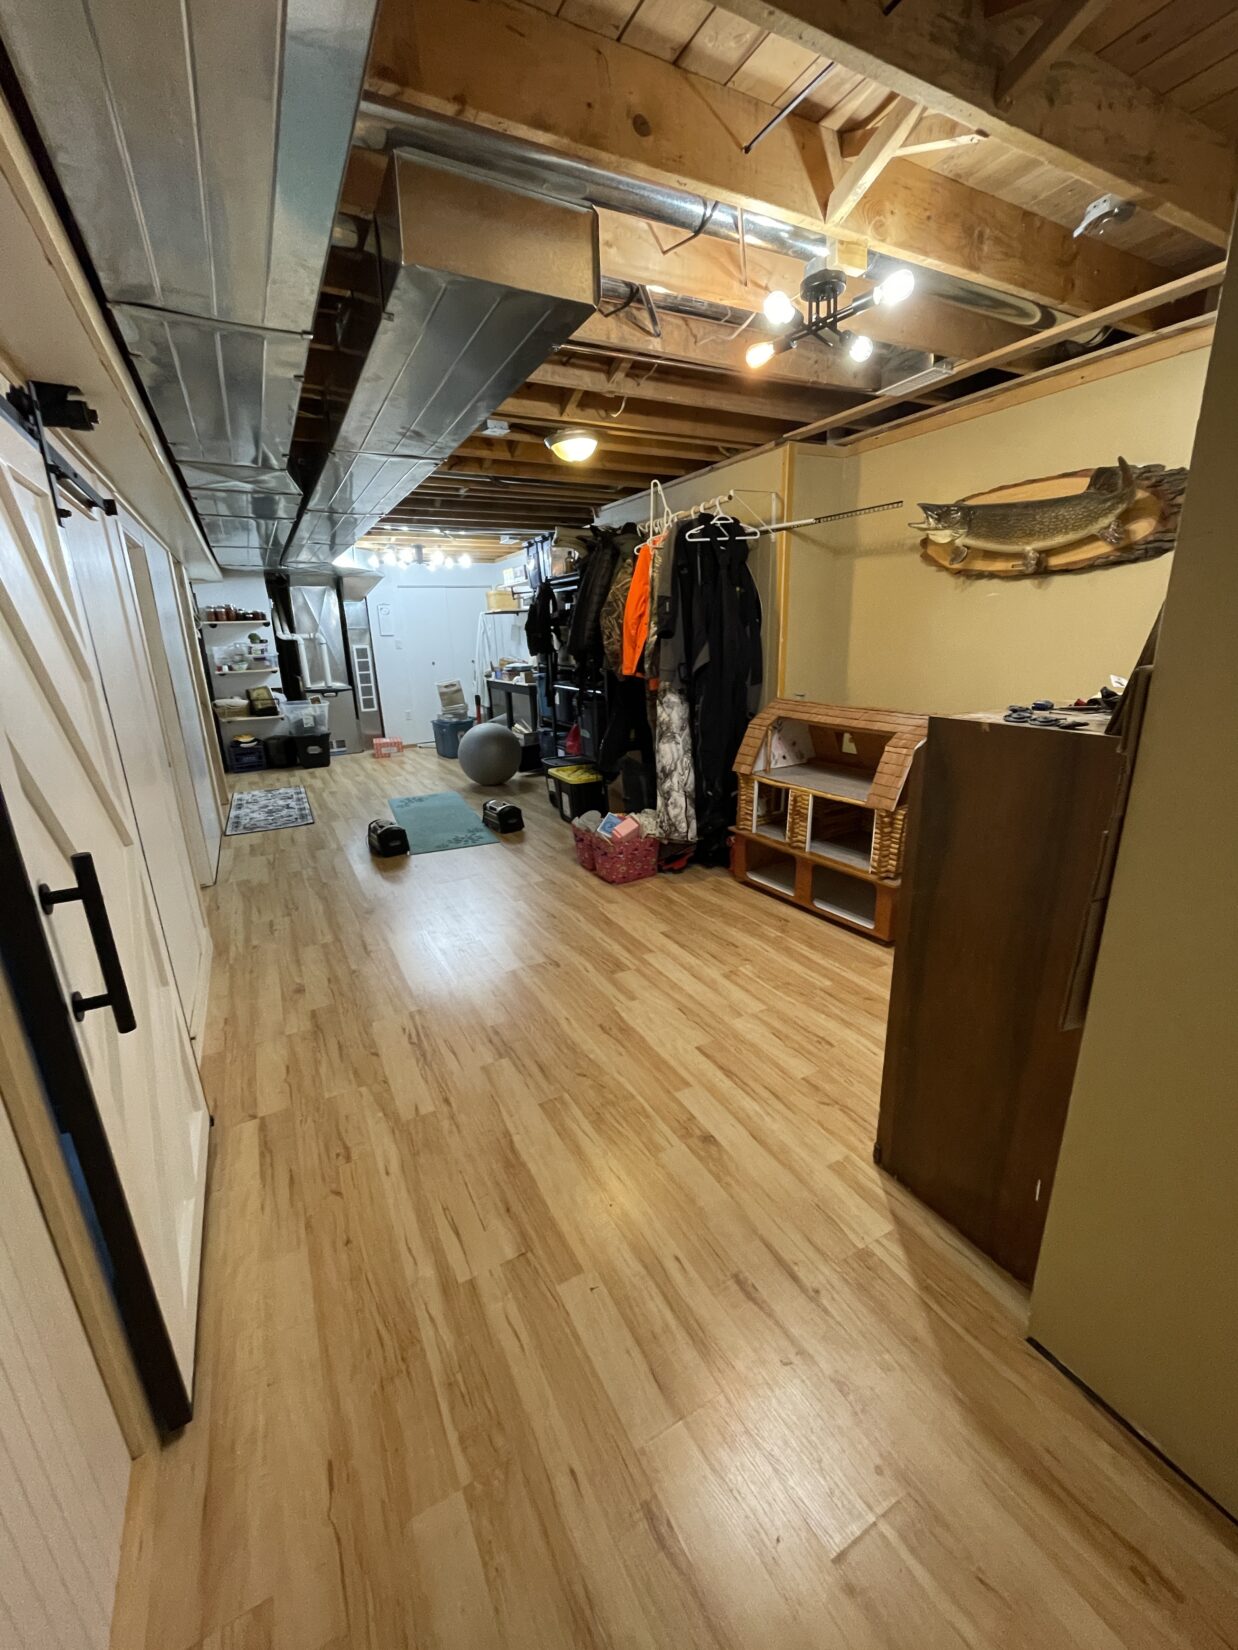
Week 6 Update:
Click the following weeks for past updates:
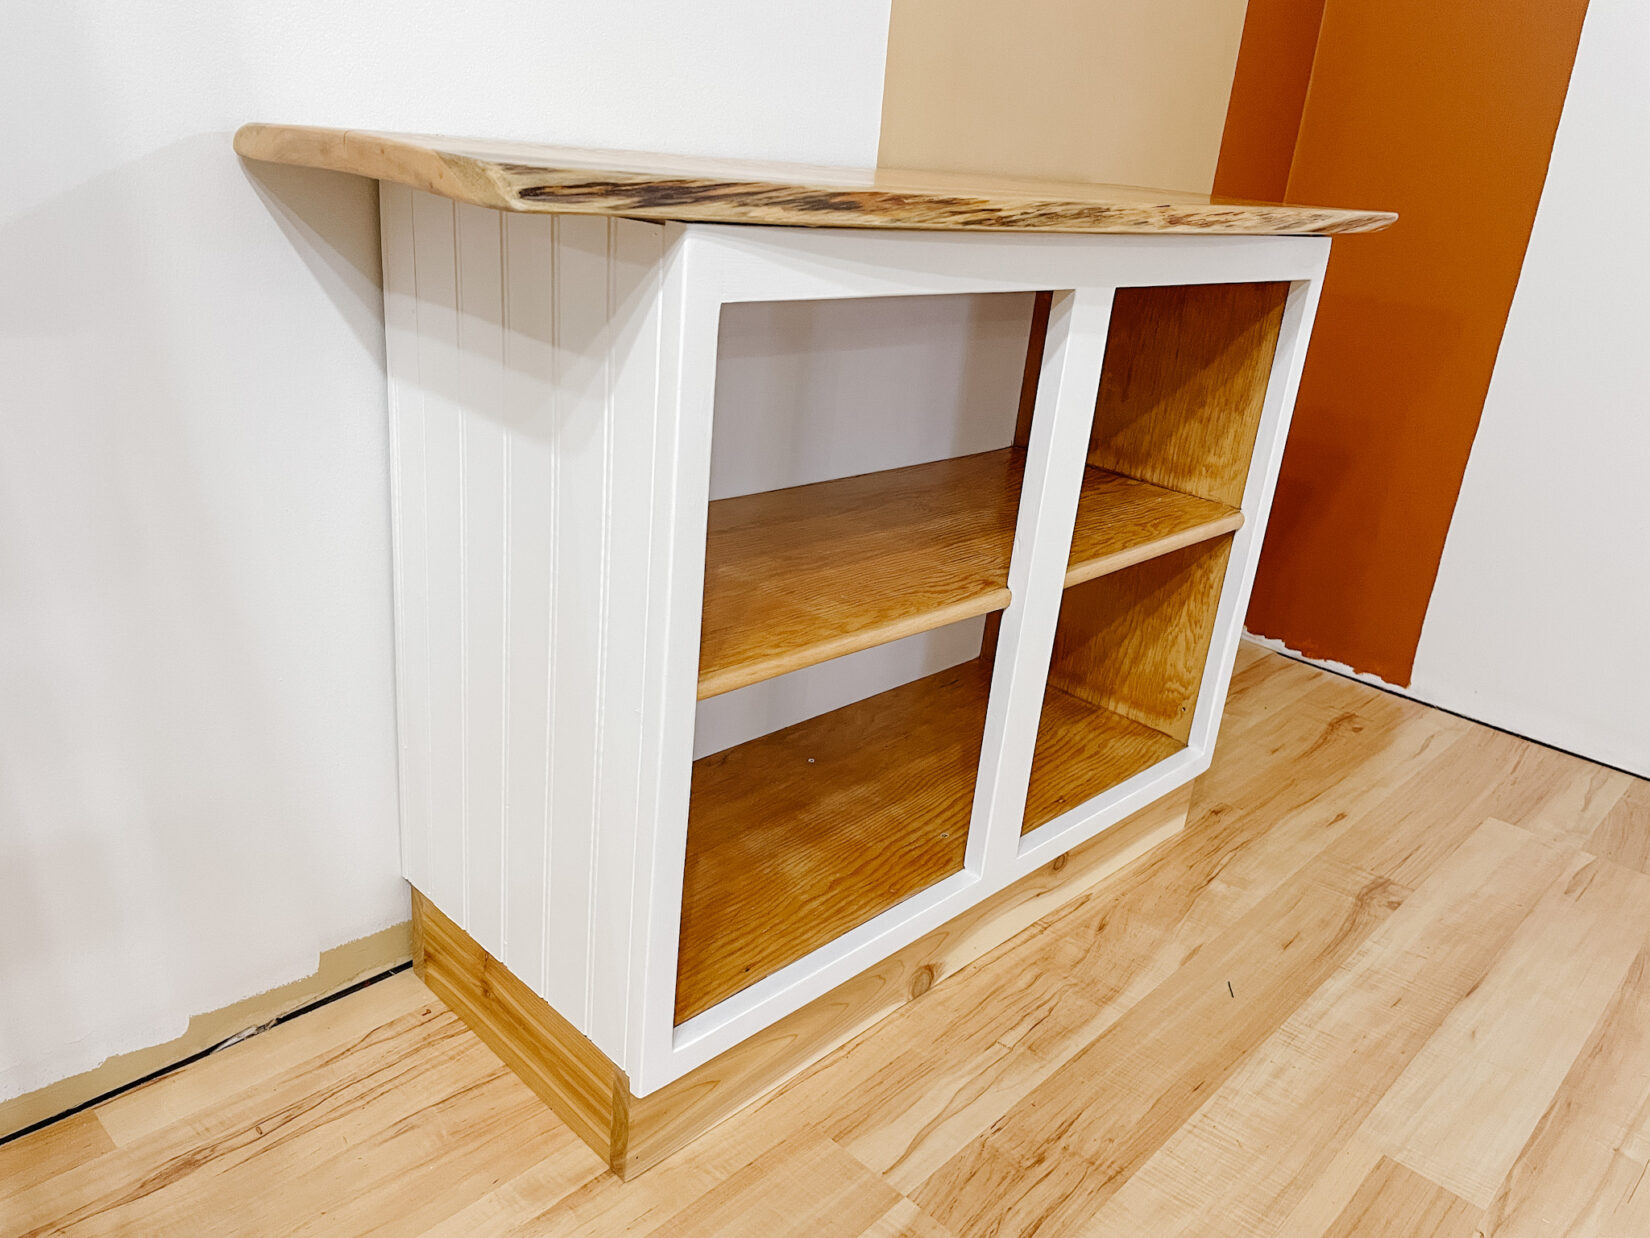
- I found an old cabinet I saved from the workshop renovation and made it into a toy storage!
- I removed the doors and hardware, put bead board on the sides, painted it, put a beautiful cedar board on top and added a base so it sits above the ground. Well, that’s the Cole’s notes version!
Click HERE for a video recap!
You’re not going to want to miss the room reveal, so follow the daily progress on Instagram @sewbrightcreations.
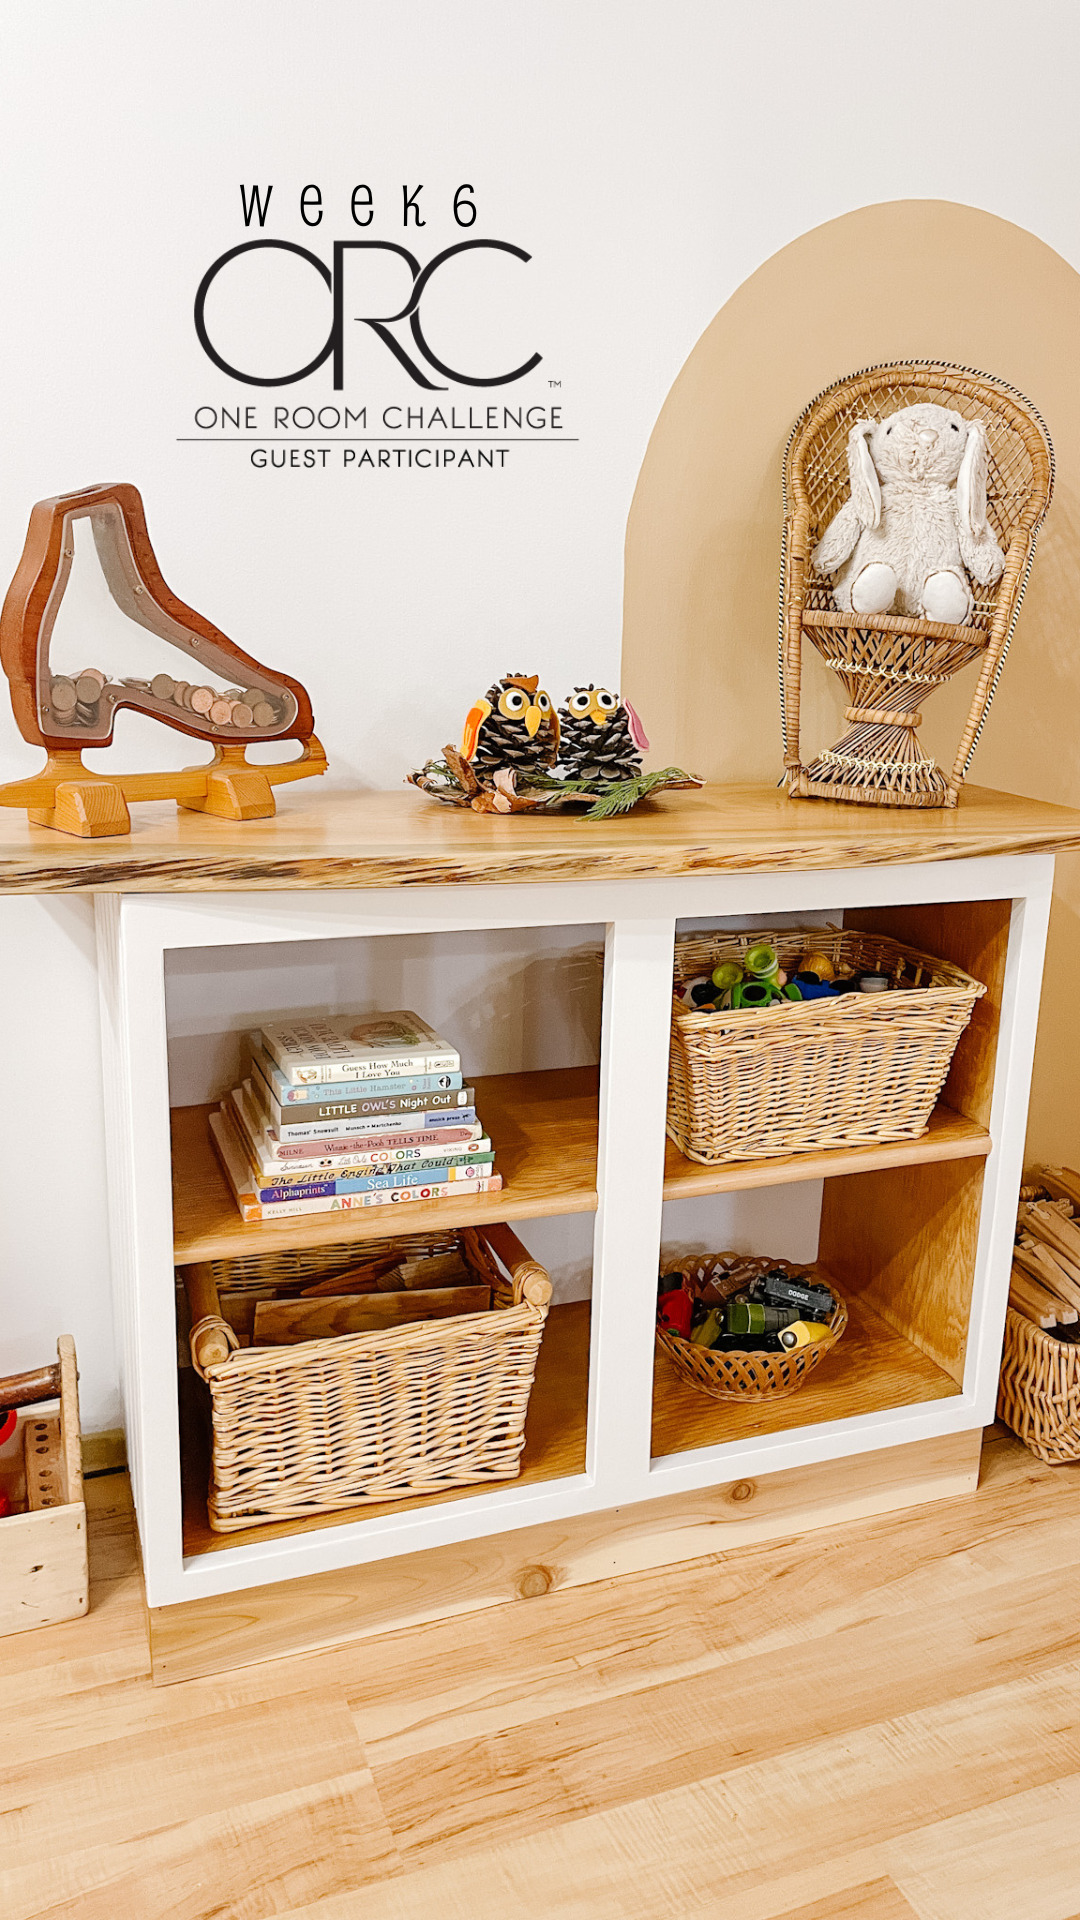
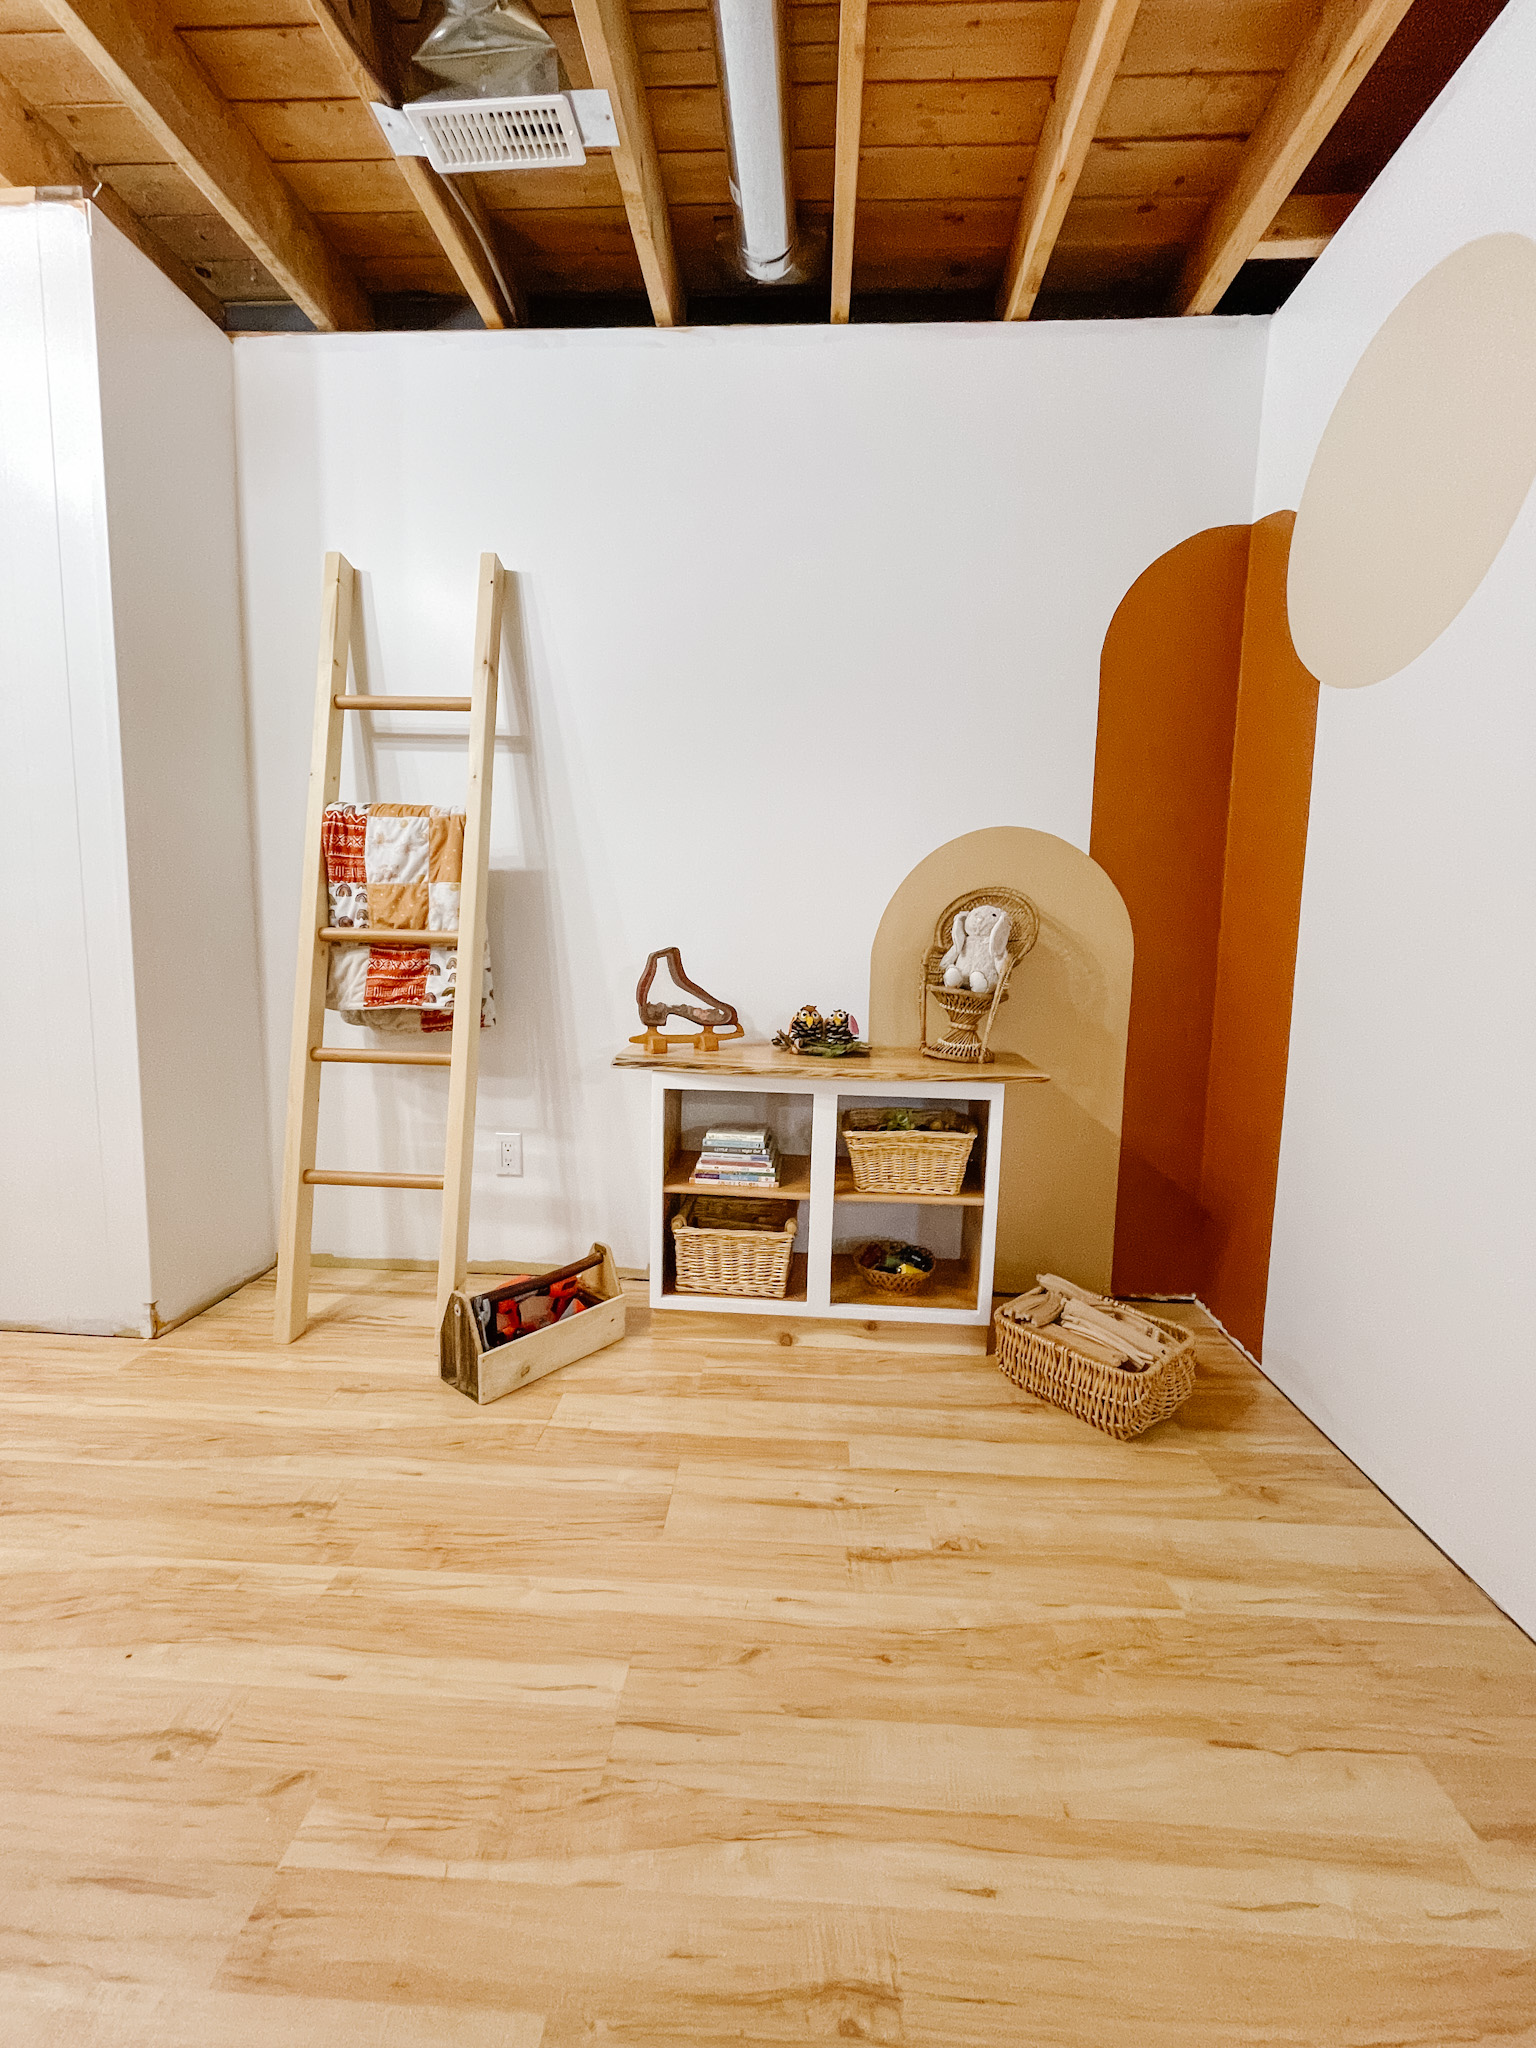



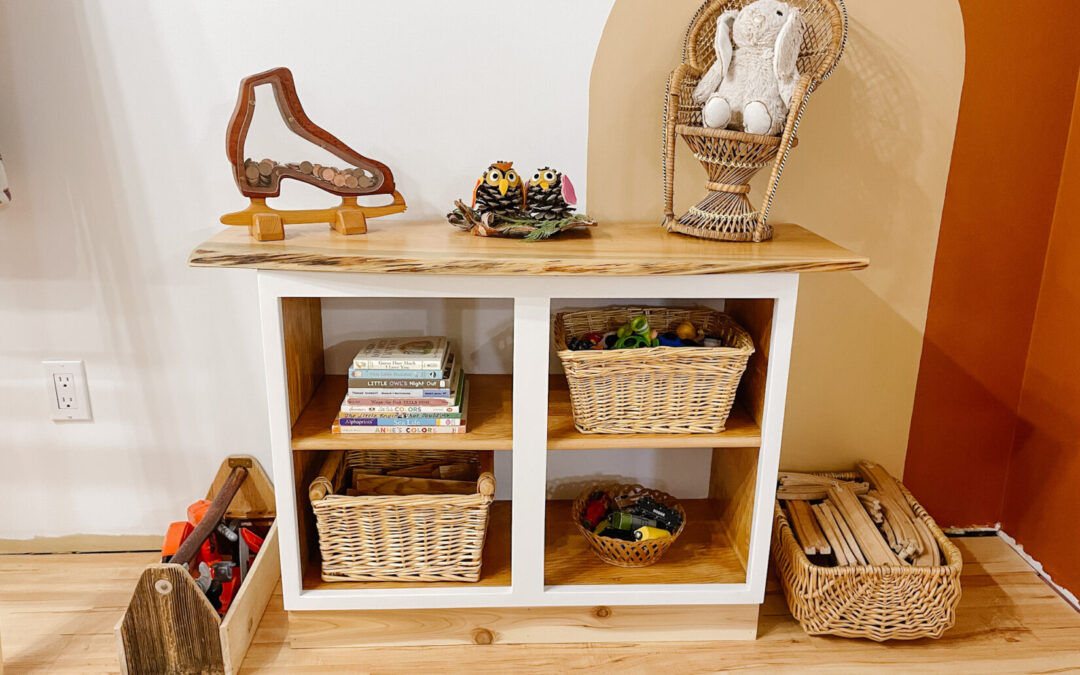
I love so many things about this, right down to the thrifted baskets, thrifted wicker chair, skate piggy bank my dad made me as a child and the toy box my dad made my daughter a few years ago for Christmas, that is now passed down to my son. Oh and the cute owls that my daughter and I made at Girl Guides. I love it all.
Here’s a recap on the progress.. only 2 weeks to go!
- Week 1: Plan
- Week 2: Prep for paint, vacuum ceiling, insulate between joists where the wall meets the outside wall.
- Week 3: Paint
- Week 4: Trim + baseboards (FINISH PAINT) Actual: Paint feature
- Week 5: Start built in storage closet New plan: Toy Storage Actual: Blanket Ladder
- Week 6: Finish built in storage closet New plan: Toy Storage + Trim Actual: Toy Storage
- Week 7: Organization unit and a surprise little project New Plan: Trim + Door Hardware
- Week 8: Touch ups, decor and reveal!!
Any questions! Let me know in the comments!
We would love to see your projects! Please share with us by tagging us on Instagram @sewbrightcreations or email them to sewbrightcreations@gmail.com.
Shop this post …
|| some links are affiliate links where I may earn a small commission at no extra cost to you, if you shop by clicking on my links. Your support is always greatly appreciated! ||
These links are Canadian Amazon, but you can shop my American Amazon HERE.



Just found your site recently and I’m very inspired!I downsized by 2/3 after my husband died. My space is clean and freshly painted, but honestly, looking a bit spare and barren. I’ve never been very crafty, but now that I’m retired, I’m going to try! Thank you!
So glad you’ve found my little creative online space!! Happy Crafting!!