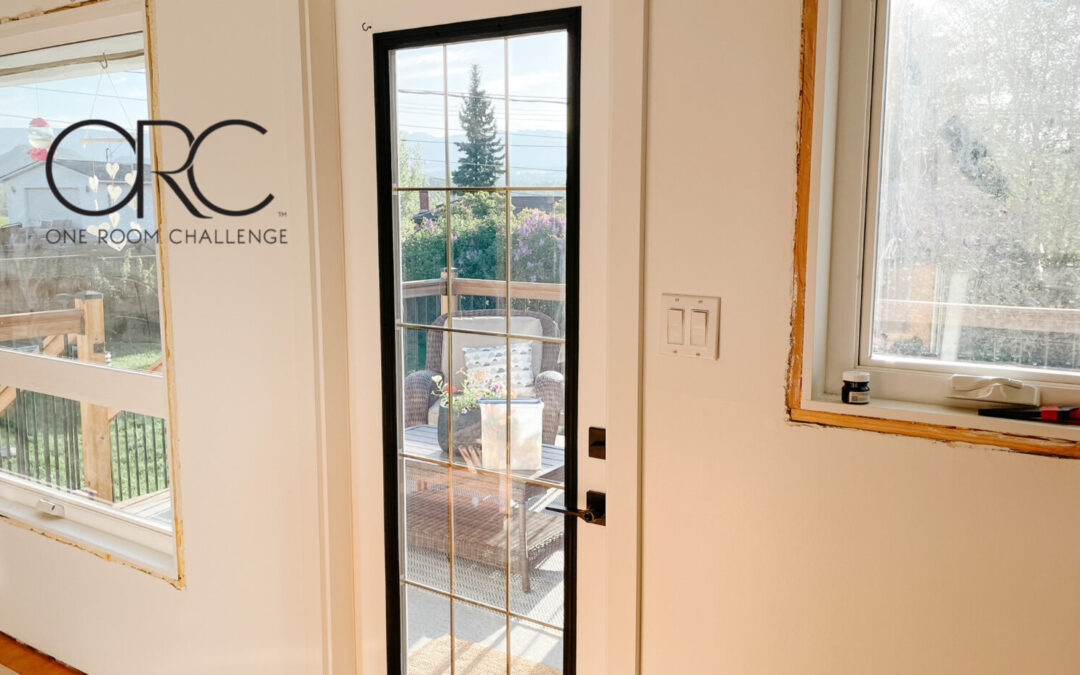
It’s week 7 of the One Room Challenge and I completely transformed our door! I wanted so badly to replace the glass to get rid of the gold grids, but it just wasn’t in the budget so I found a new way to get rid of them for a fraction of the cost! Yes, I spent under $100 for this DIY exterior door refresh. Keep reading for the full cost breakdown and to see what I did!
FYI, ORC = One Room Challenge, you’ll see this acronym a lot over the next 8 weeks!
Click HERE for a recap of the Spring 2022 ORC Workshop Renovation and HERE for a recap of the Fall 2022 ORC Basement Living Room Renovation.
First, let’s talk about what the One Room Challenge is. Have you heard of it? It’s a biannual event that is held every spring and fall. Anyone with a blog, Instagram or TikTok account is welcome to join the fun. It goes over 8 weeks and each week you share an update on on our room. It’s a fun way to connect with other like minded people and be able to encourage each other through all the ups and downs of renovating! I highly encourage you to check out all the other participants HERE.

DIY Door Refresh
I thought about removing the glass inserts, taking and glass apart and spray painting the grids black, however I did consult a glass expert and they advised that it is possible, however over time, moisture will get in between the glass as it is a sealed unit and I’d be breaking the seal when I take it apart. I thought long and hard about doing it (what an epic DIY that would be), but I just couldn’t go through all that work only to be disappointed by moisutre and then stuck having the replace the whole door. A new glass insert with black grids was around $800 and a plain glass insert was about $300, but I decided to leave it as is and try something else. Actually, Mr.Sew Bright had to talk me off a ledge not to remove it haha!
Here’s a couple before photos.
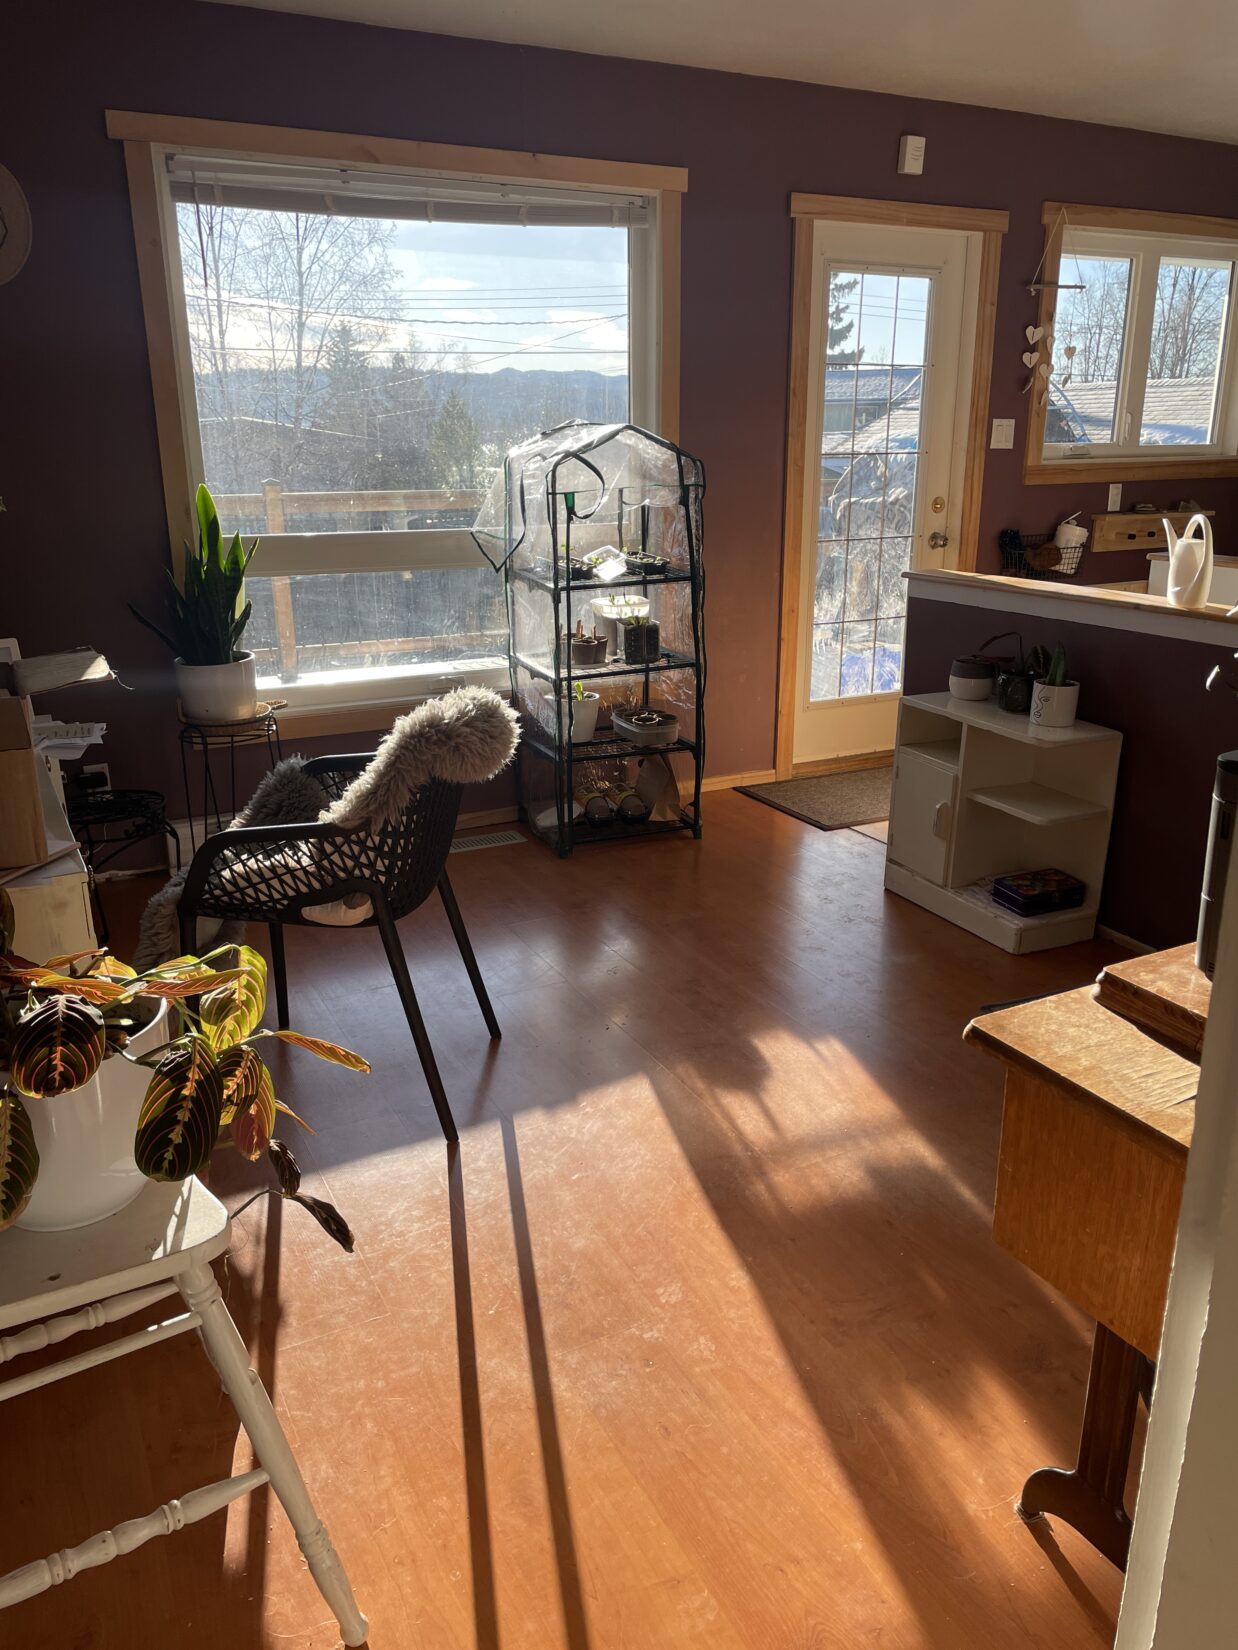
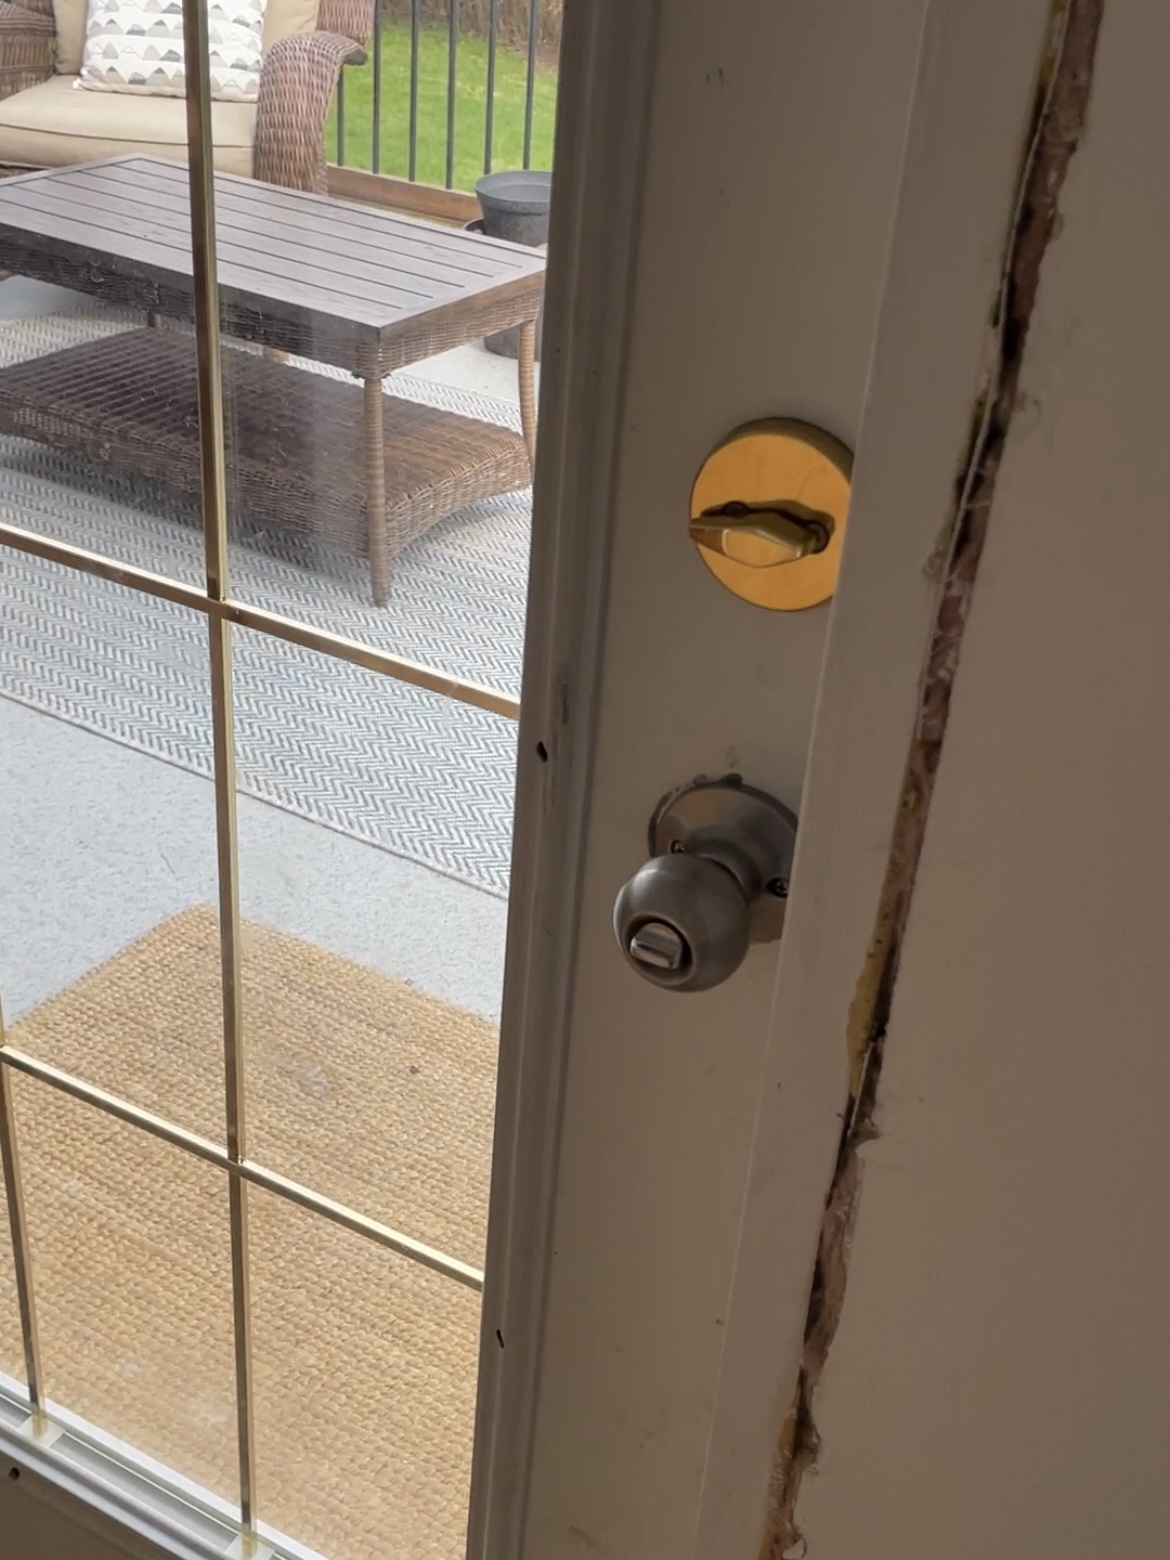
DIY Door Refresh – paint
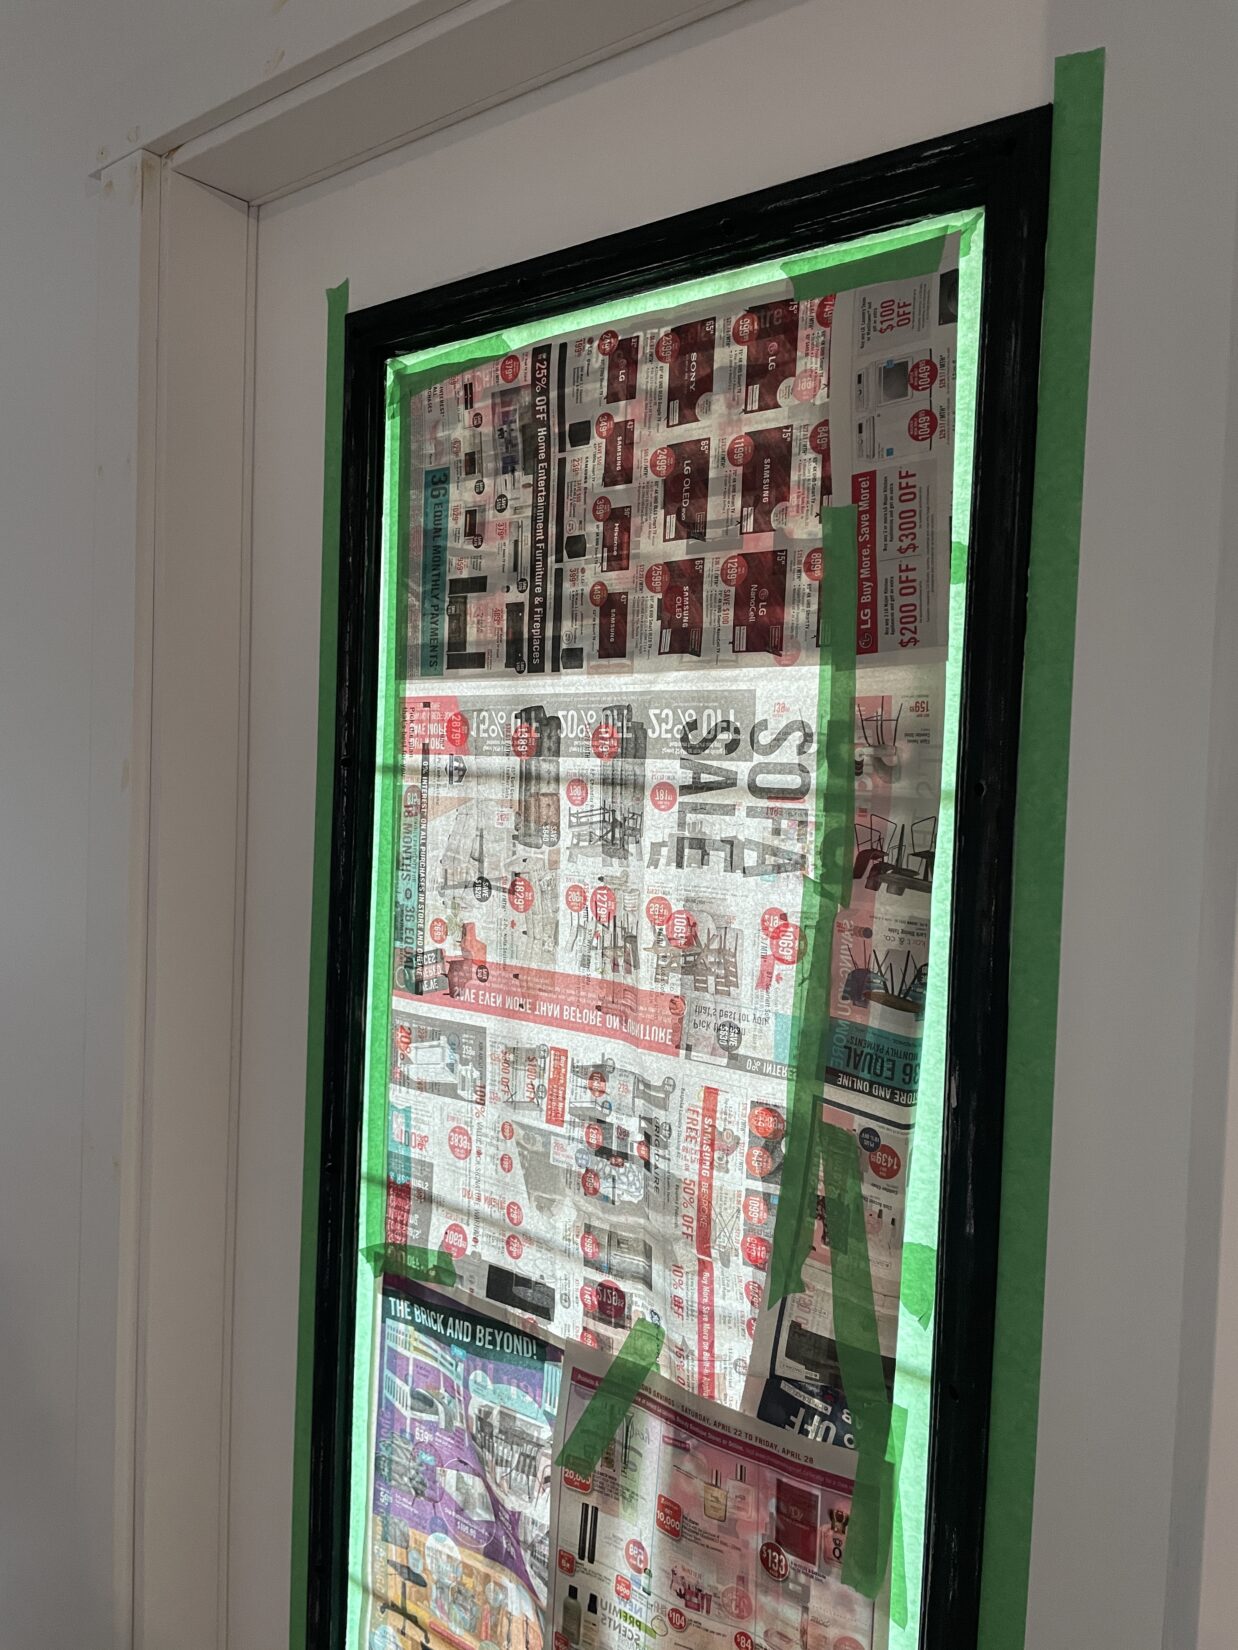
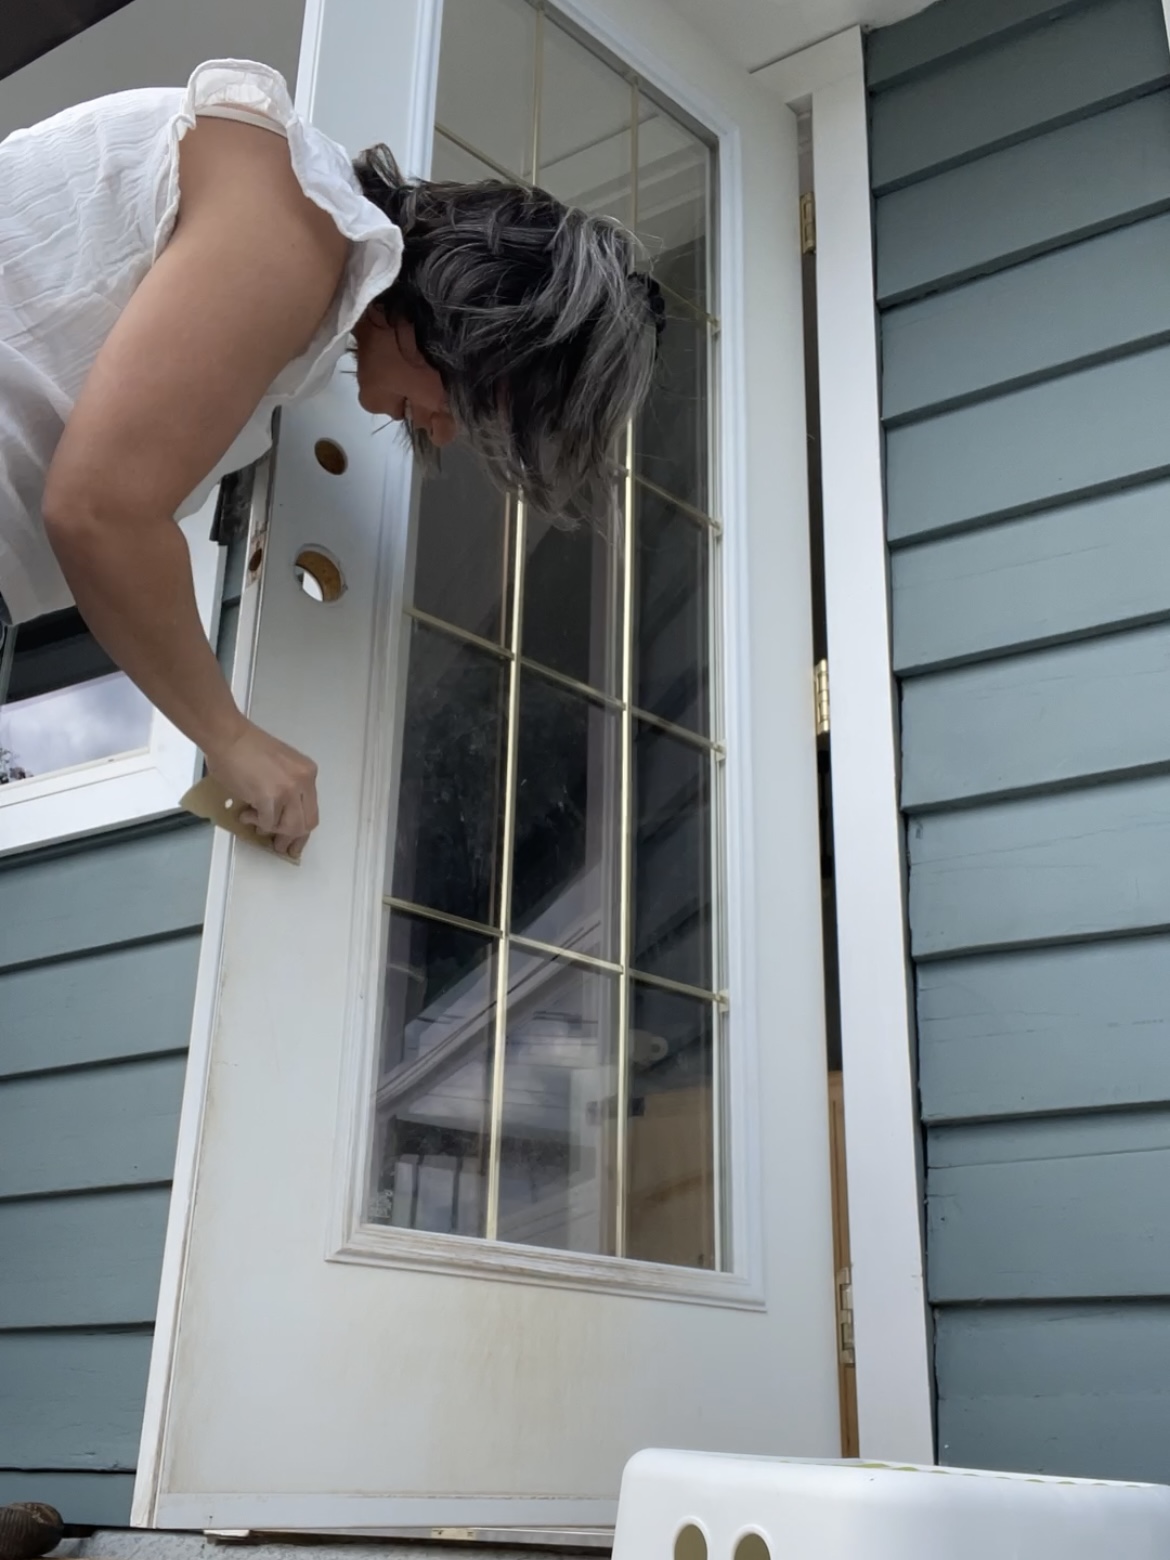
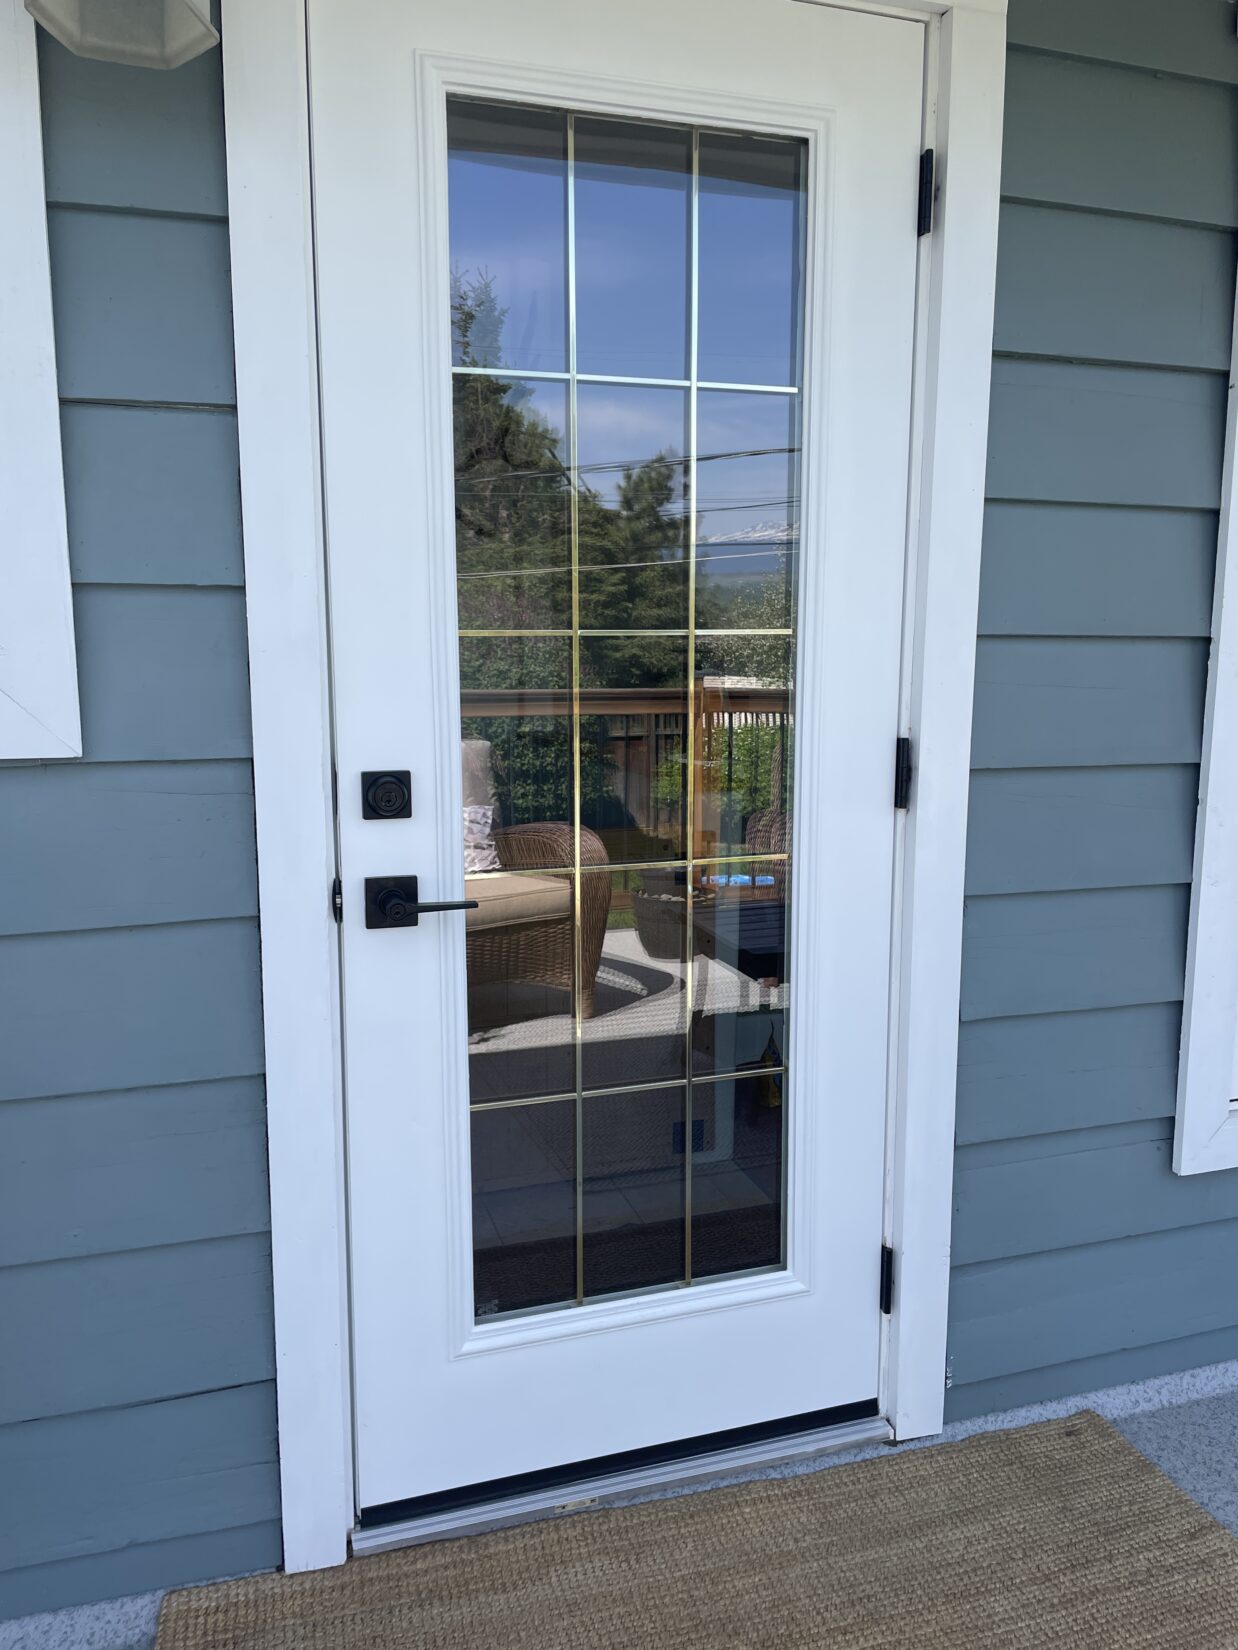
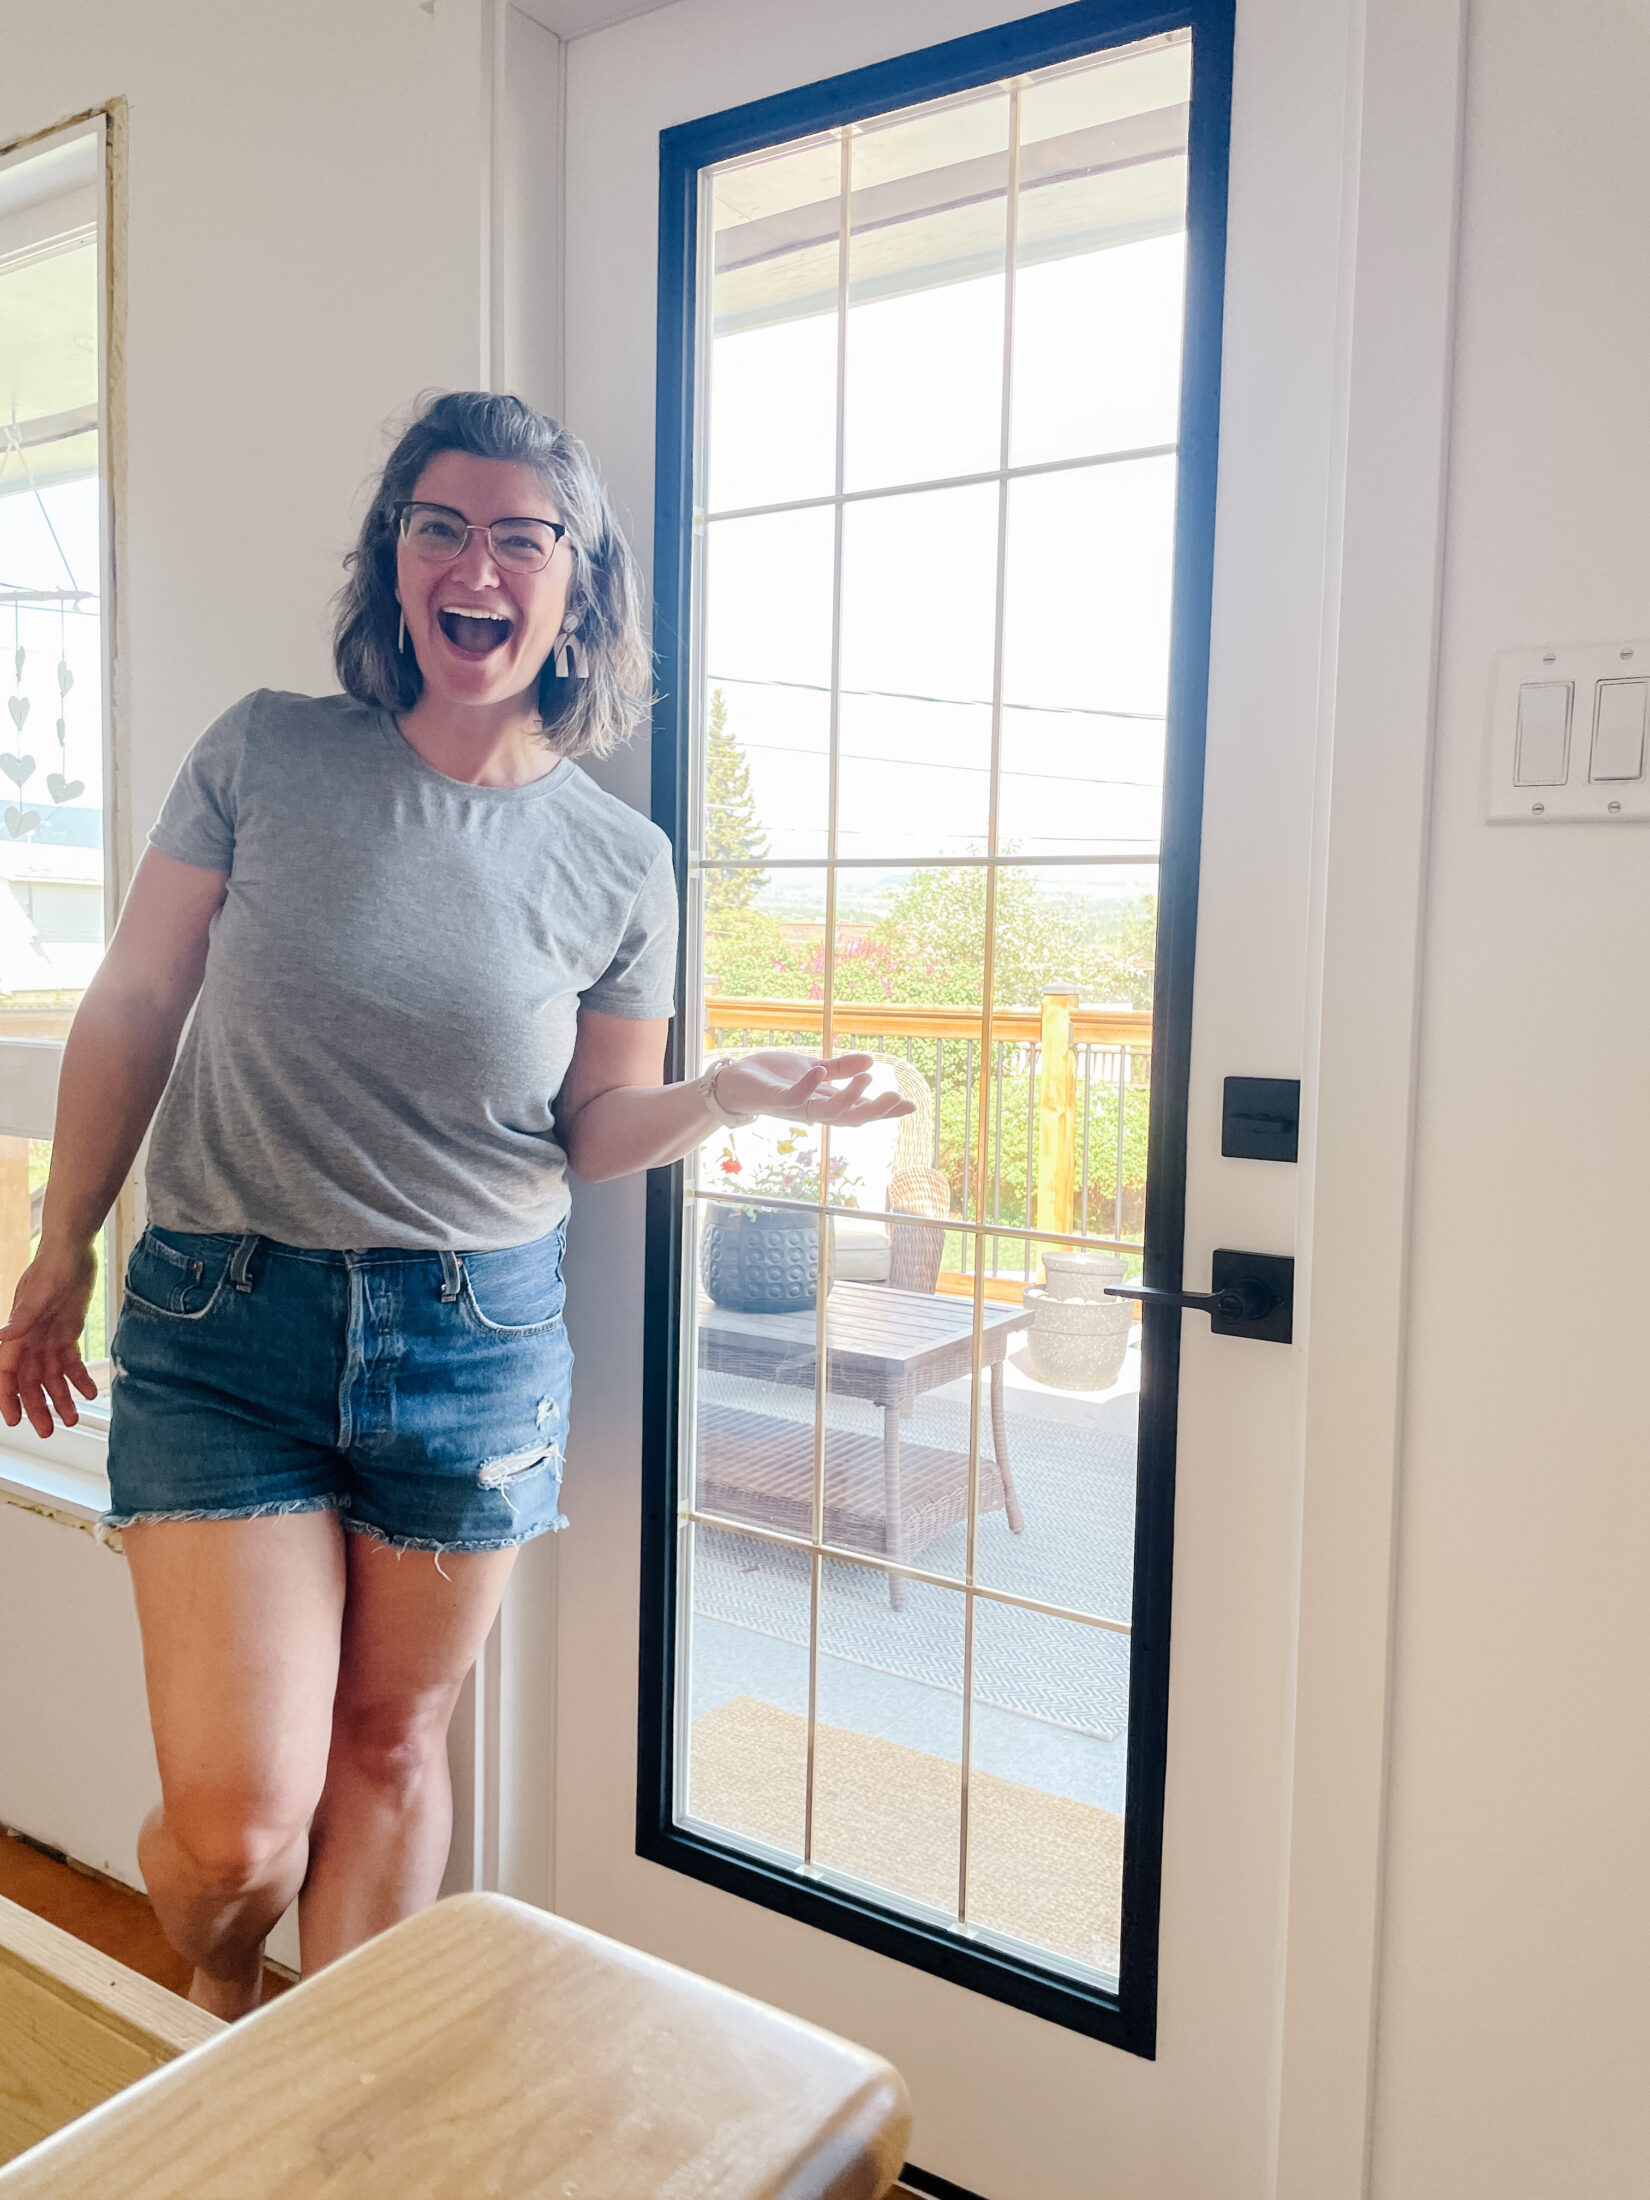
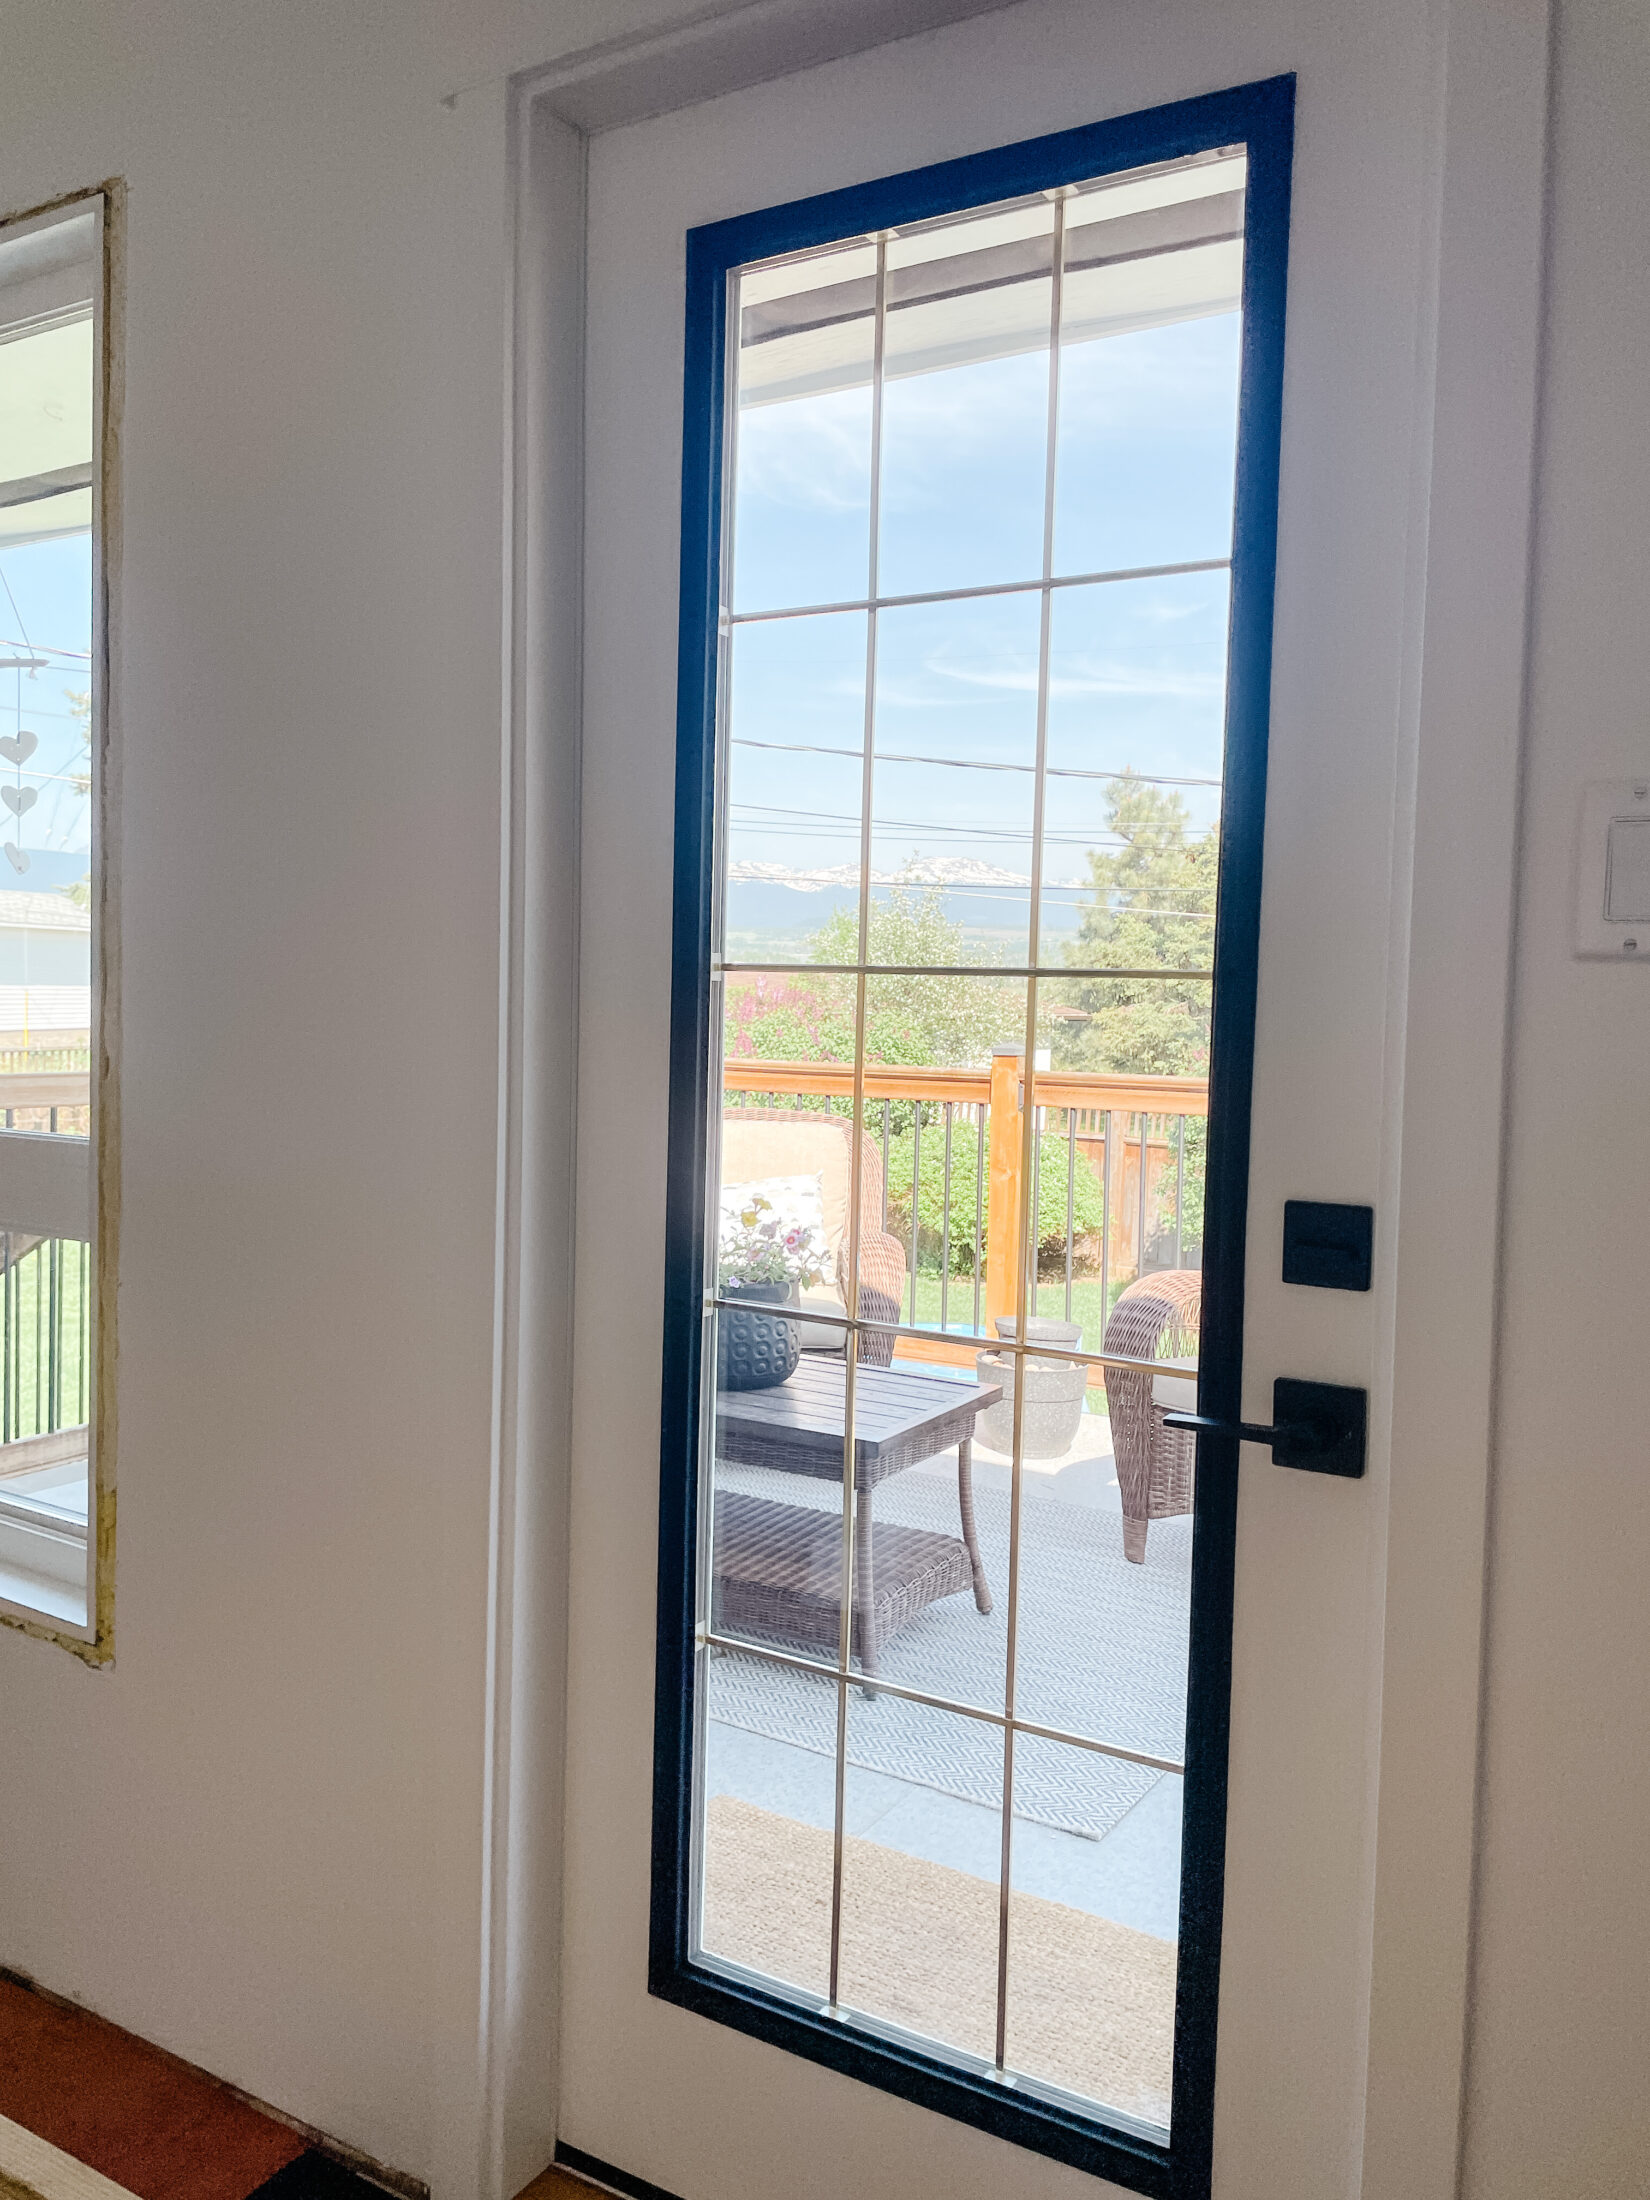
To remove the gold grids, I didn’t actually REMOVE them, I painted around them, which I think made them less noticeable! I painted the door white, using exterior latex paint and the plastic trim around the window insert Matte Black with Rustoleum spray paint. I tried a few different types of paint, but I’ll save you the drama and tell you, just take the time to use spray paint! Also make sure to clean, sand and clean before you paint any surface on the door. I’ve linked my favourite black spray paint below, I use it for all the things and it holds up super well.
I think painting the glass insert trim any colour would make the gold grids less noticeable!
DIY Door Refresh – the hardware
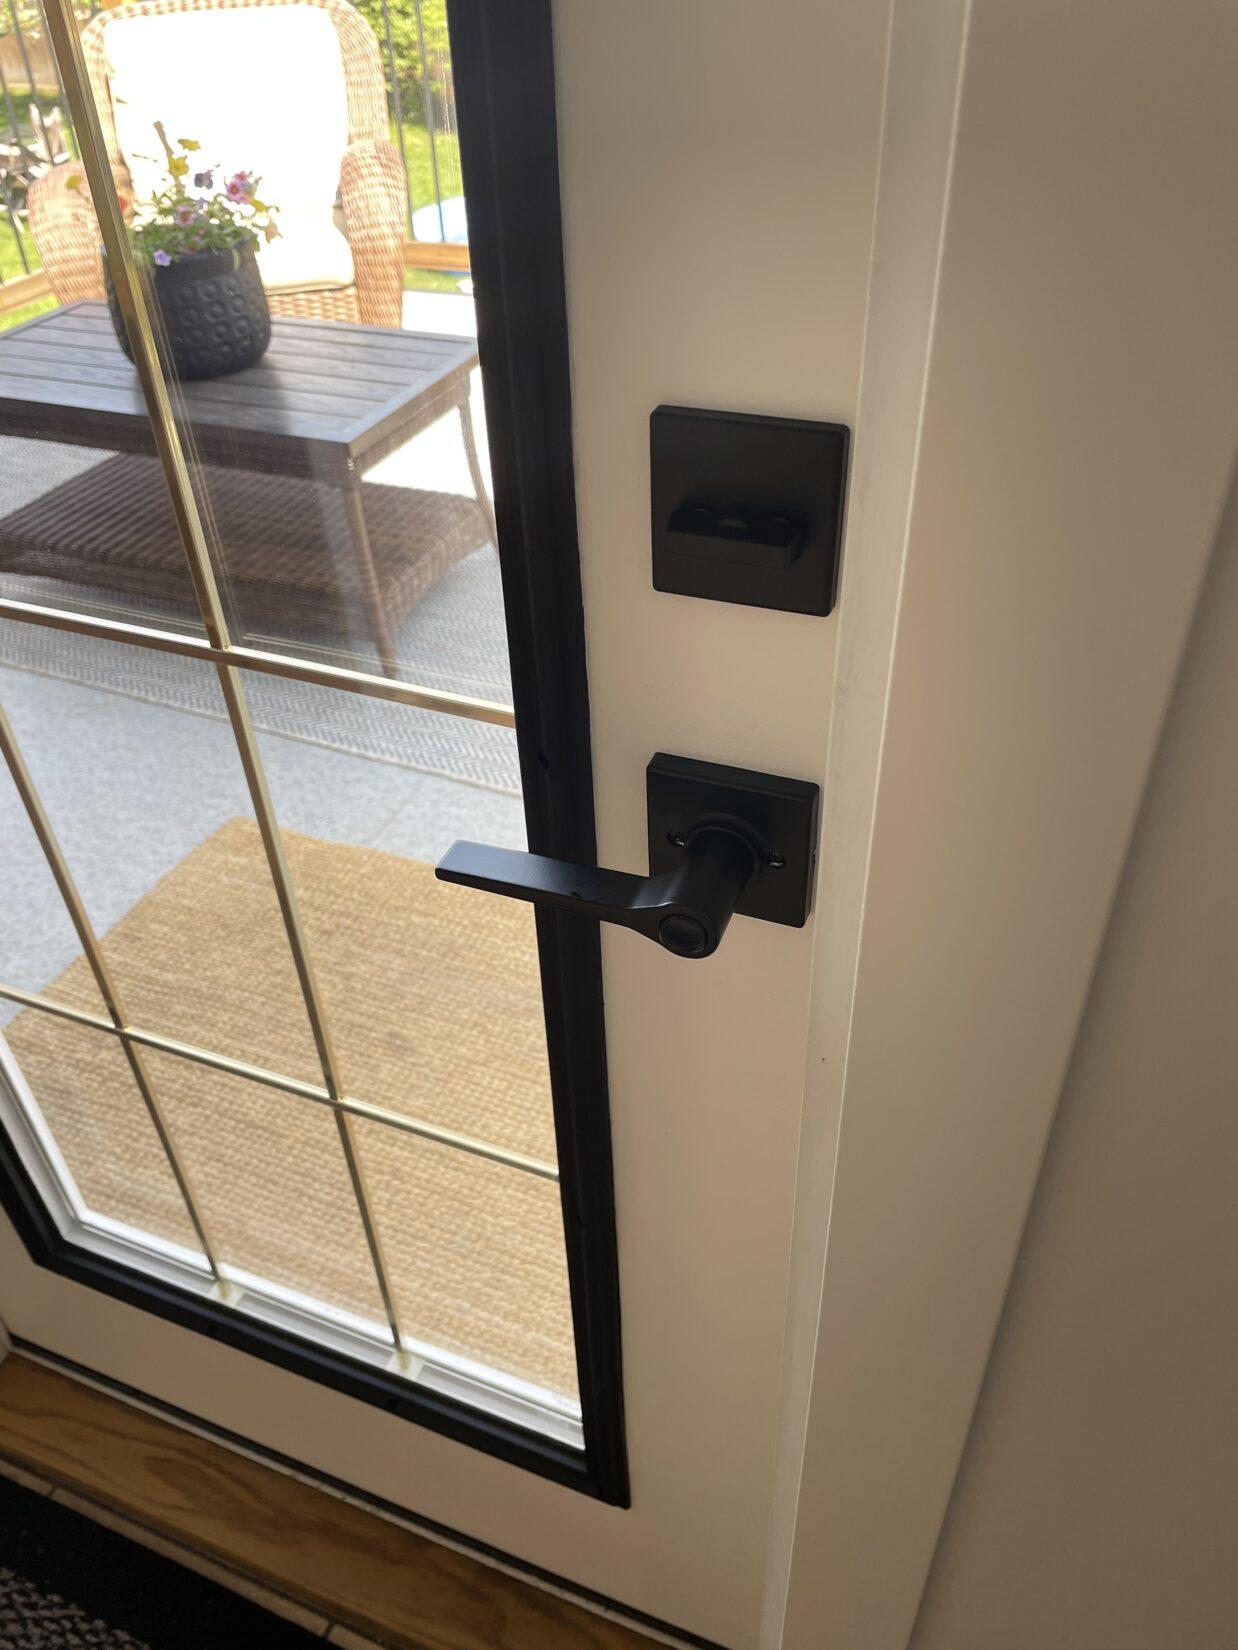
We partnered with Weiser Locks again to change out the door hardware and I can’t believe how much better this door works! We had some mixed matched hardware before, just to get by and I never realized how bad it was. The kids constantly were having trouble opening the door, even my 8 year old commented on how well the door works now!
I love the square detail and matte finish of the Weiser Hollis Black Exterior Door Handle and Deadbolt Combo/Entry Door Lock with Key! Click HERE to check it out, it’s super reasonably priced too!
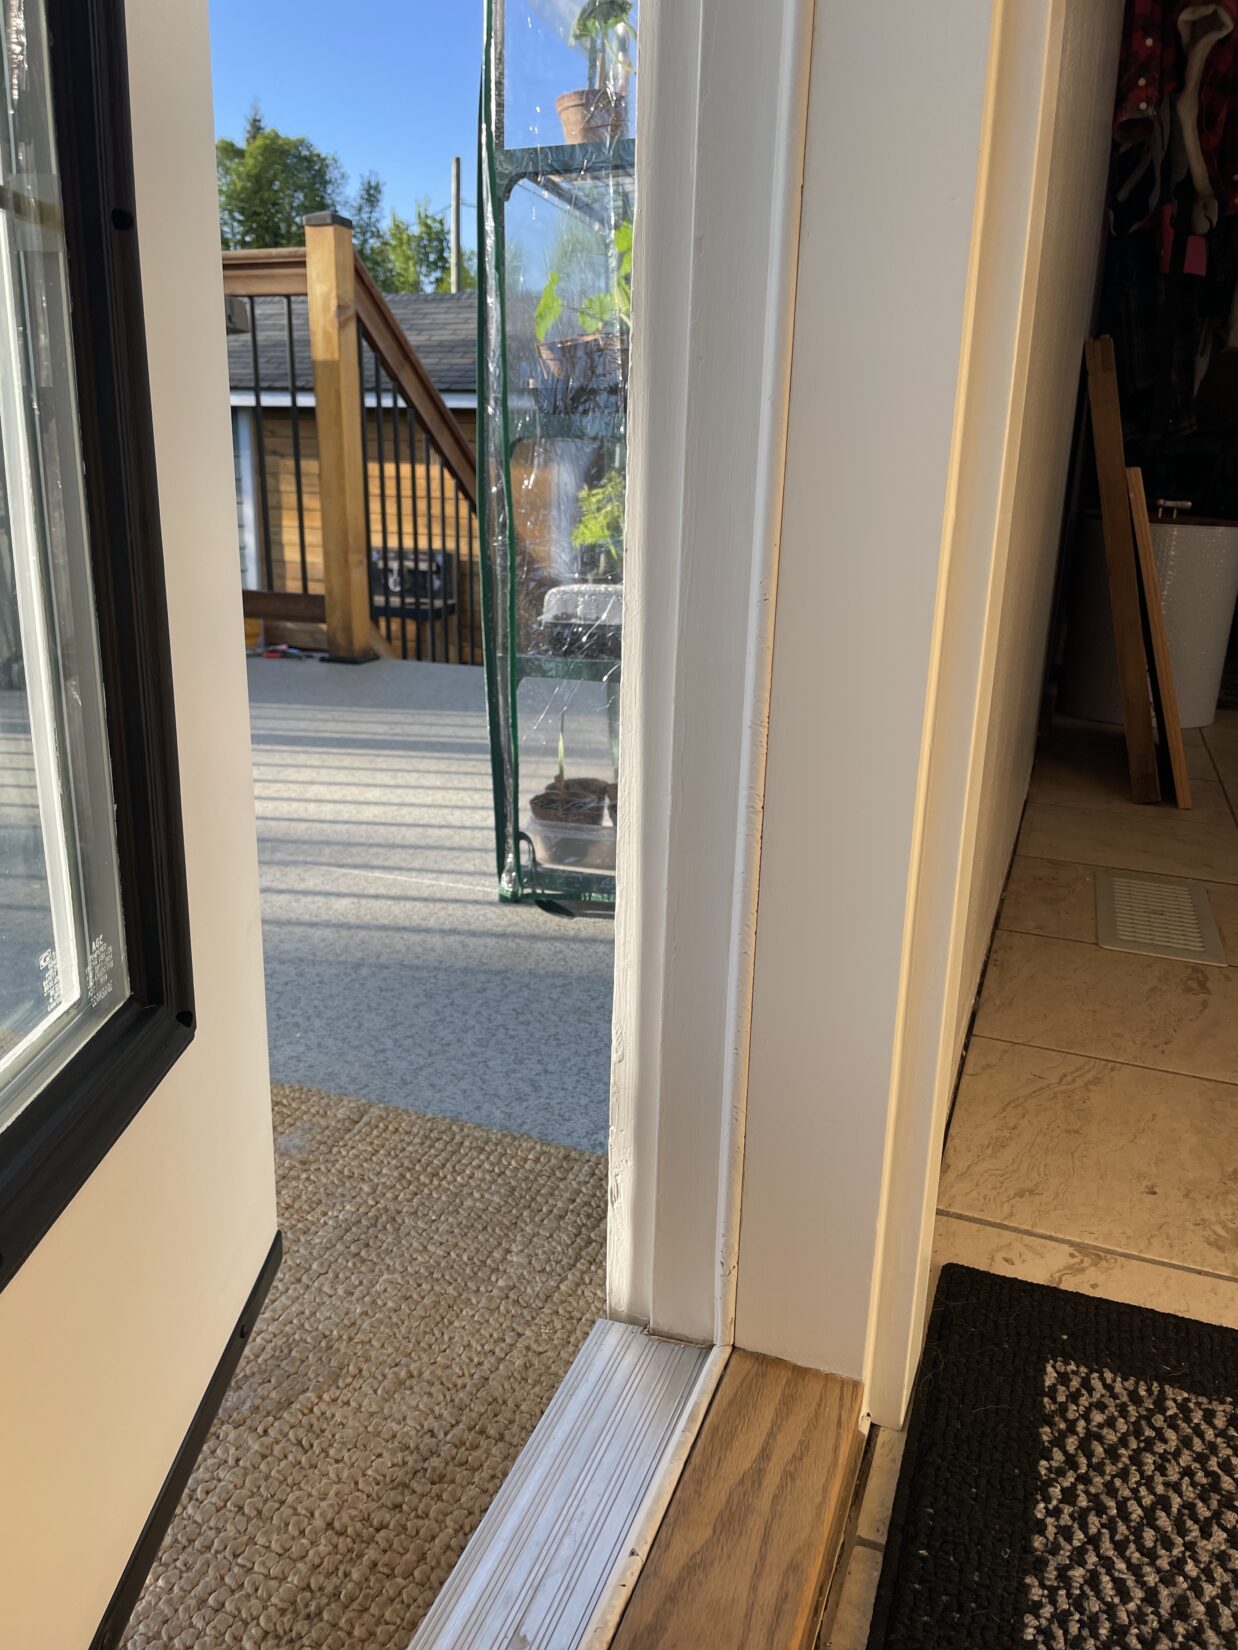
We also changed the weather stripping at the bottom and I think the black looks sharp!
DIY Door Refresh – the details
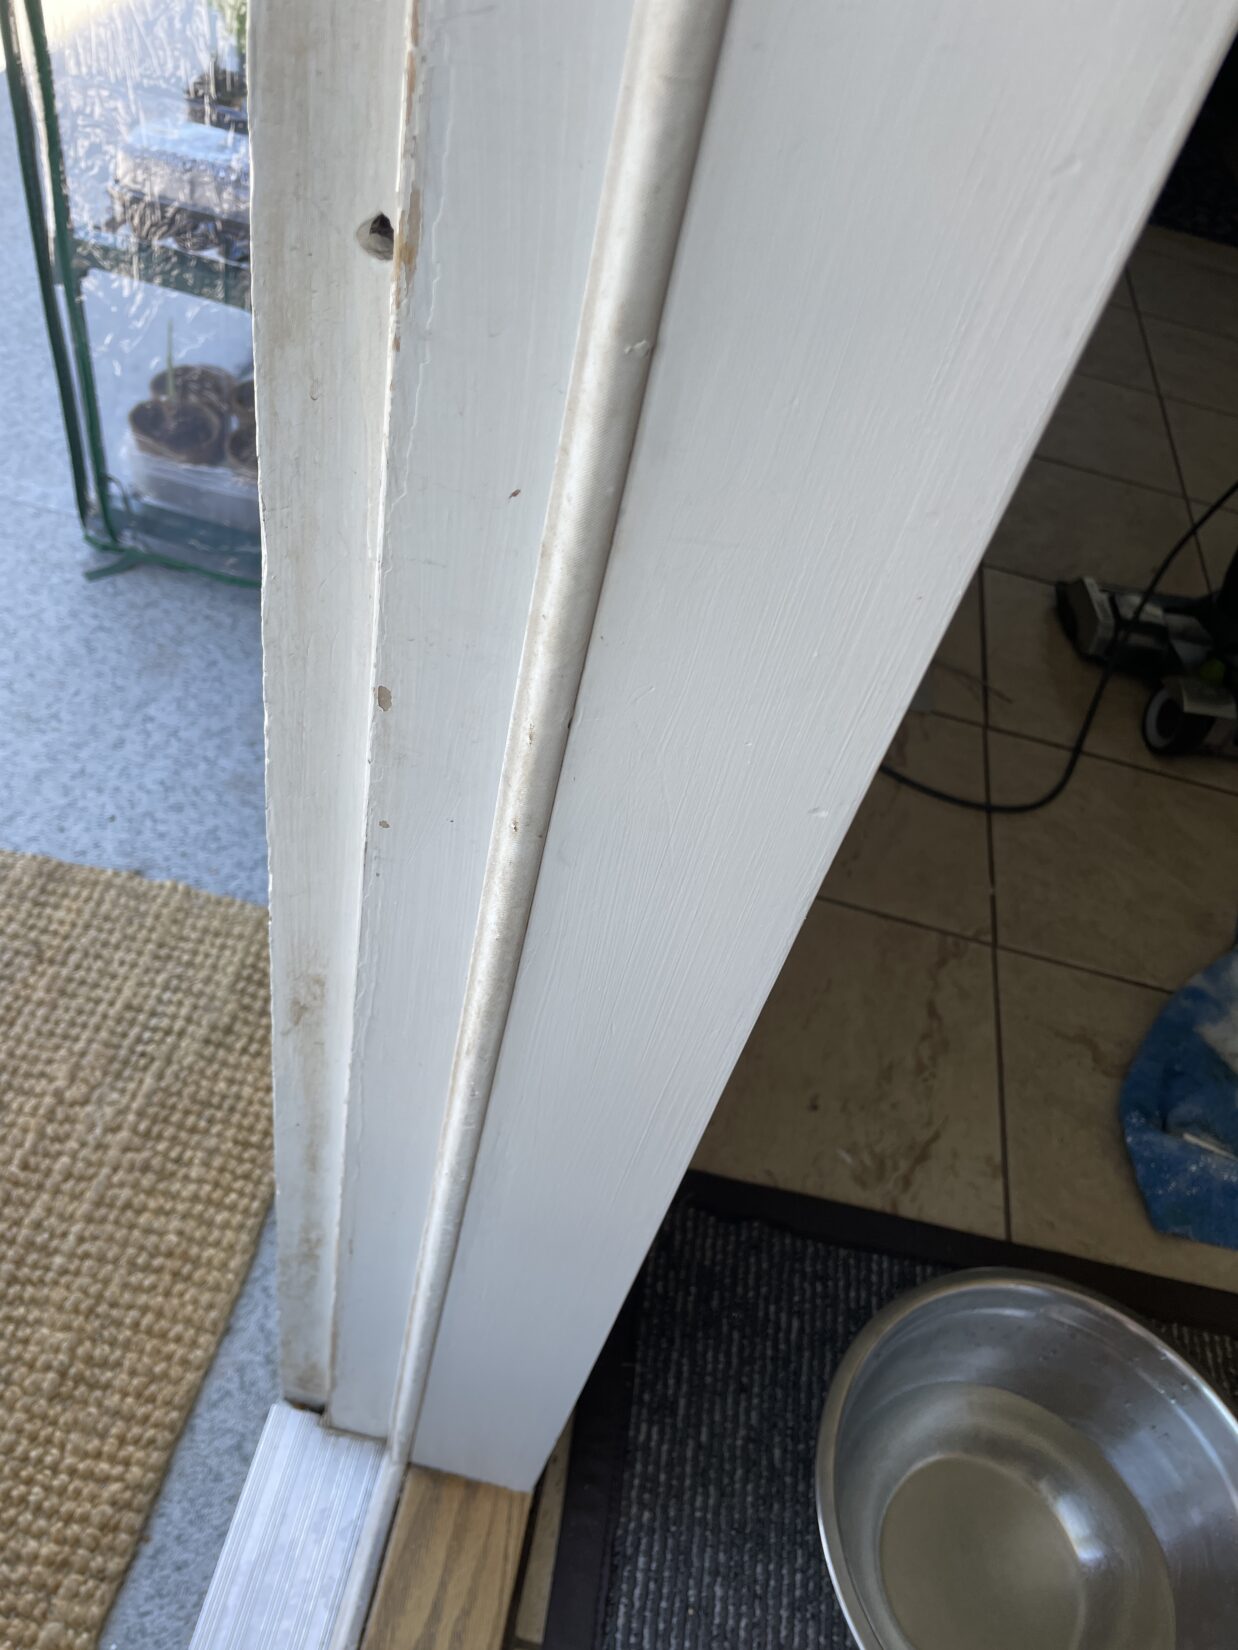
Sometimes things just need to be cleaned, instead of replaced! That’s what I did for the door sill, weather stripping around the door and the glass, of course!
I used my Mint Copper Scrubbie and Mint dish soap with warm water to clean the door sill and it looks new! I used my Mint Cleaning Scrub and Microfibre cloth with a bit of warm water to clean the weather stripping, I can’t believe how clean it got!!
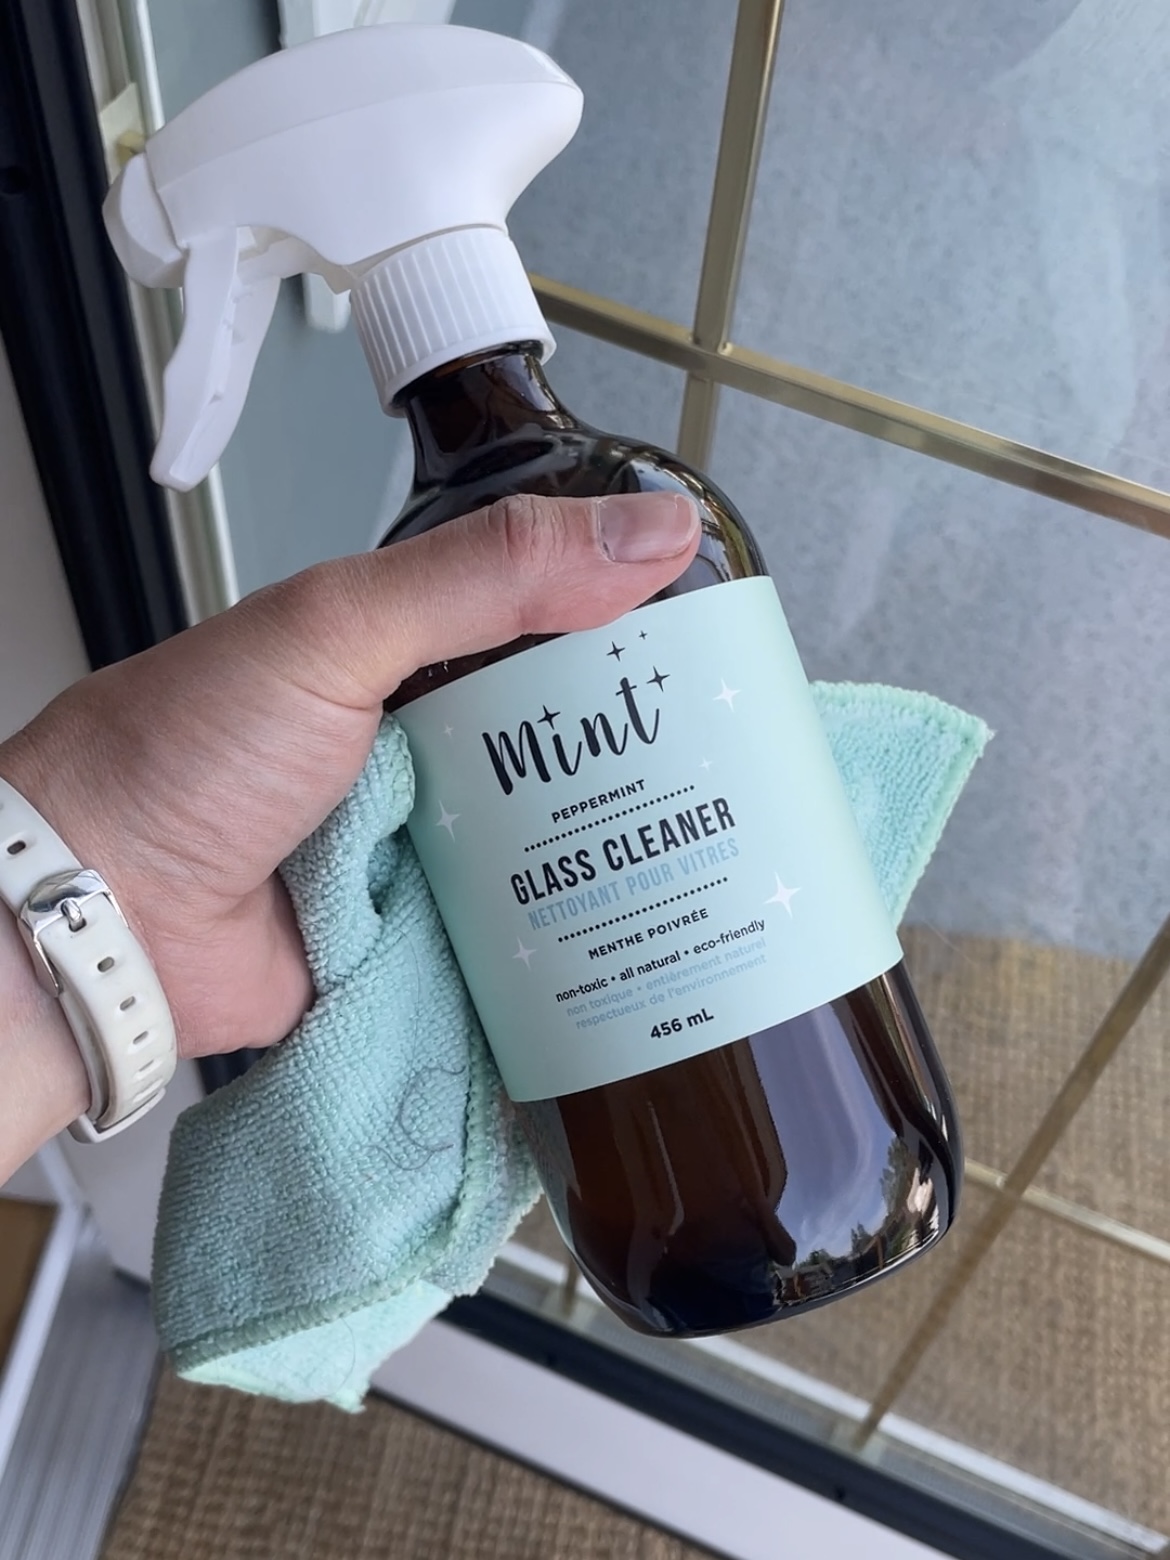
And the window. I’m officially hooked on Mint’s window cleaner and their Microfibre cloths! Yes, I do have an affilate link, but I’m confident you’ll love their products so much! They’re a local BC, women owned, company too! I also used a razor cleaner on the glass and it worked really well to get any paint off.
DIY Door Refresh – complete!
I’m so excited how this DIY Door Refresh turned out! What do you think? Do you think the gold grids are less noticeable? Check back next week for the room reveal!
What is this office renovation costing?
I’m talking about the thing that everyone shys away from. WHY? Because its a HUGE part of renovating! I don’t want to paint an unrealistic picture for you so I’m sharing the cost breakdown as I work through this renovation. If you follow on Instagram, you’ll find the cost breakdown in the caption of my reels and posts. If I’m missing something, just ask!
Here’s what I bought this week:
Razor scraper blade $6
Black fusion paint $8 (this paint didn’t work)
White exterior paint $15
Weiser door hardware (gifted)
Door casing $20
Hinges $13
Weather stripping $25
Foam Rollers $2
Total from this week $74
Carry over from previous weeks $238
Buy and sell income $80
TOTAL SPENT on this office renovation: $232
Click the video below for a full recap!
Keep following along to see where we get to next week! I’mhopefuly that I’ll finis the arch shelf!
Before Photos of our office
PROJECT GOAL: Make this space bright, neutral and functional so I actually want to do my office work … do you think that’s possible? lol
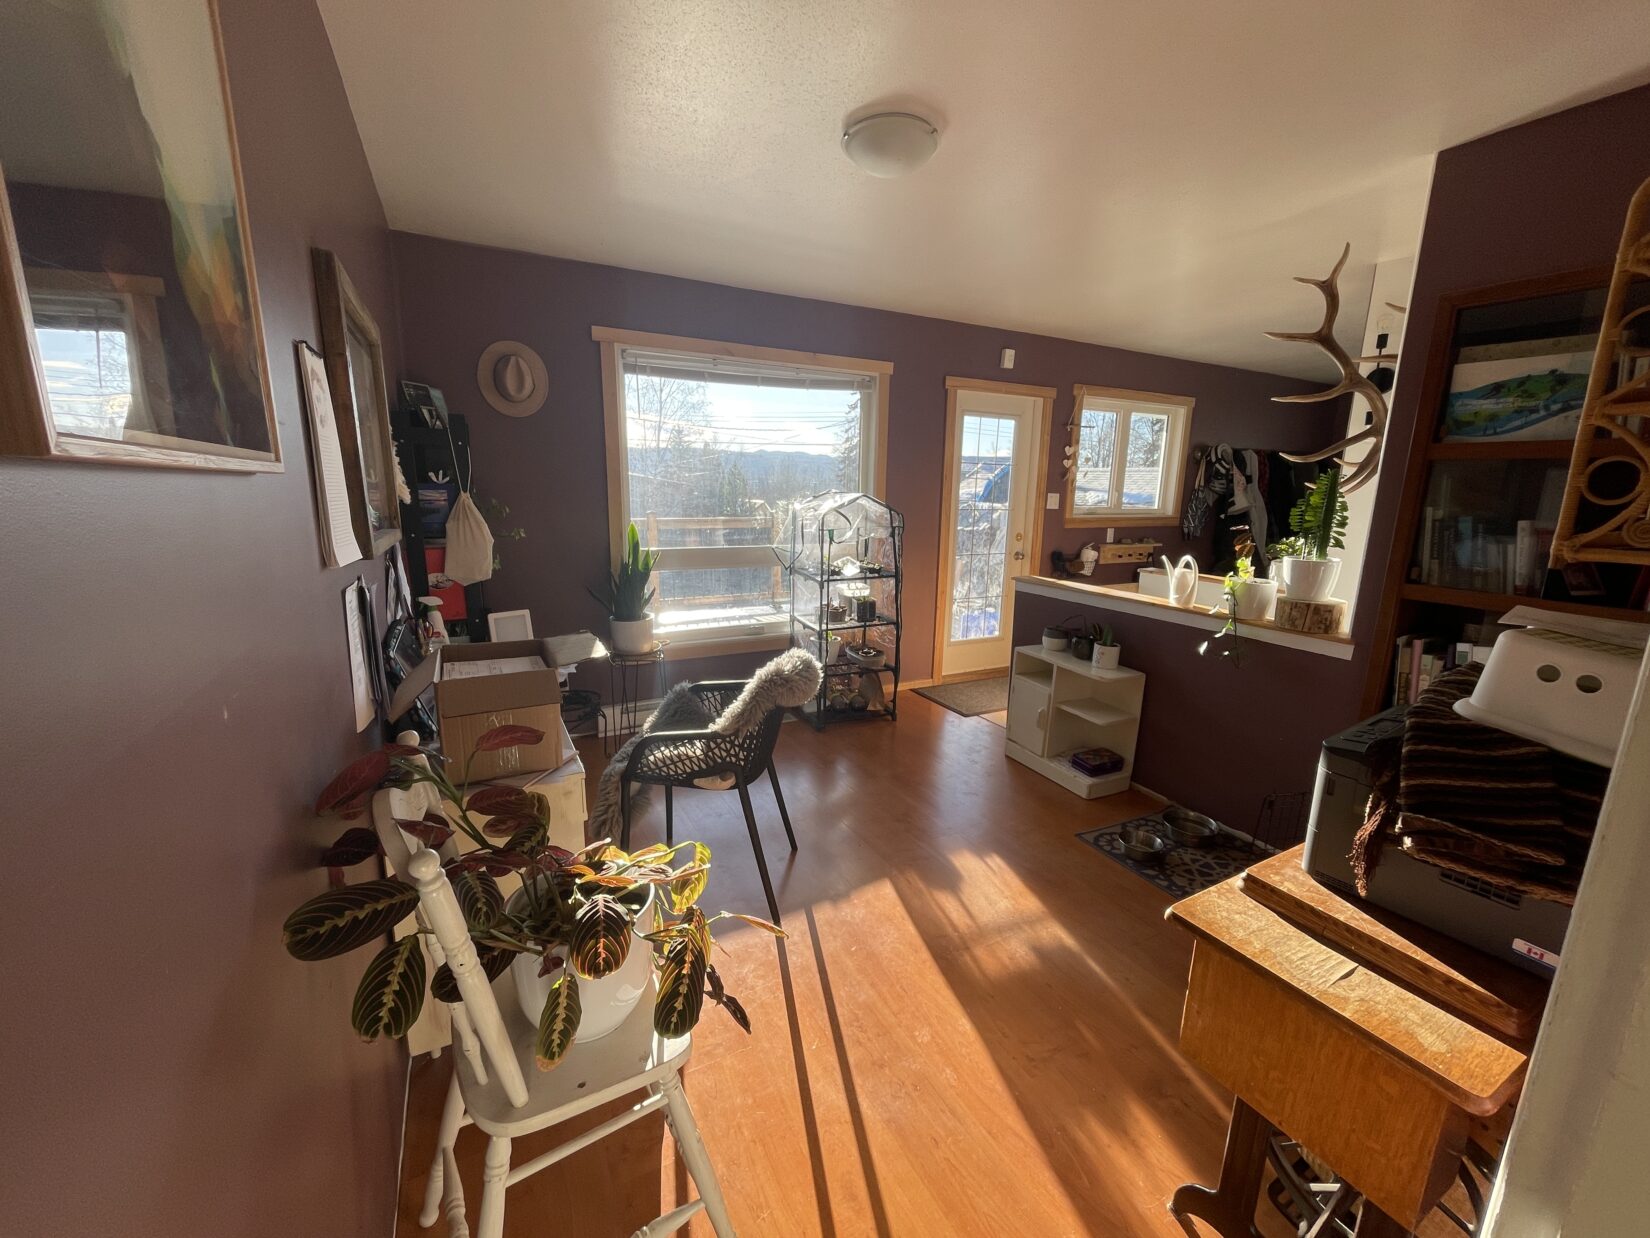
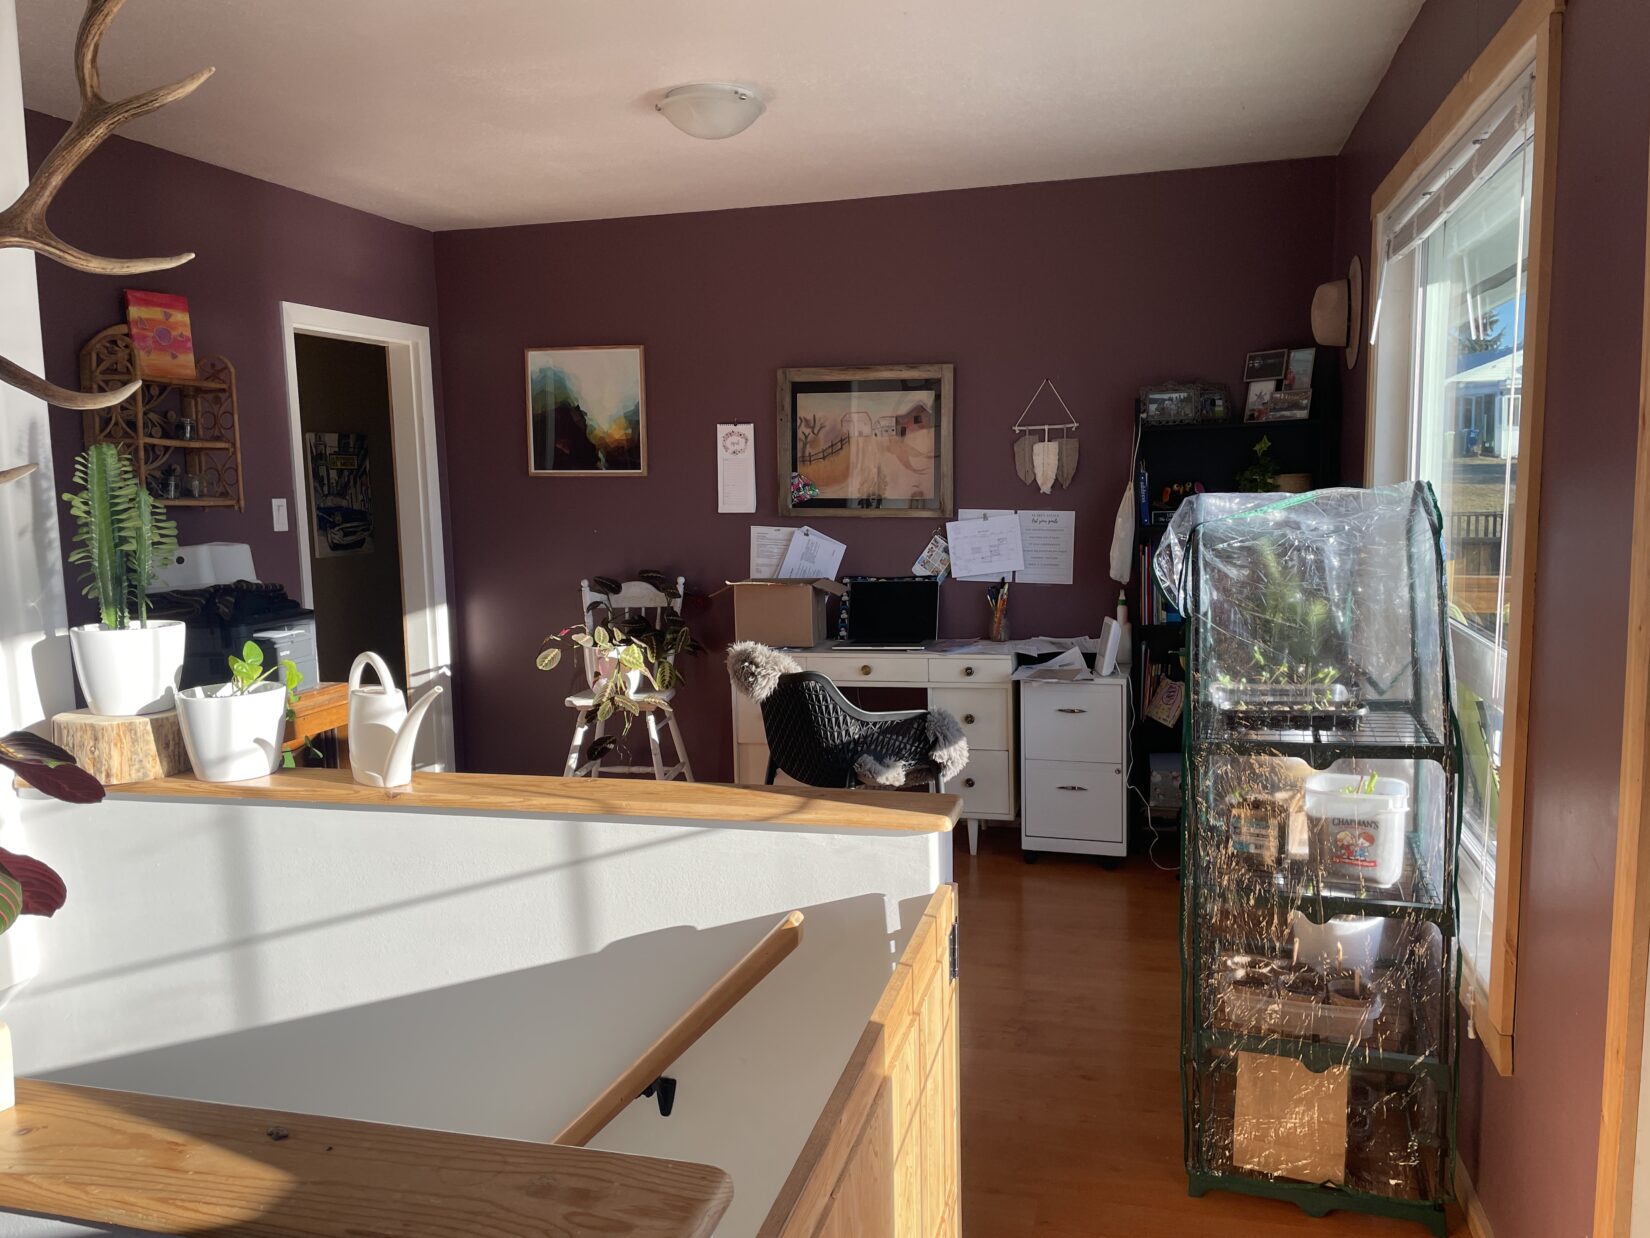
Here’s the plan for our Office One Room Challenge
Planning isn’t my strong suit, but I’m working on it!
- Week 1: Plan >> Click HERE for the first post.
- Week 2: Paint prep, there’s a lot. Fill holes and there’s a lot of work to do around the window sills >> MOSTLY DONE Click HERE for the video.
- Week 3: Prime and paint walls Click here for the video.
- Week 4: Window casings & blinds >> Didn’t quite get there, but click HERE to see what I did instead.
- Week 5: Work on arch >> Click here for the details.
- Week 6: Finished the arch shelf! Click here for the details!
- Week 7: Back door and door casing, still need to do the window casing!
- Week 8: Touch ups, decor and reveal!!
For daily progress, follow along on Instagram.
Did you see last week’s video?
Any questions! Let me know in the comments!
We would love to see your projects! Please share with us by tagging us on Instagram @sewbrightcreations or email them to sewbrightcreations@gmail.com.
This post is not sponsored however some links may be affiliate, which means I may earn a small commission if you shop using the links. There is NO extra cost to you. The opinions and photos are of Sew Bright Creation’s.

