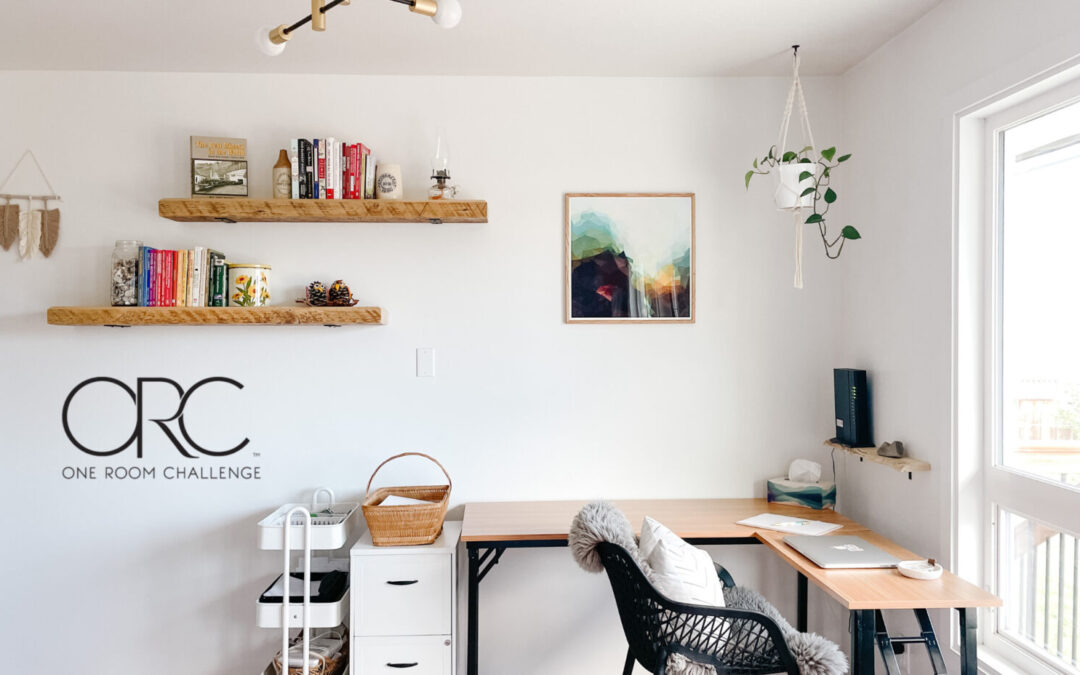
THIS IS IT! Welcome to my office renovation reveal! It’s not just any renovation, this is the ultimate DIY renovation on a budget and I’m sharing all the cost details!
Need to catch up on one of the previous 7 weeks? Just click the week number below for the details!
Week 1 | Week 2 | Week 3 | Week 4 | Week 5 | Week 6 | Week 7
Click HERE for a recap of the Spring 2022 ORC Workshop Renovation and HERE for a recap of the Fall 2022 ORC Basement Living Room Renovation.
First, let’s talk about what the One Room Challenge is. Have you heard of it? It’s a biannual event that is held every spring and fall. Anyone with a blog, Instagram or TikTok account is welcome to join the fun. It goes over 8 weeks and each week you share an update on on our room. It’s a fun way to connect with other like minded people and be able to encourage each other through all the ups and downs of renovating! I highly encourage you to check out all the other participants HERE.

Office renovation – the last week
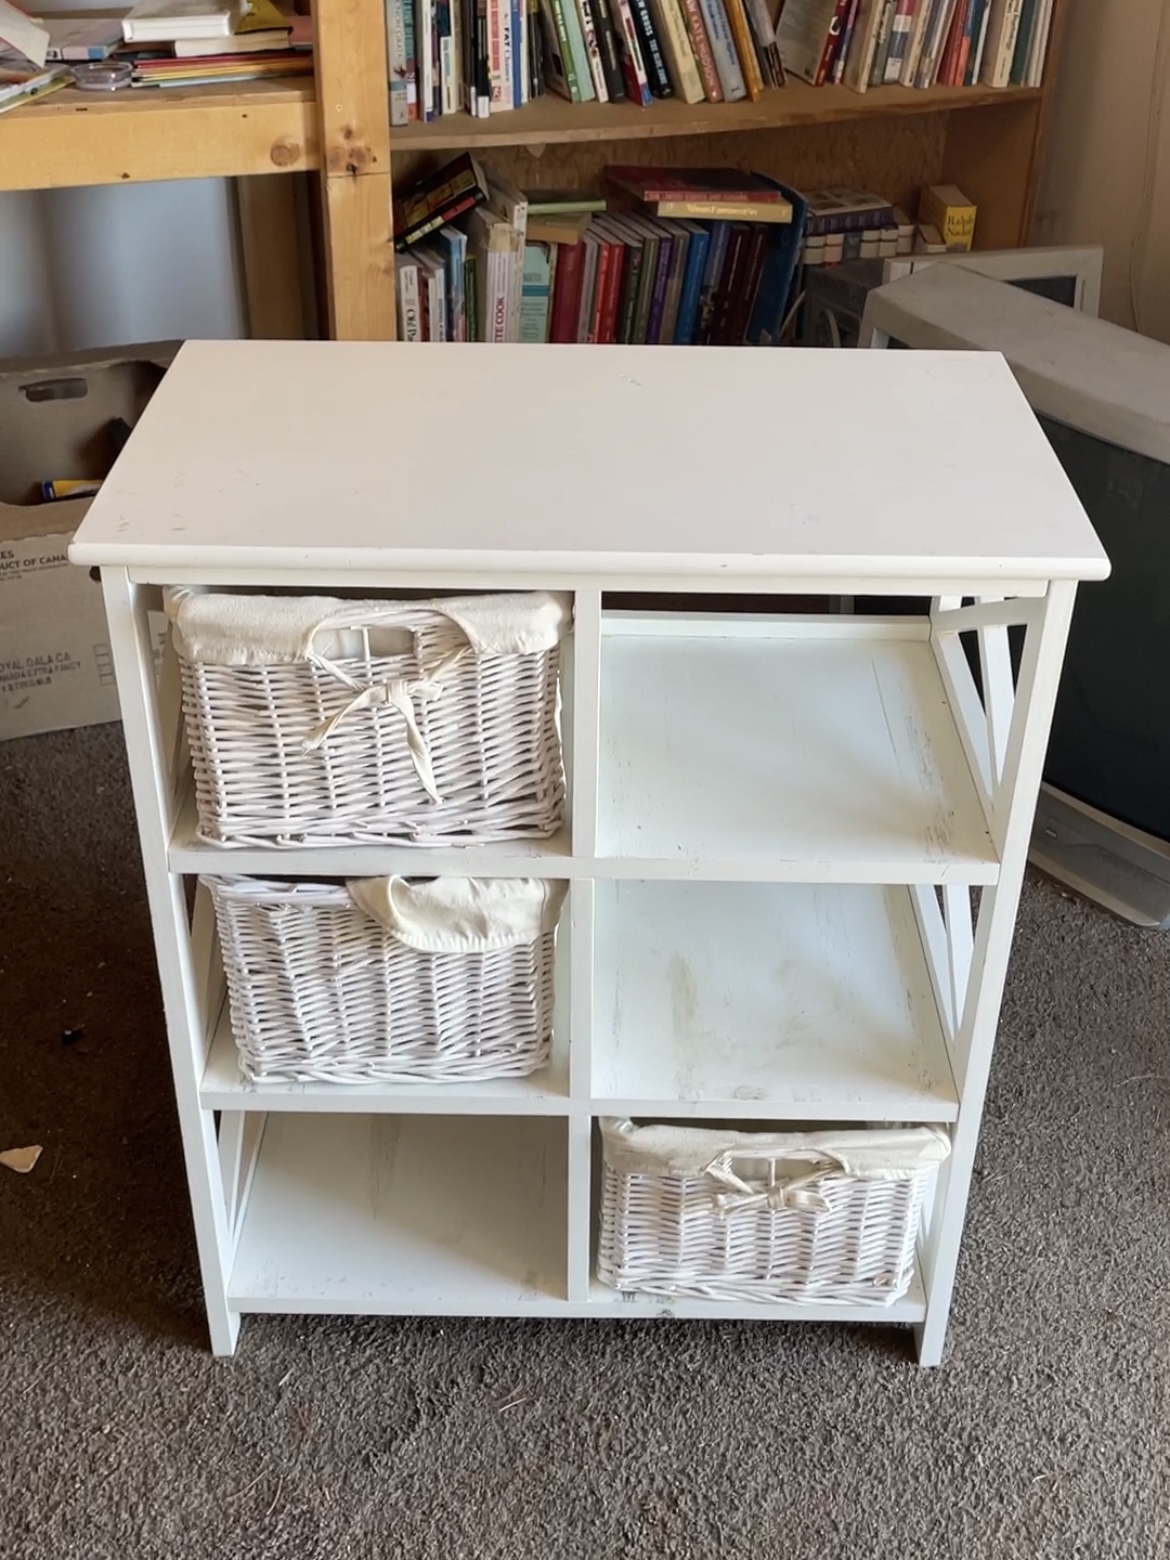
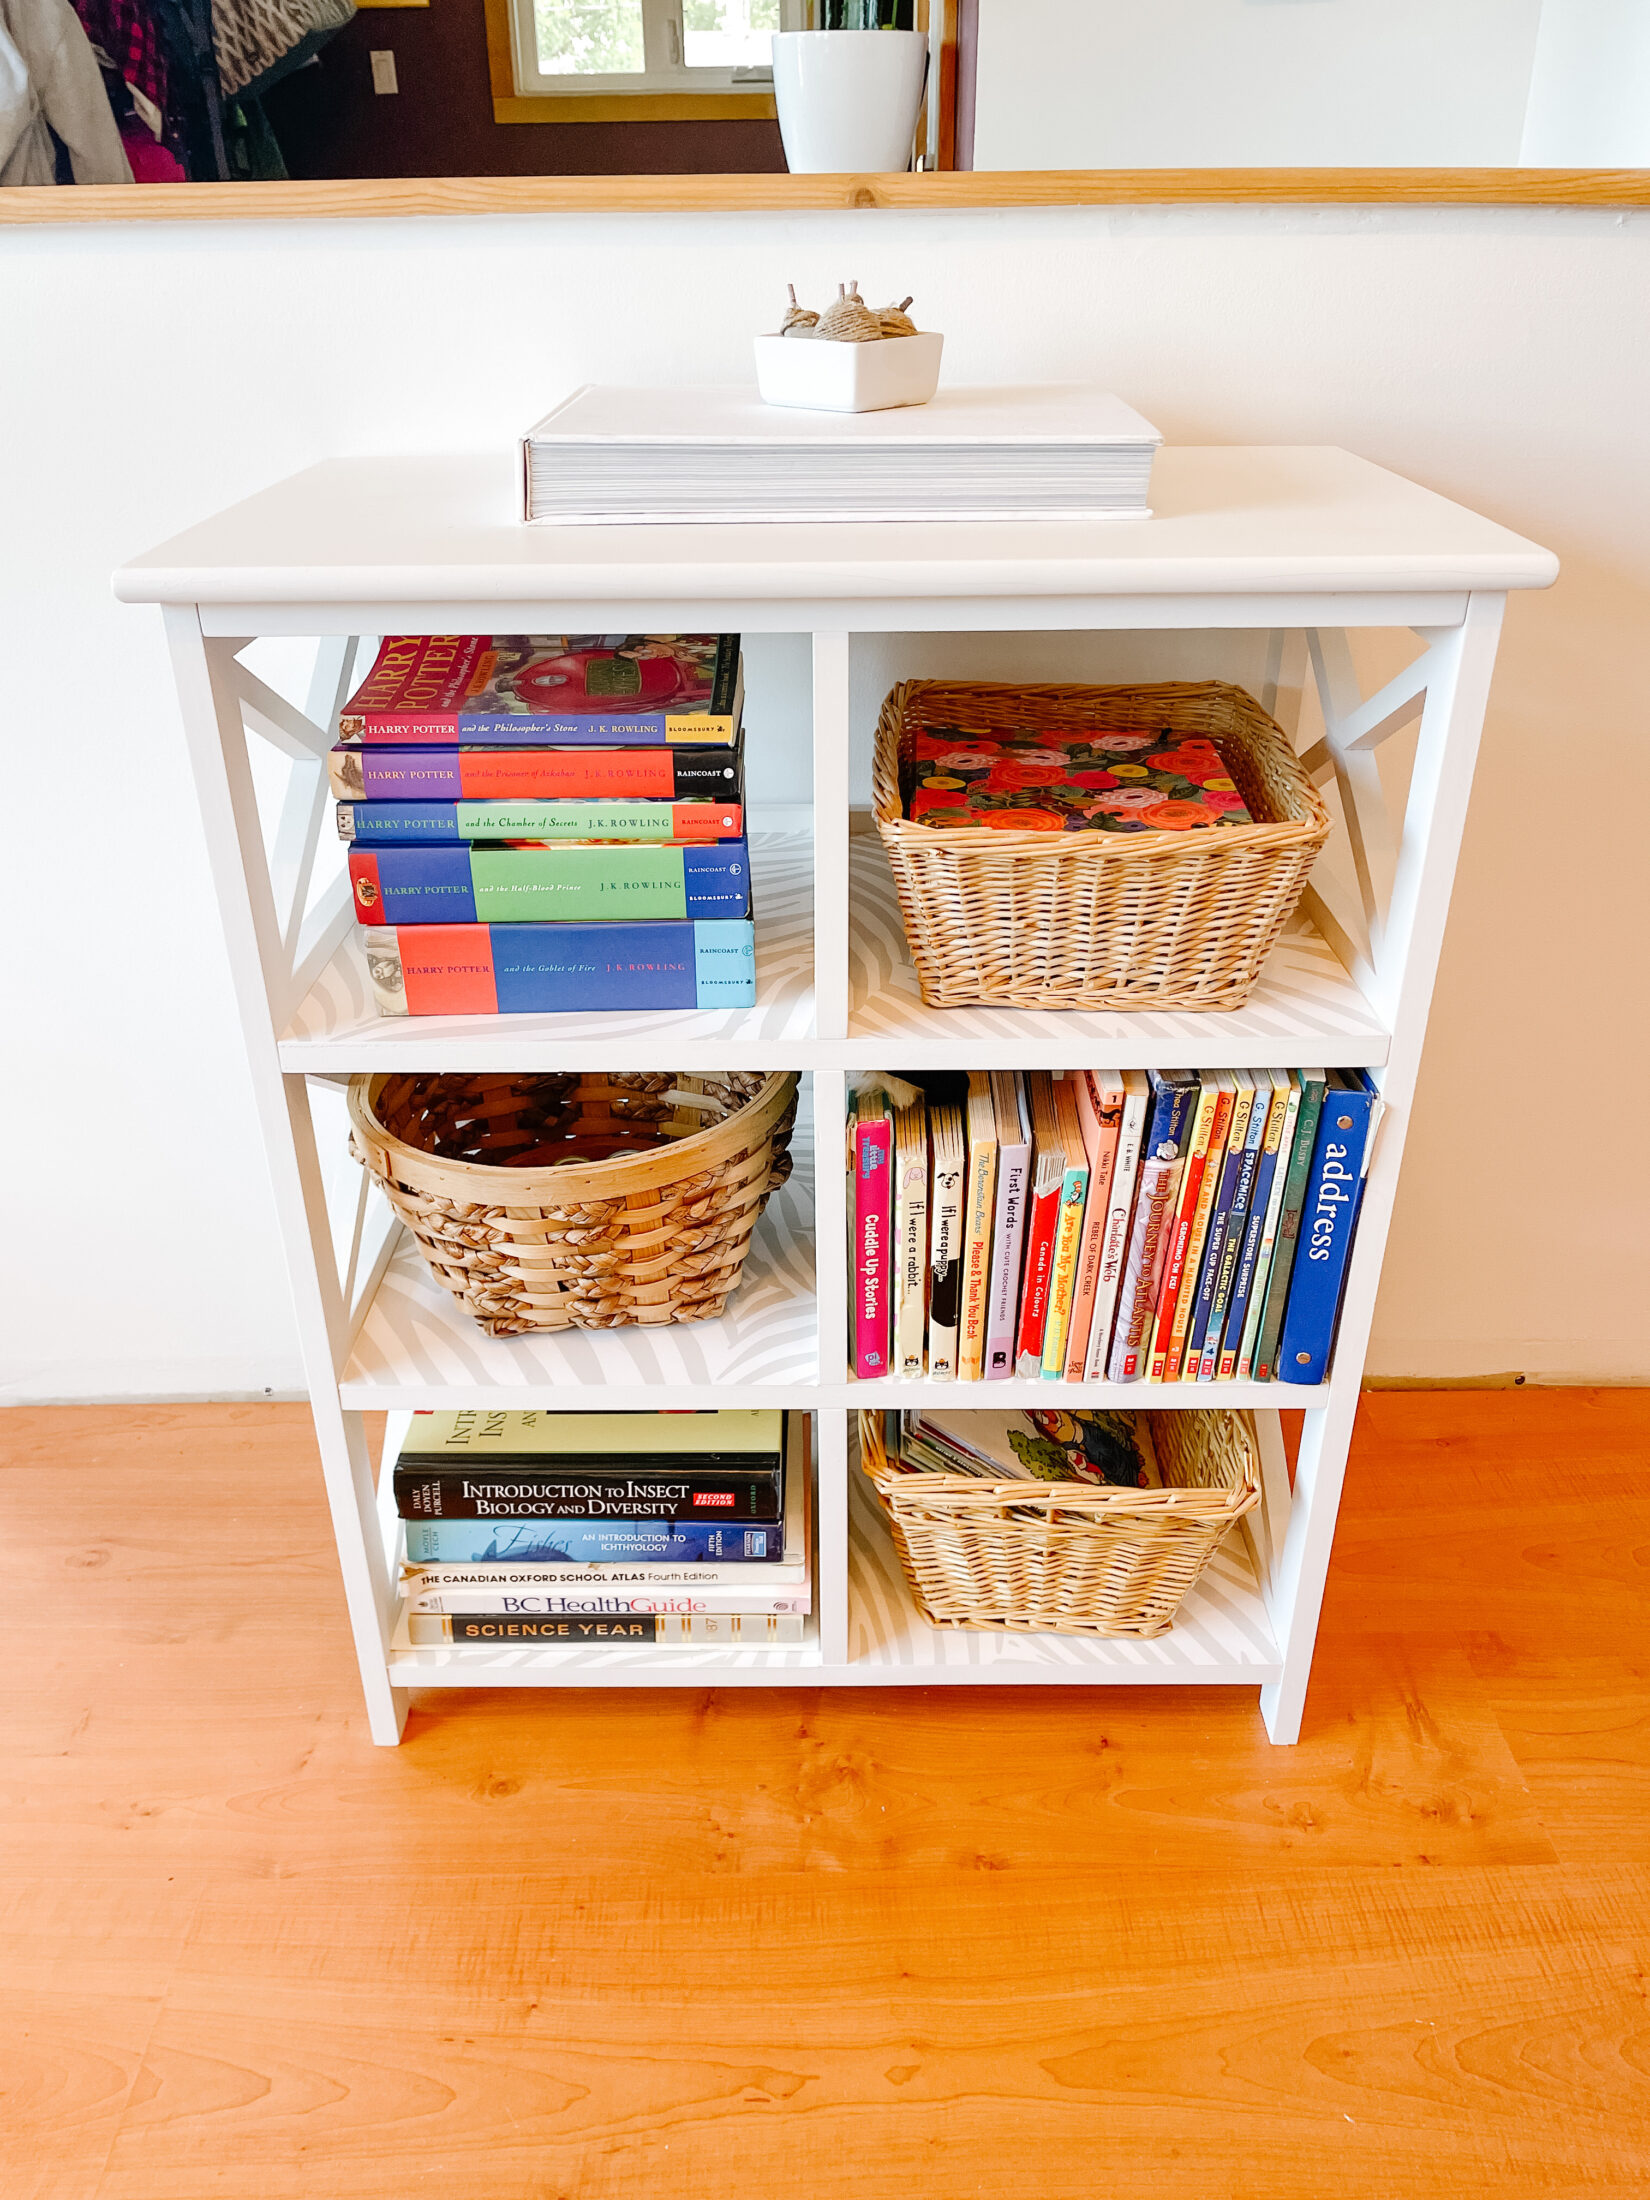
This past “week” of the ORC ended up being 12 days and a lot happened! I refinished a shelf that I got for free at our local transfer station re-use it shed. I cleaned it, sanded it, cleaned again, painted, tightened the bolts and added leftover peel and stick wallpaper on the shelves from my closet renovation. Click here for a video recap!
We couldn’t replace the flooring
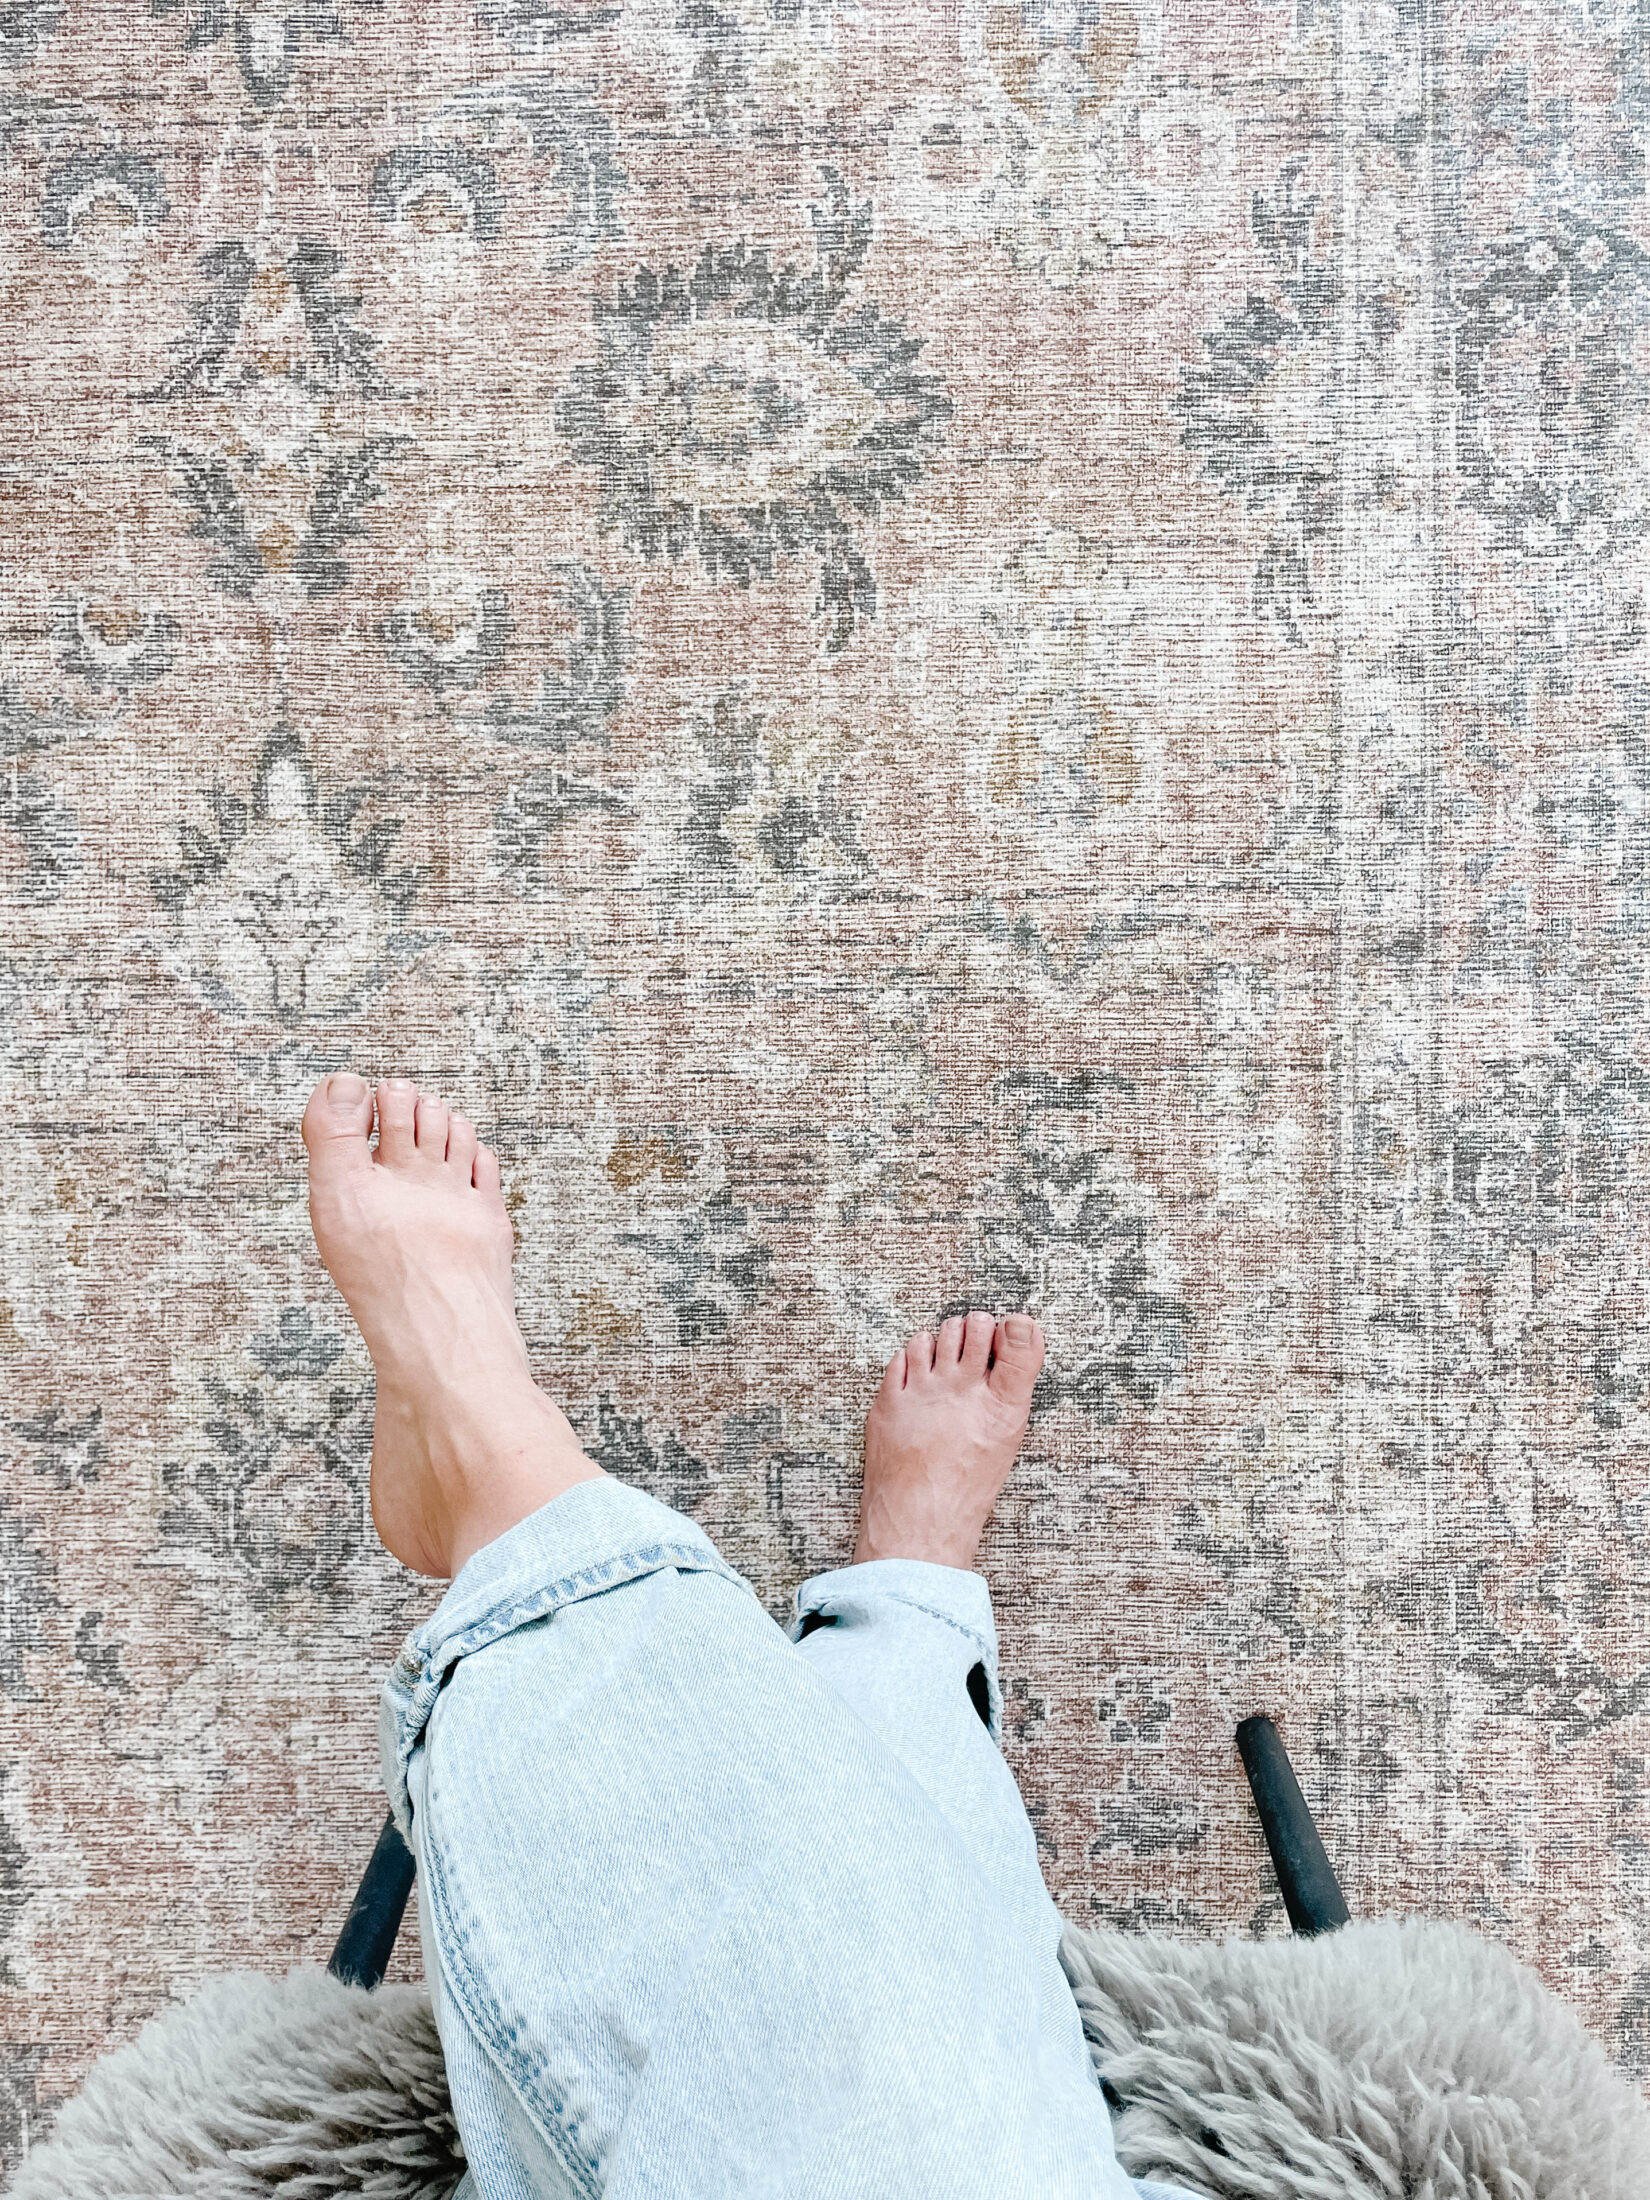
Changing the floor was not part of this renovation so I was VERY happy to be hiding most of it with a beautiful Loloi Rug from The Rug District. Click HERE for the details. I love it so much and it truly transforms the space! It is 100% polyester and the design is printed so it actually looks more like a mat vs a thicker pile rug, but this makes it perfect for my office space. If you have an office chair will wheels, this is what you’d want to get. Note: The Rug District Gifted me the rug in exchange for content.
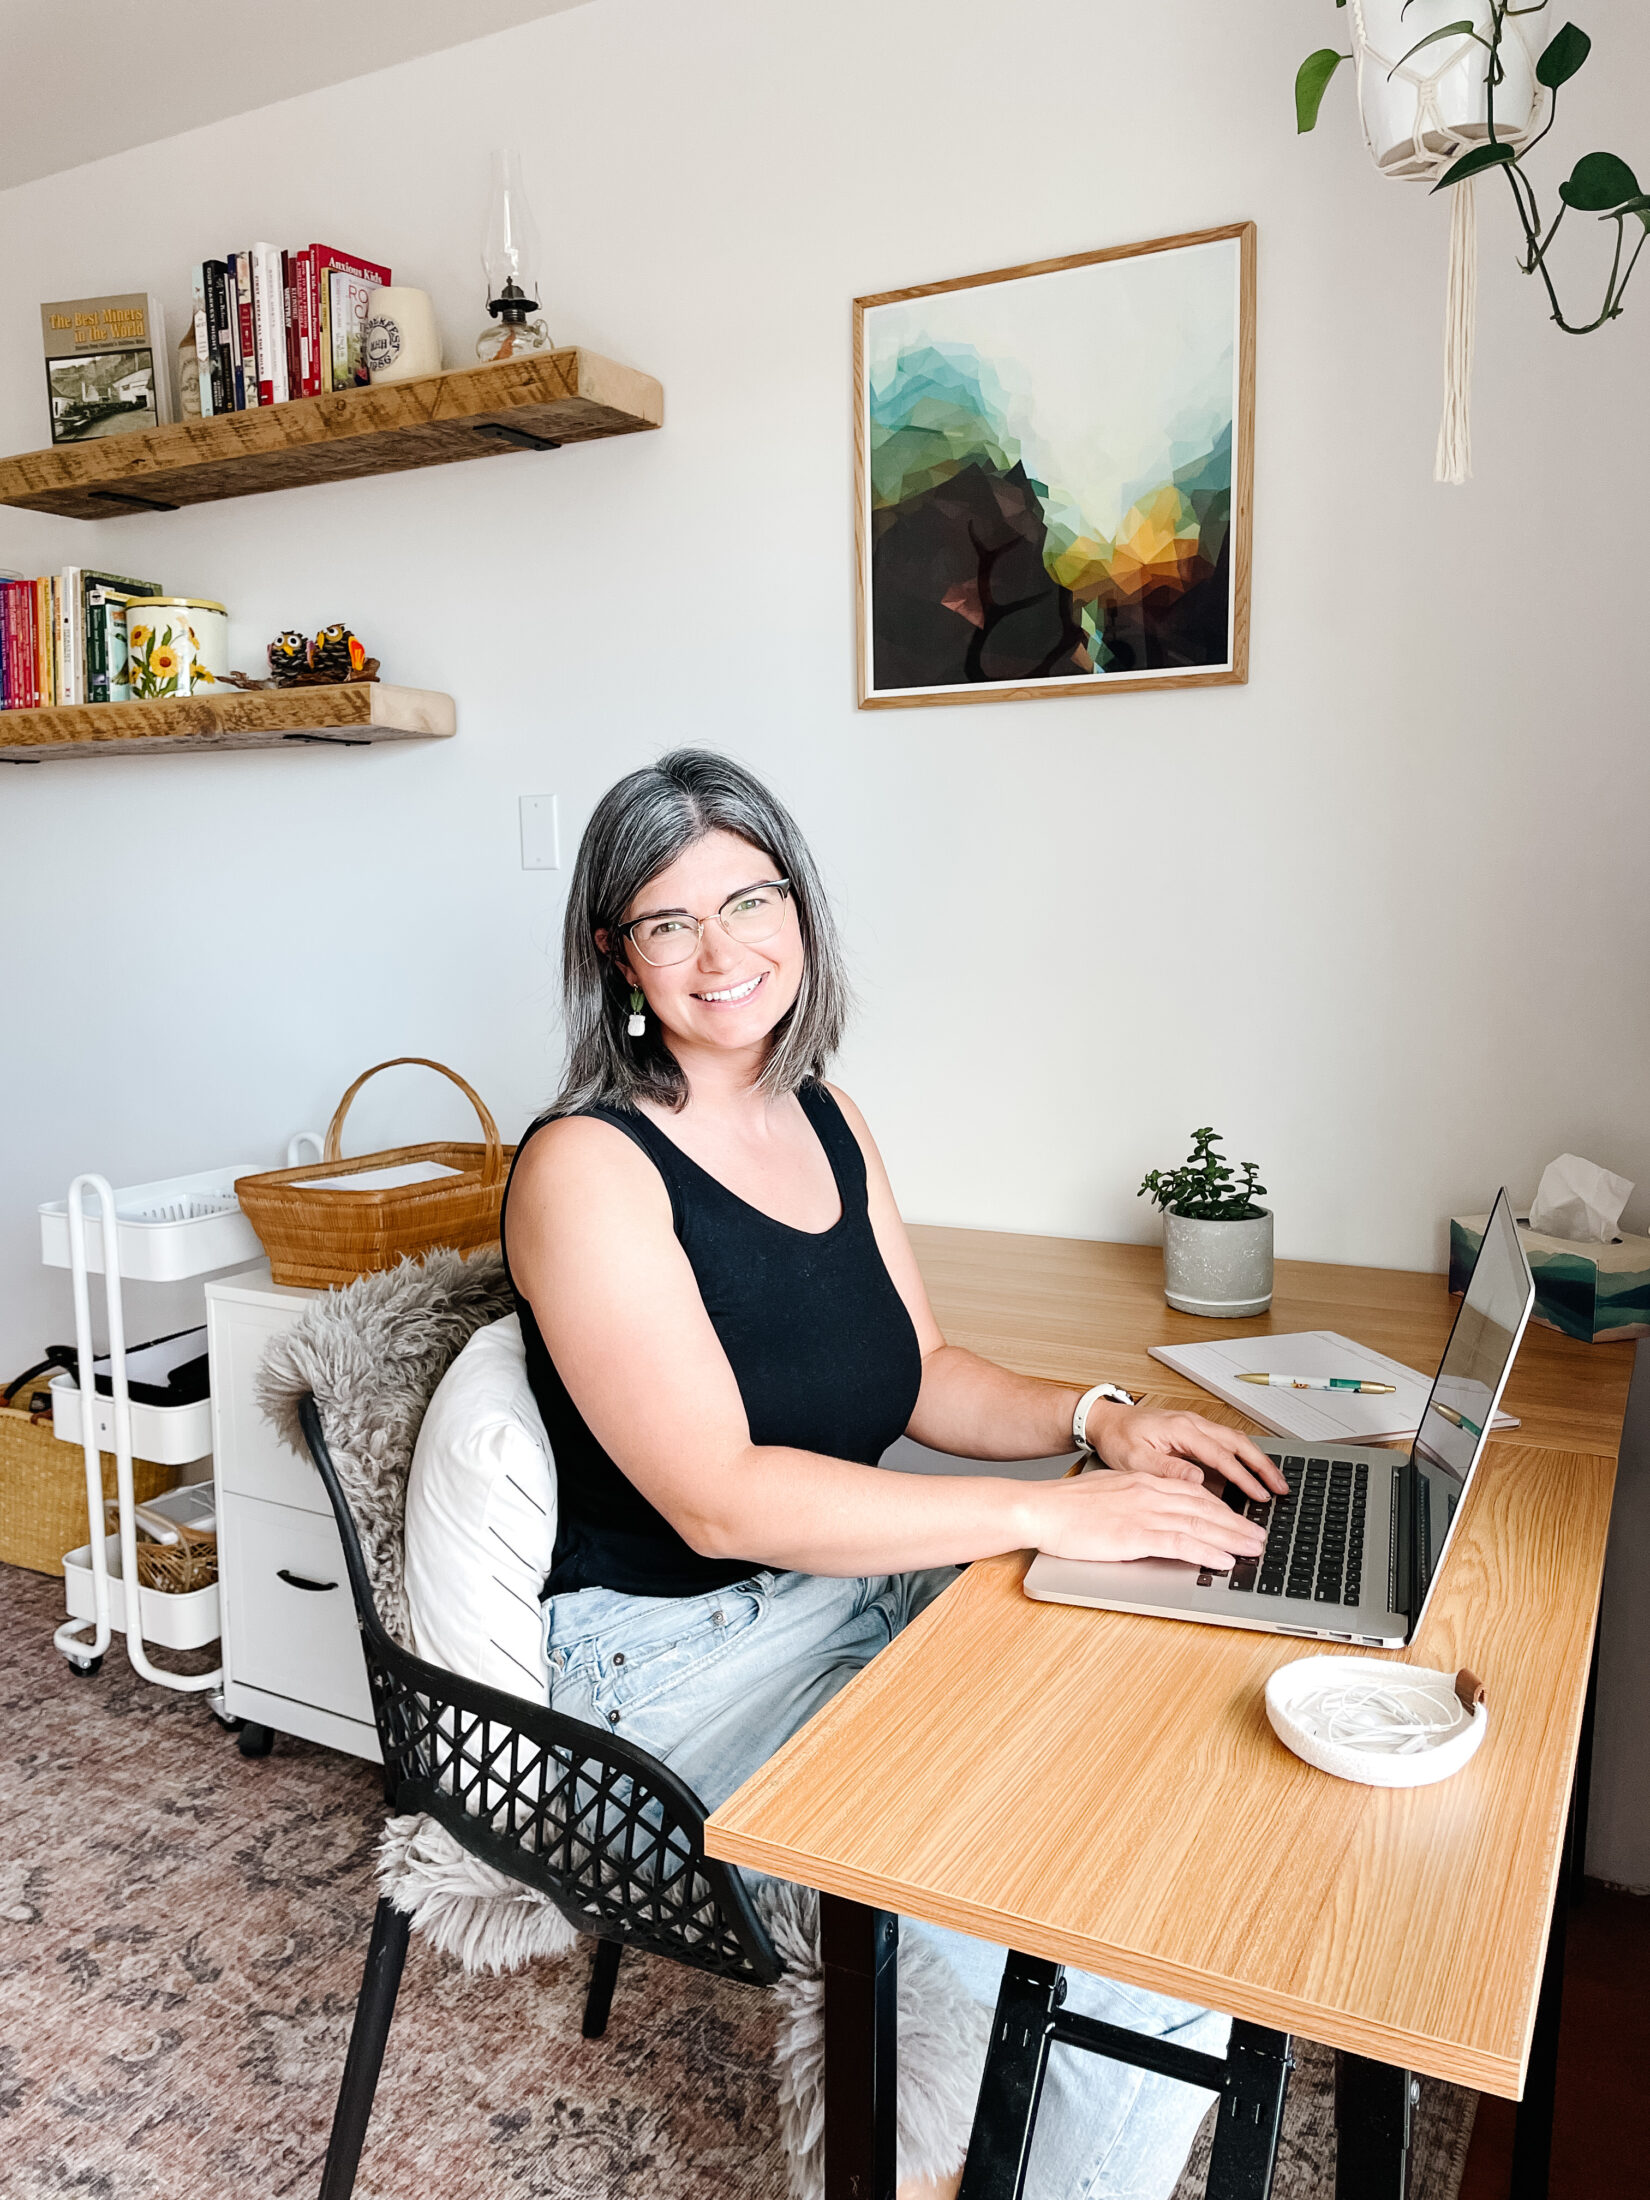
Shelving for the office
I bought some local barn wood and Mr. Sew Bright and I made some stunning book shelves! We put one side through the planer and I almost had a heart attack when I saw how much was taken off, but then we realized that they would actually look really nice with one side smooth and the other more rustic. Mr Sew Bright routered the edge and I sanded it and applied clear satin Varathane and we set them up with brackets from Amazon, linked below. It was very much a team effort to get them done in time!
Budget friendly lights
I had a really hard time deciding on a light fixture, but I’m glad I kept looking because I LOVE the one I ended up picking! I like that the gold goes with the gold in the door and the black touches are just so sharp! It’s linked at the end of this post. Over the years I’ve found some really affordable modern light fixtures on Amazon. Click here for my favourite affordable lighting options that I’ve used in my home.
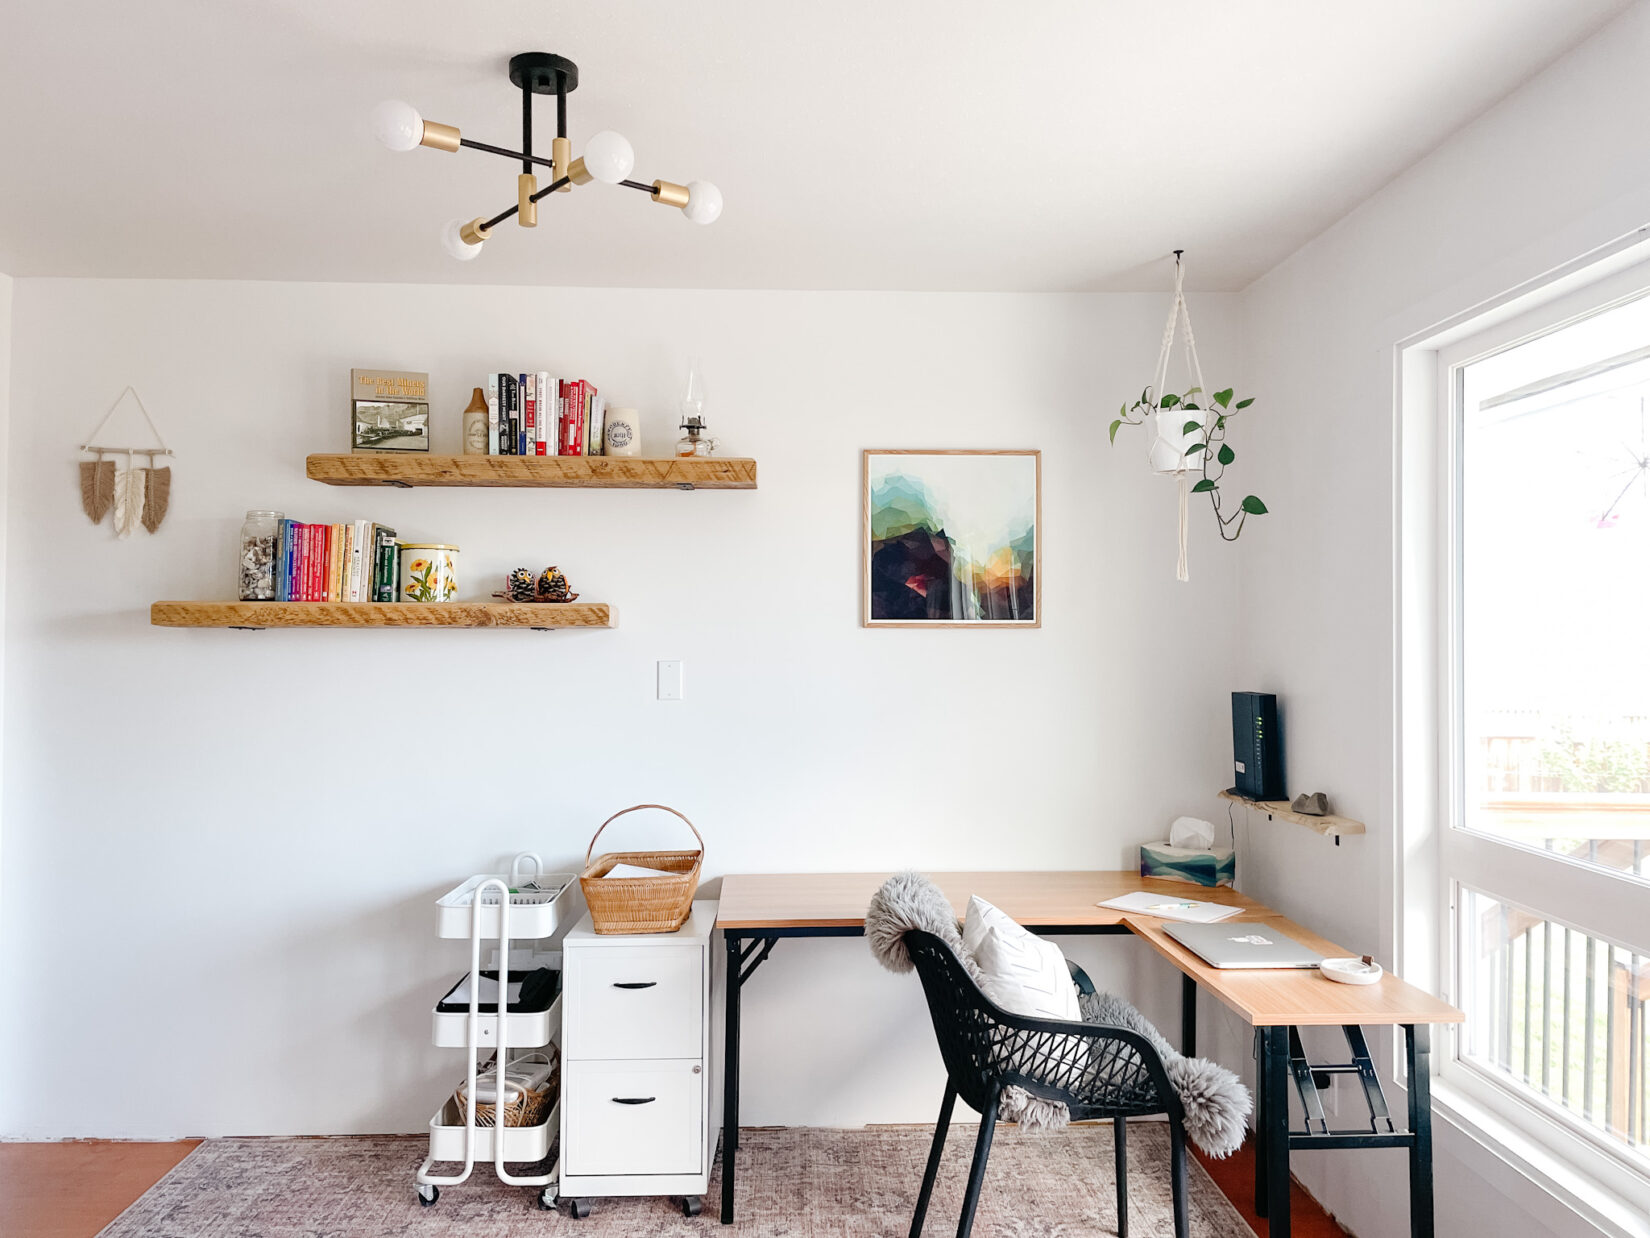
All the details for this budget friendly renovation
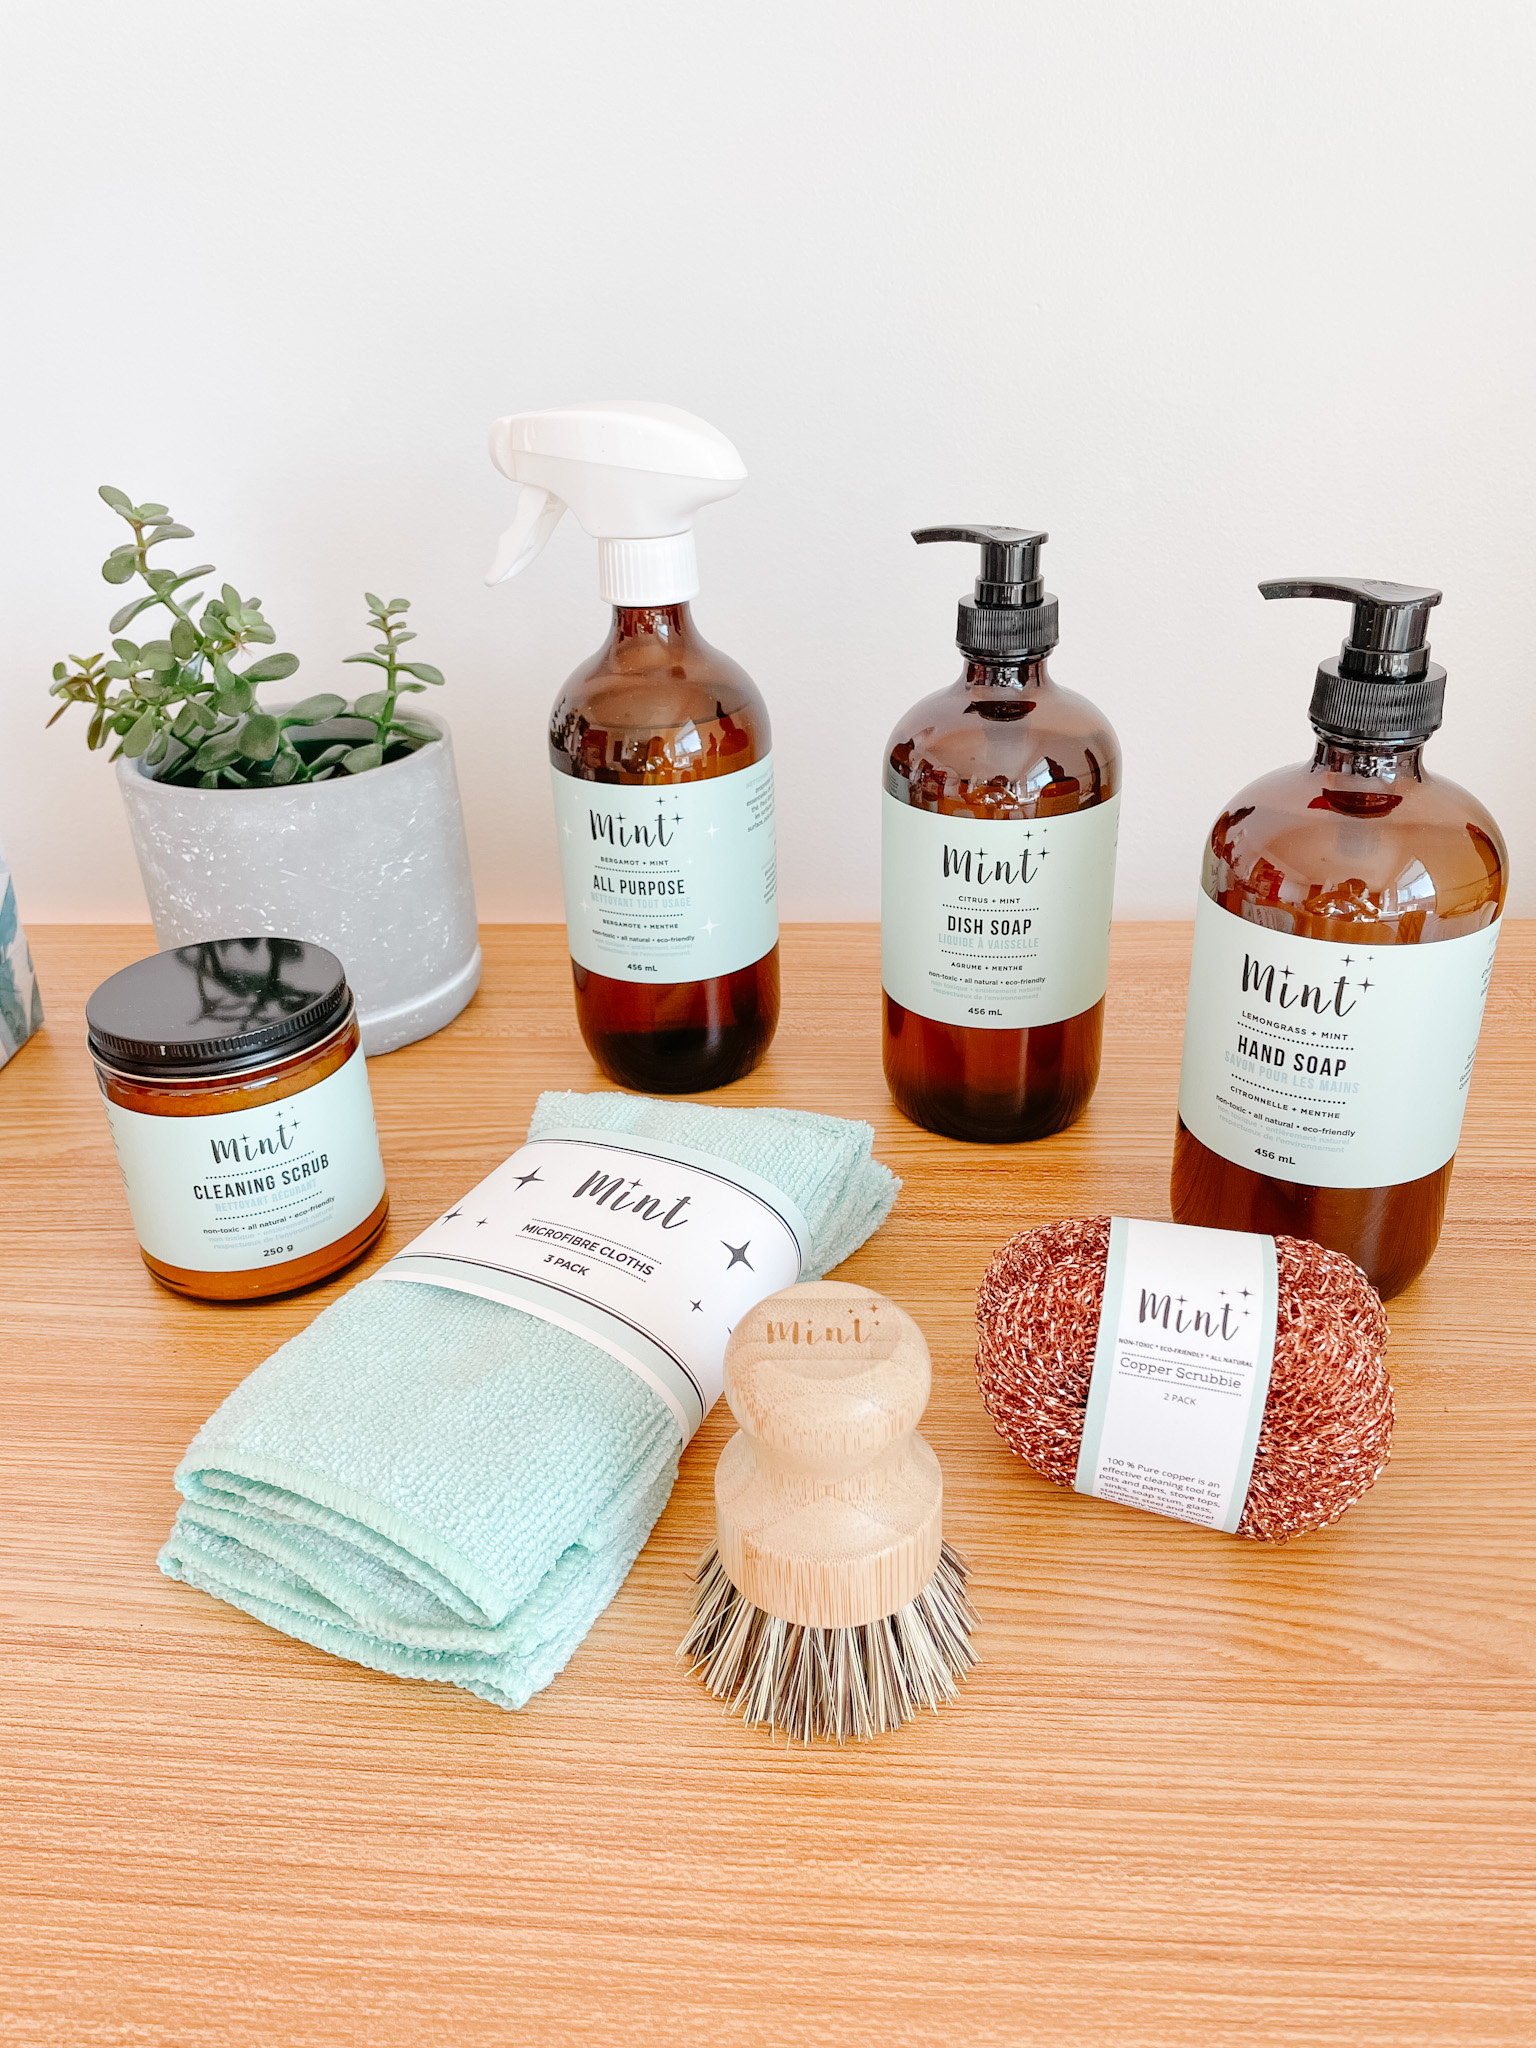
I also did a lot of little touch ups, cleaning windows, cleaning other things, organizing the arch shelf, built another small shelf above my desk, hung my plant, painted the hanger black, painted the filing cabinet handles black…. the details and little things take a while, but I love doing them. I’ve really been enjoying my new eco-friendly cleaning products from Mint. They smell amazing and honestly, they just make me want to clean! Click HERE to save on your first order. I’d recommend the all purpose cleaner, cleaning scrub and window cleaner as my top 3! Oooh but the microfibre cloths and copper scrubies are must haves too. Make that my top 5 favourites!
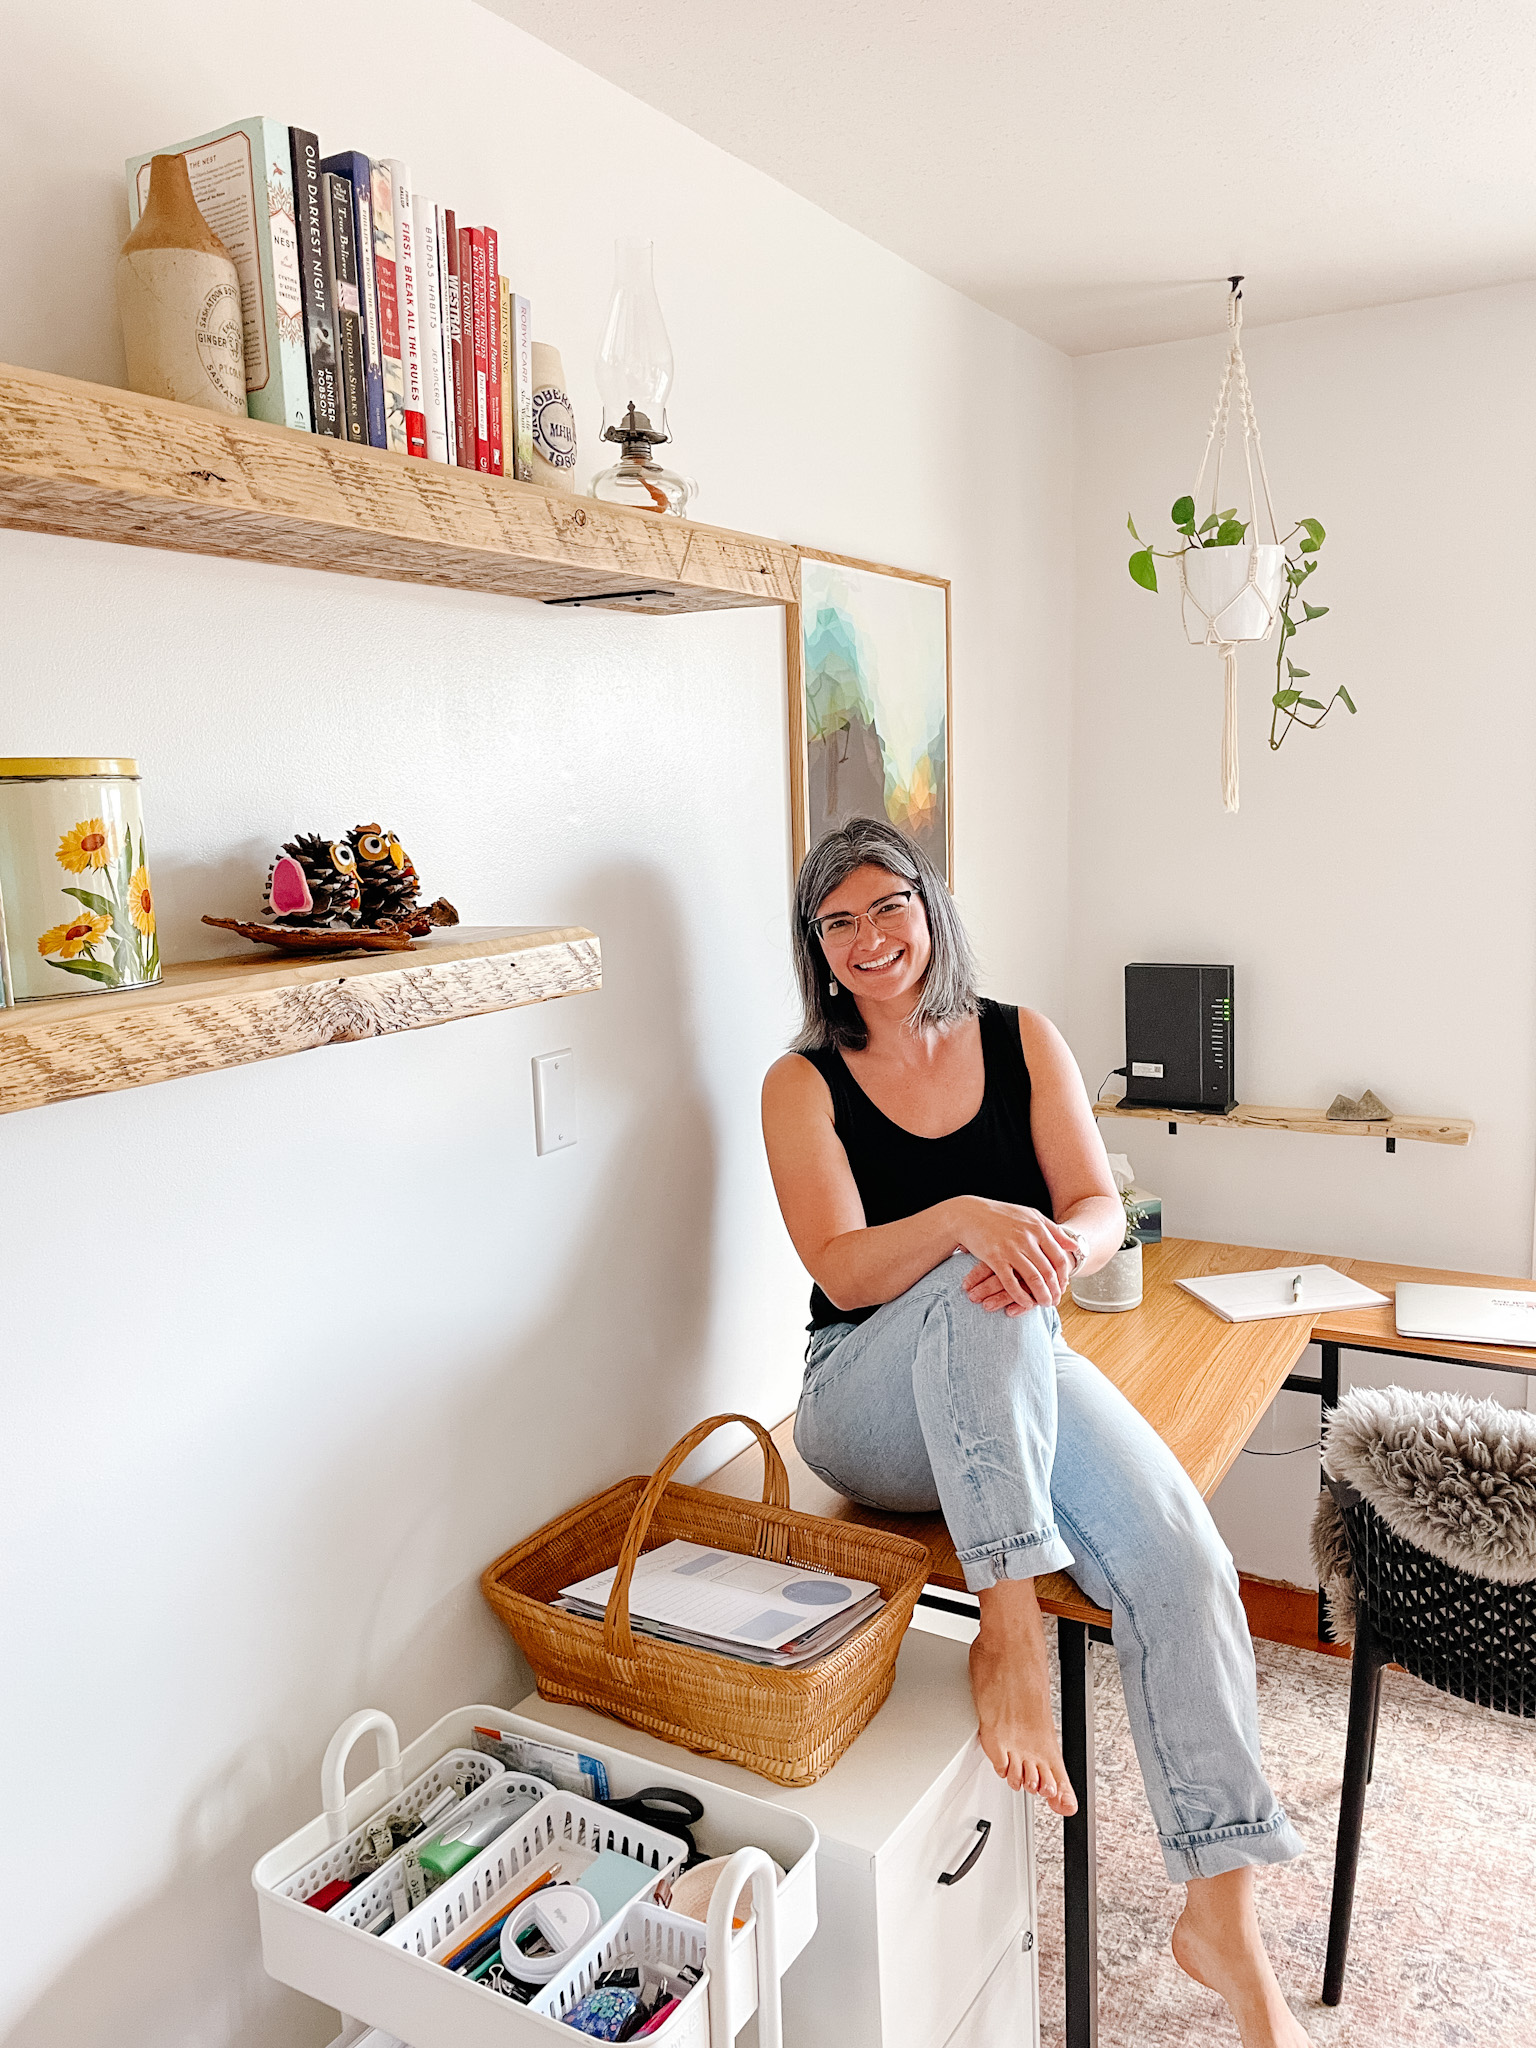
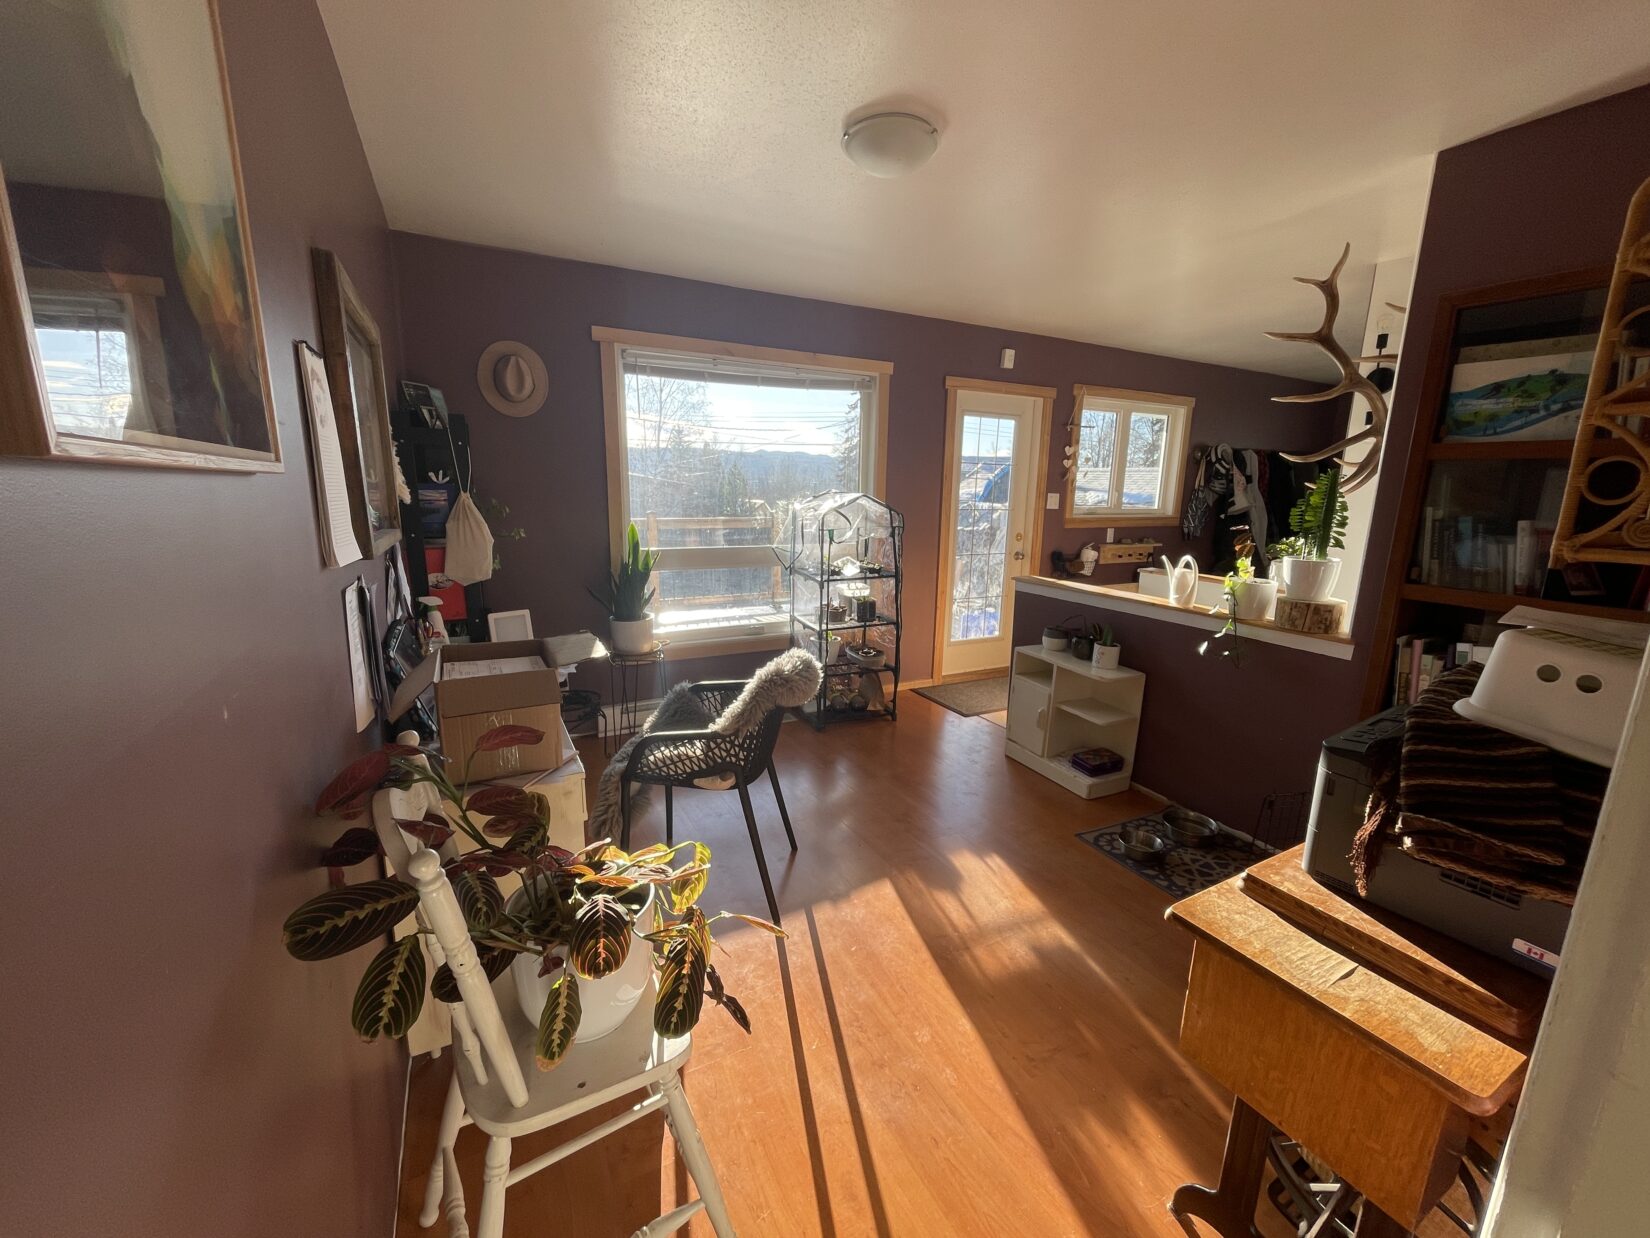
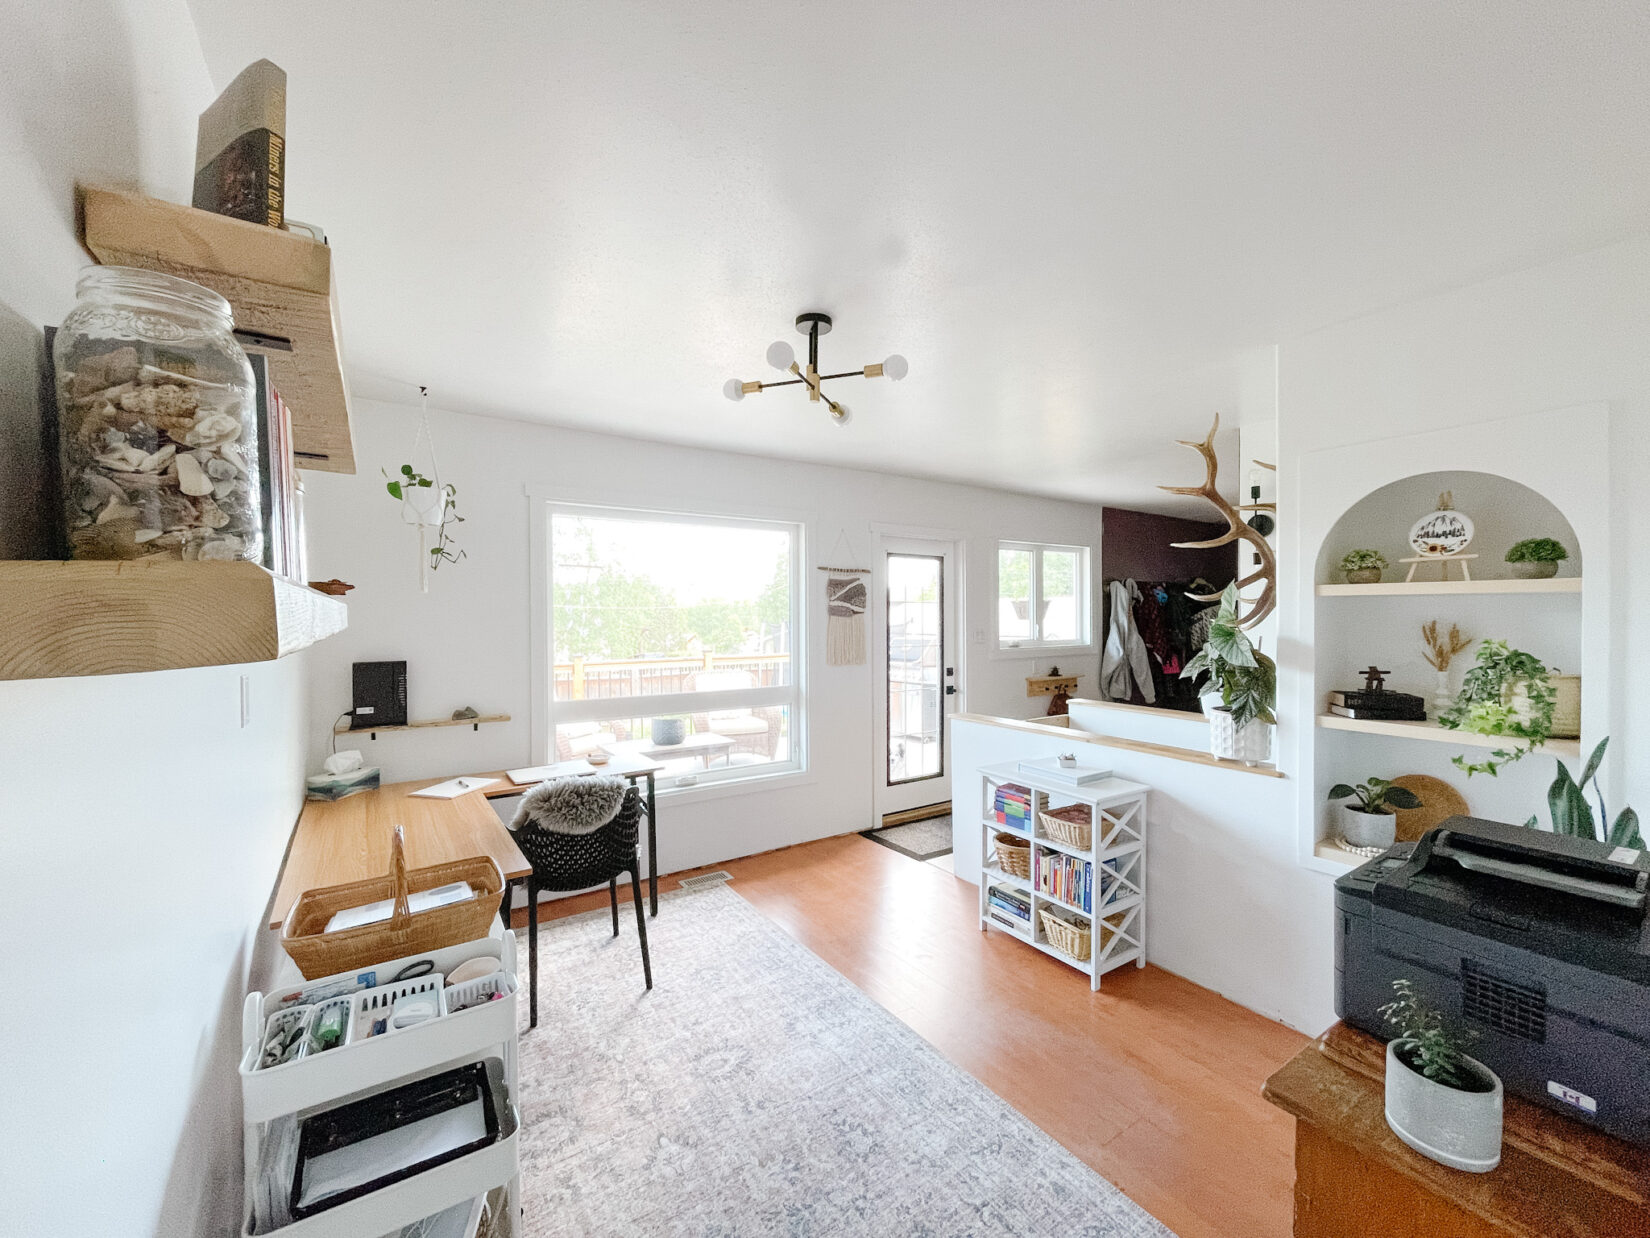
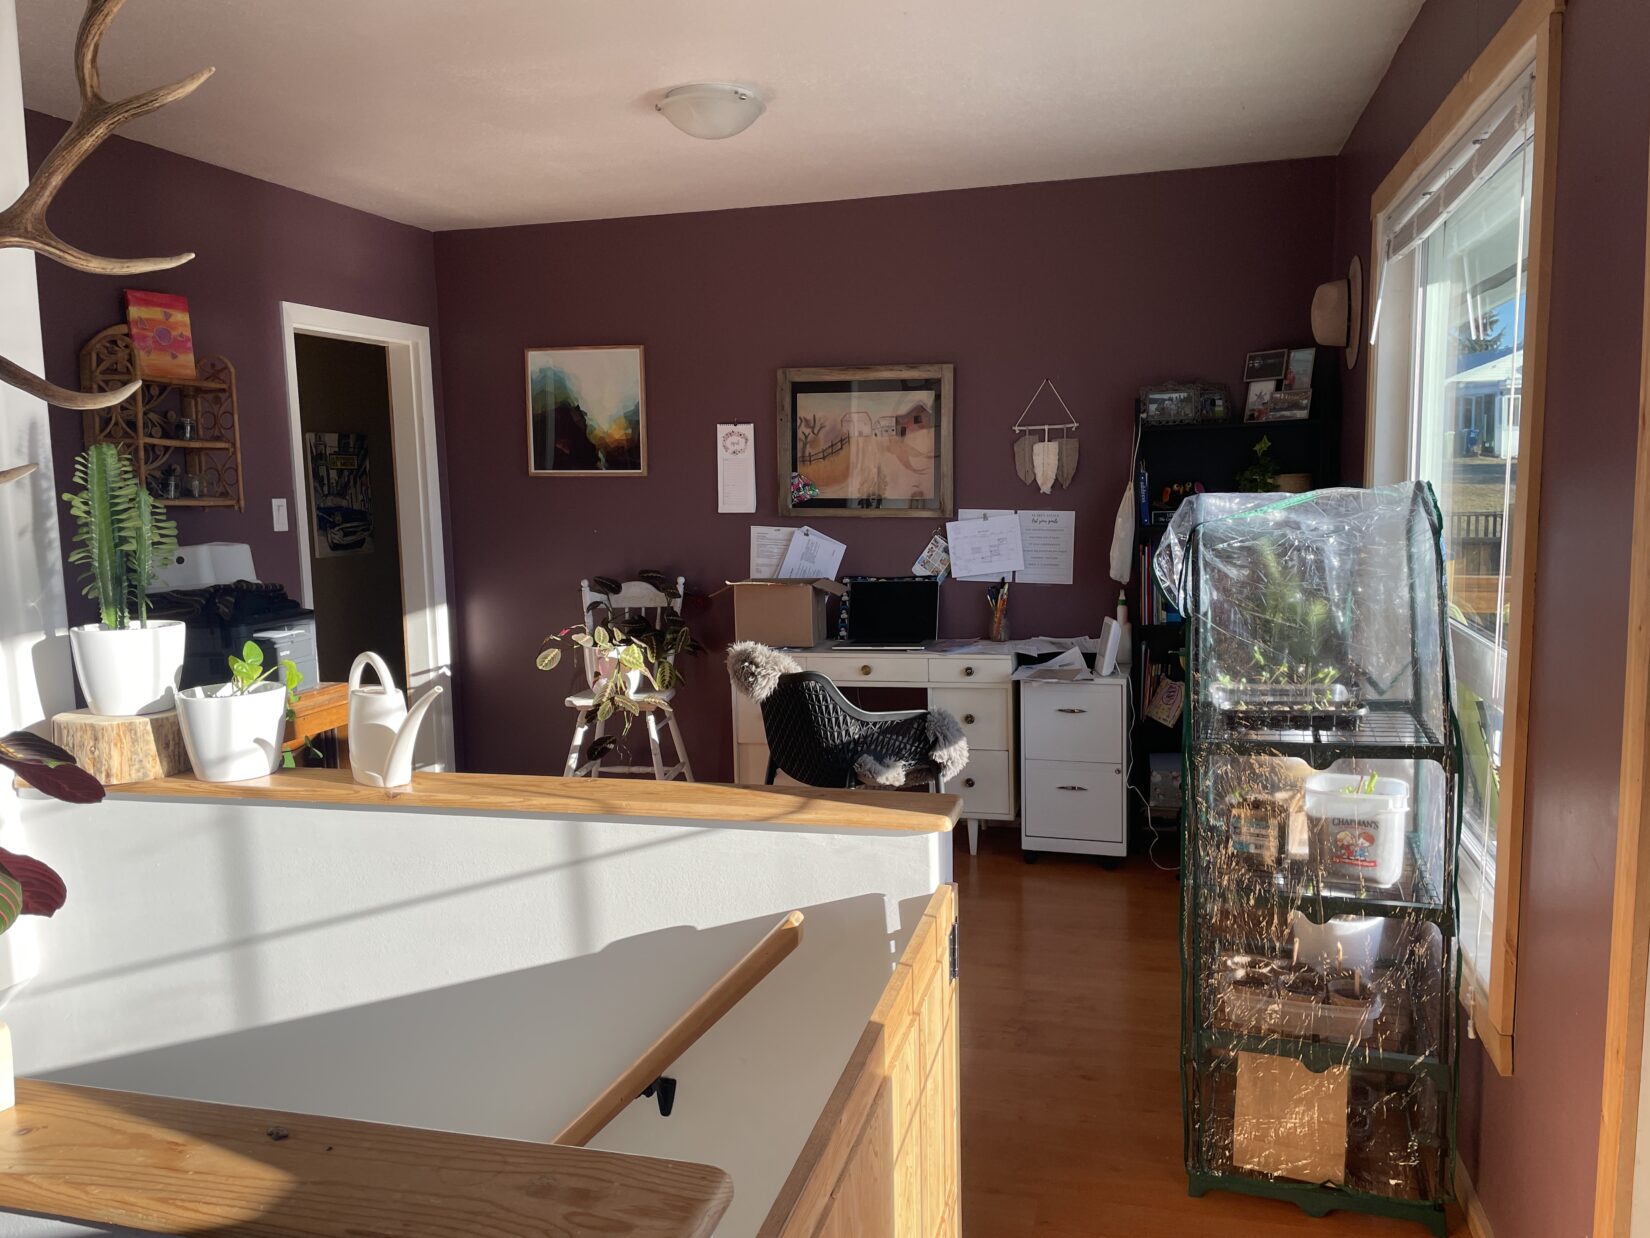
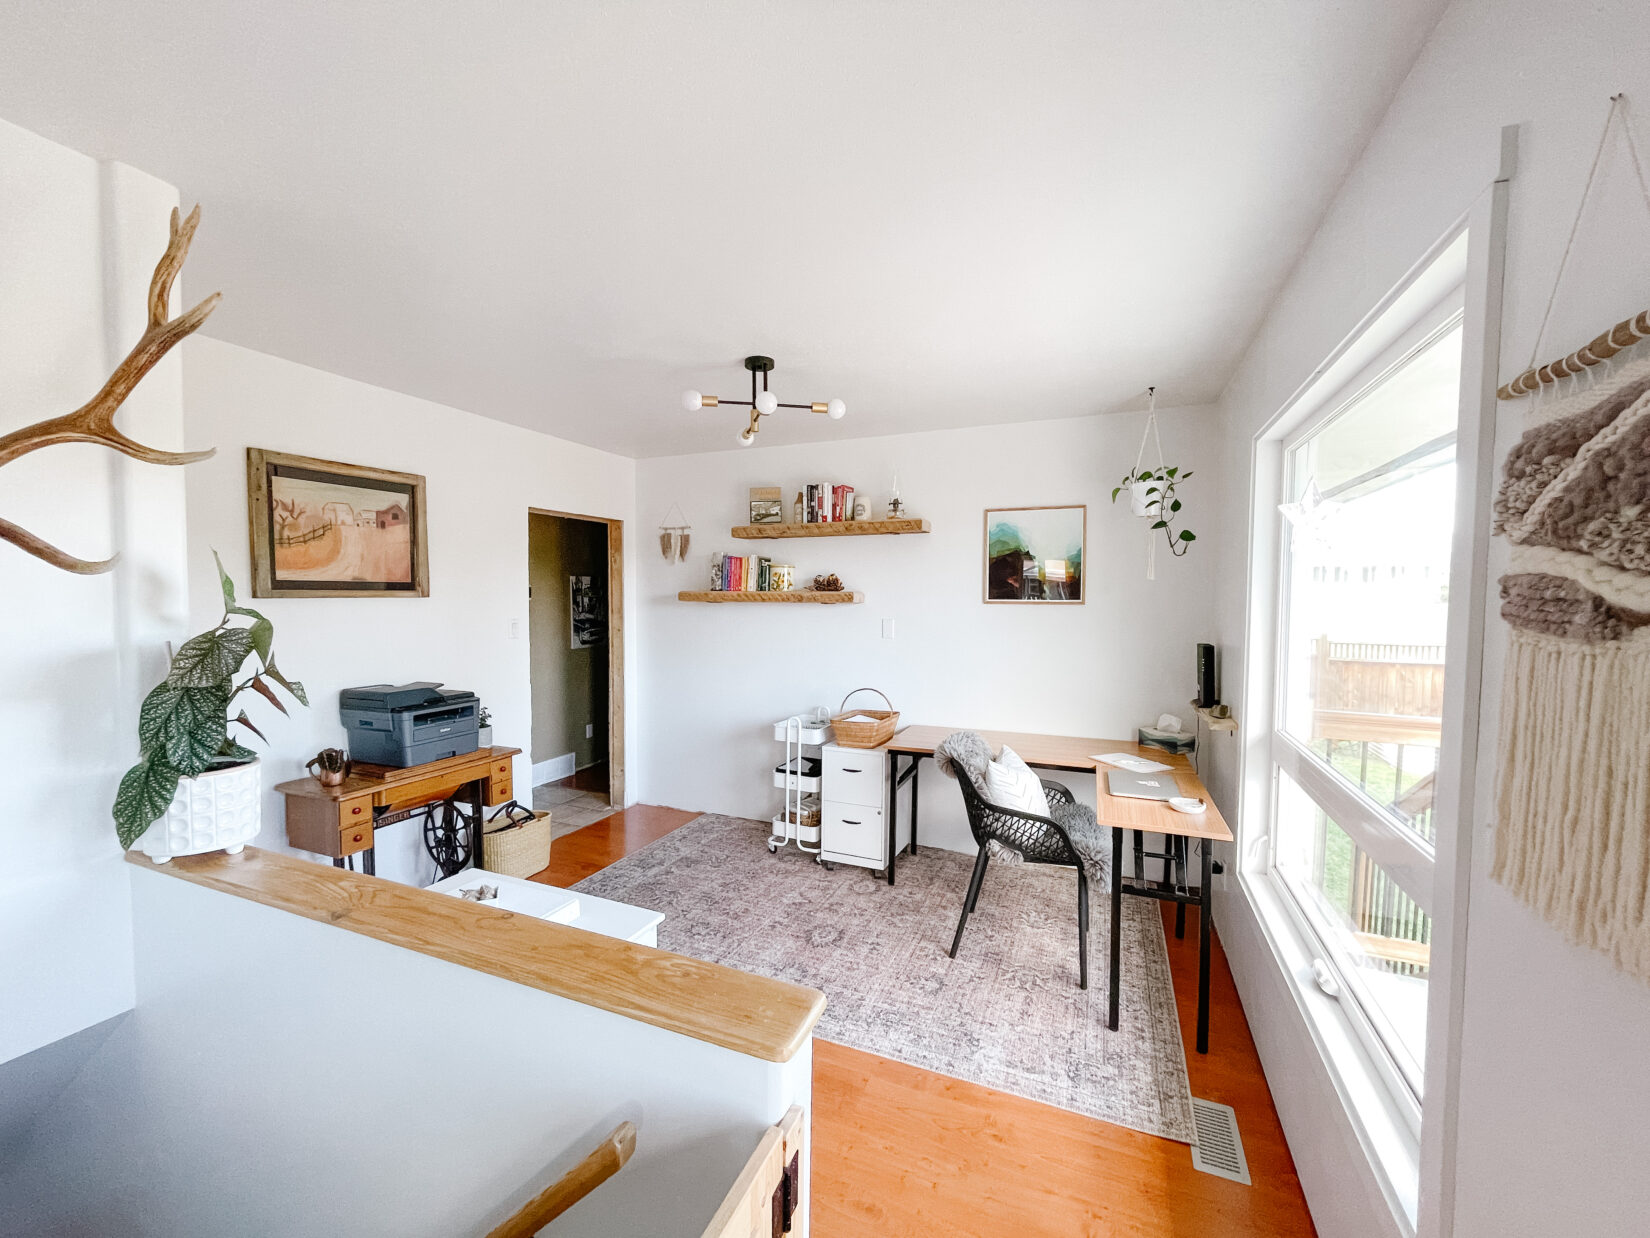
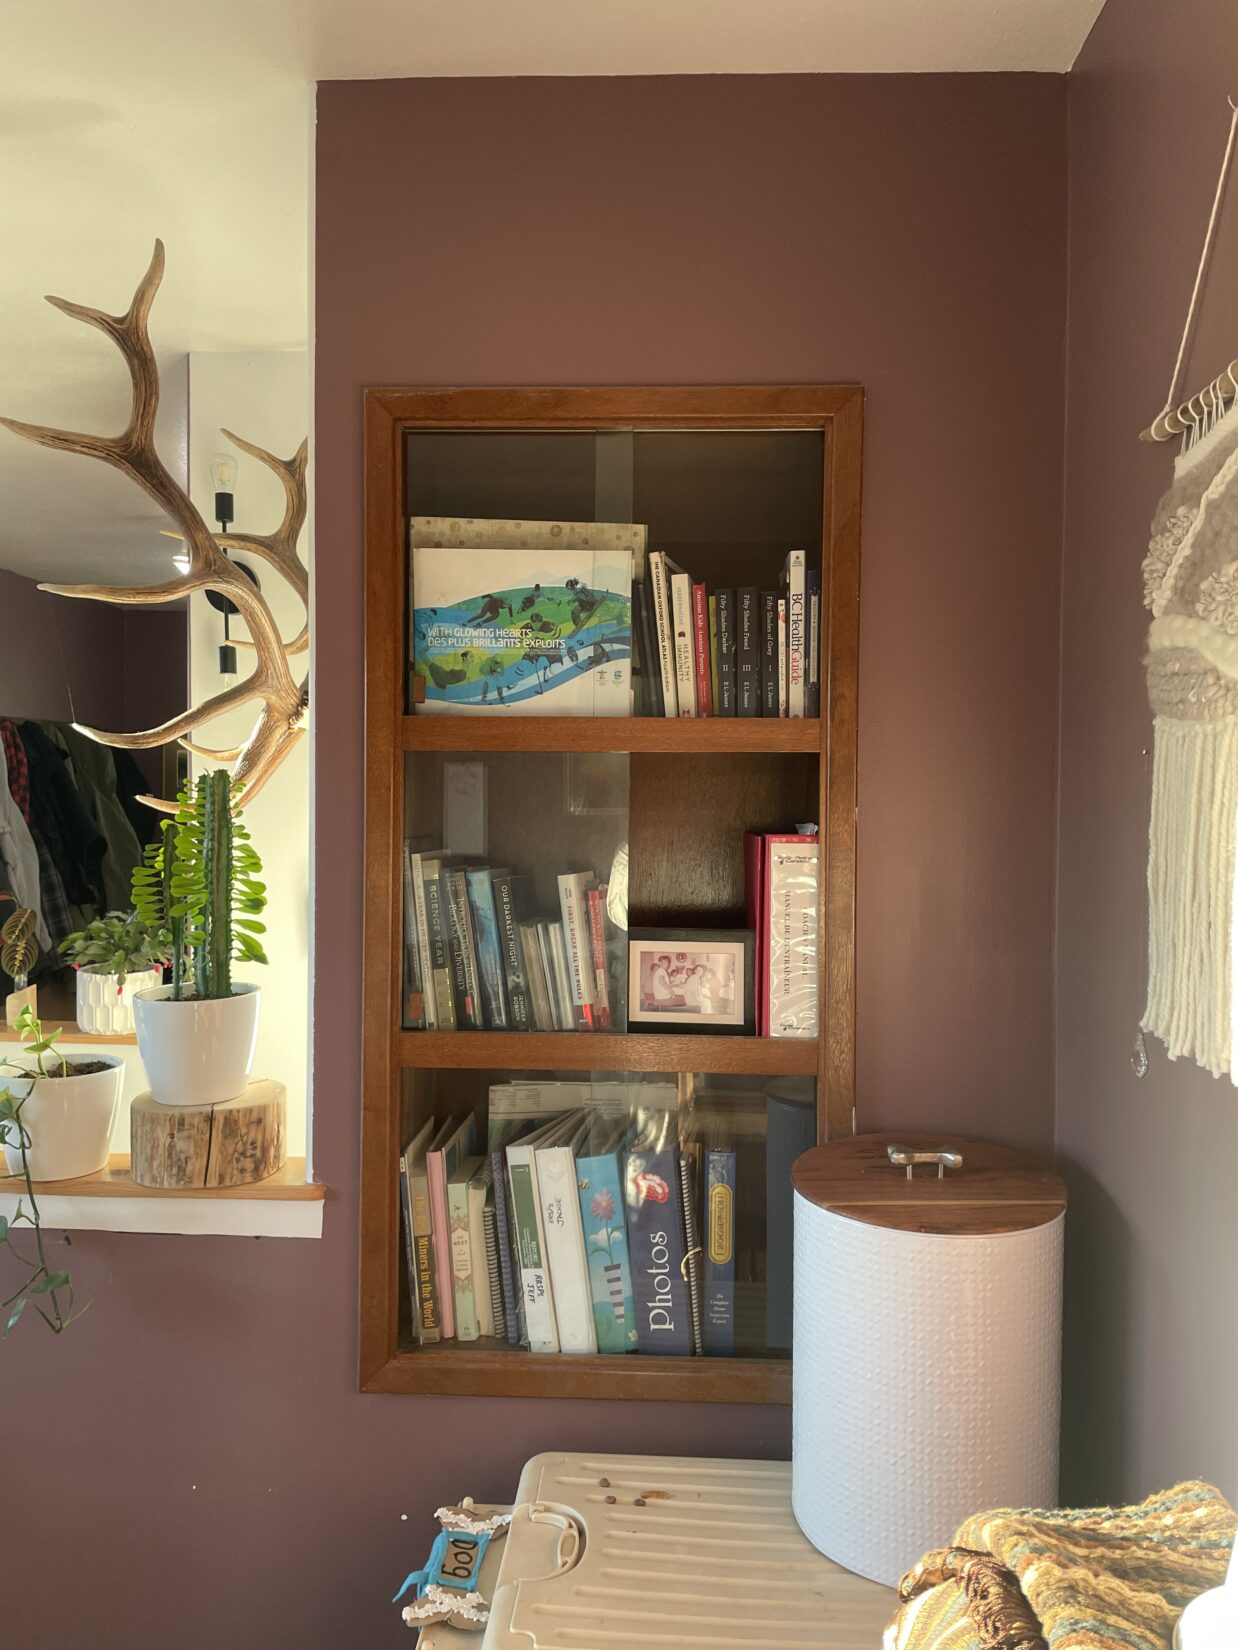
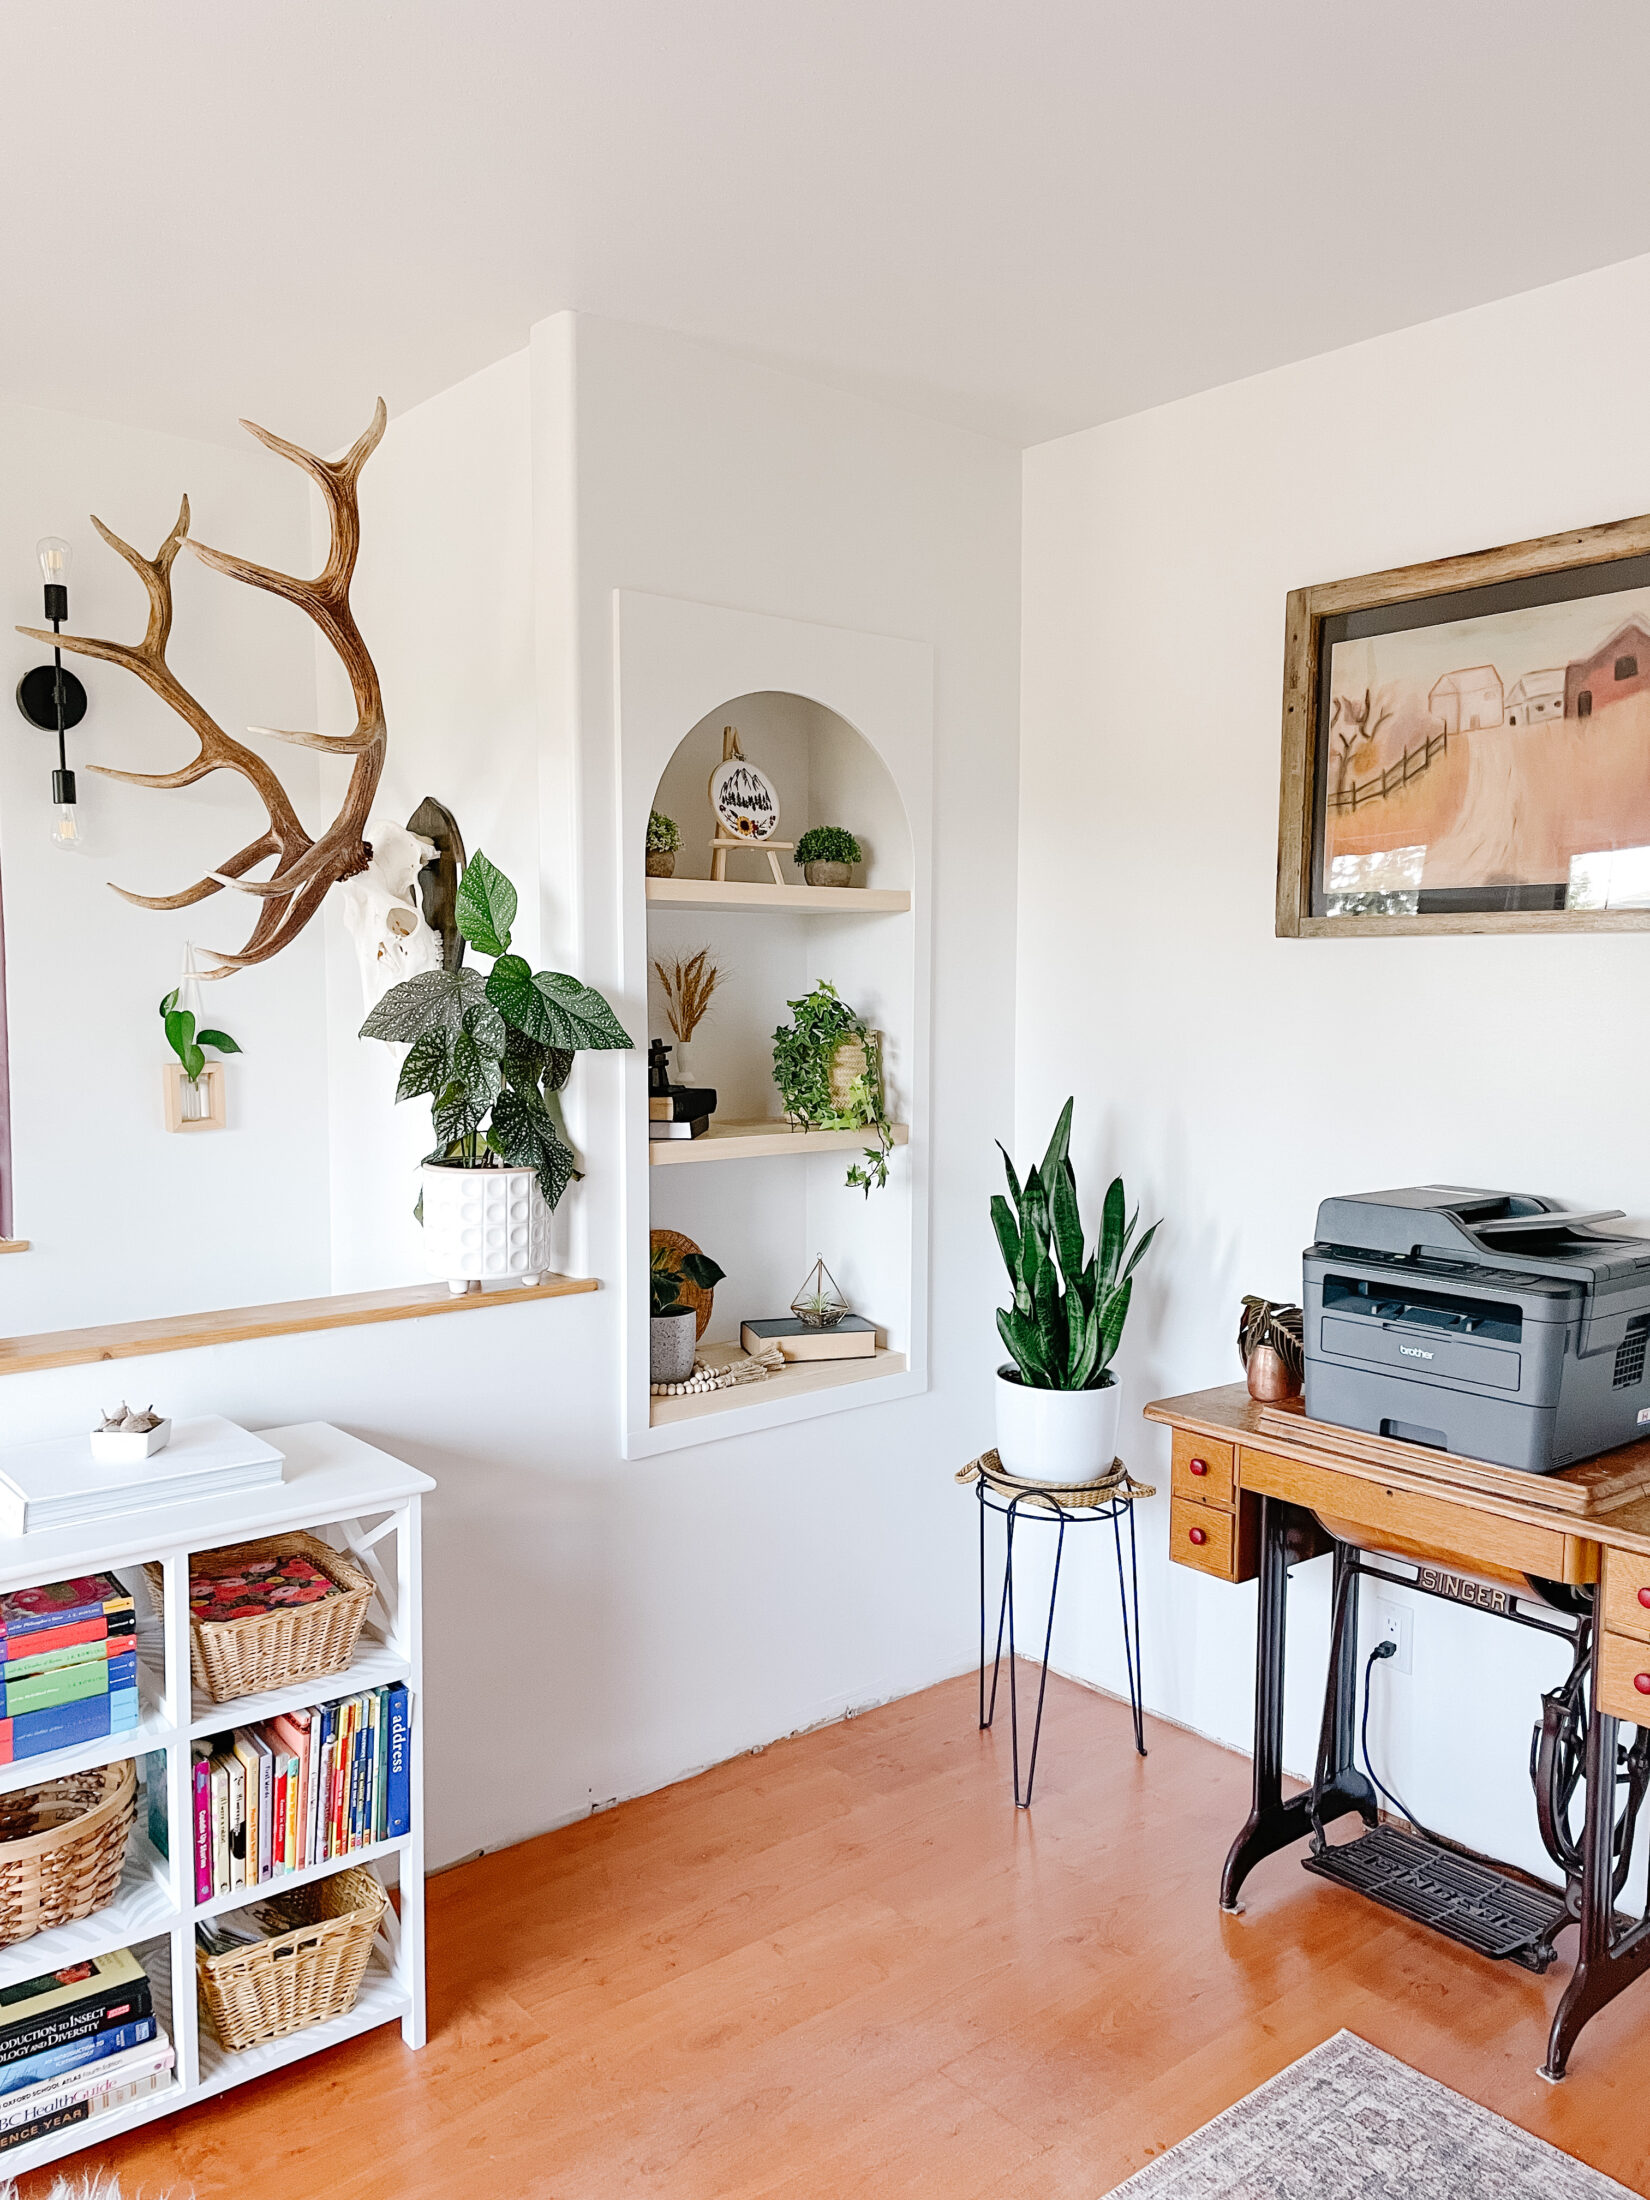
The best before and after photos of our office renovation!
This space makes me SO HAPPY! I have hated office / computer work for so long and already since setting up my desk I have been doing more computer work (which was very over due) and it just makes me happy to be in this space! I also really enjoy my morning yoga in here as the light shines in. It is THE BEST!
PROJECT GOAL: Make this space bright, neutral and functional so I actually want to do my office work … and you know what, I have spent so much time at my desk since this has been finished, I can’t even believe it! I also do yoga in the morning here and it’s just the most perfect space for us!
What is this office renovation costing?
I’m talking about the thing that everyone shys away from. WHY? Because its a HUGE part of renovating! I don’t want to paint an unrealistic picture for you so I’m sharing the cost breakdown as I work through this renovation. If you follow on Instagram, you’ll find the cost breakdown in the caption of my reels and posts. If I’m missing something, just ask!
Here’s what I bought this week:
-spray paint for small bookshelf $15
-barnwood $40
-brackets for large shelves ($36, used @amazonca credit)
-light fixture ($49, used Amazon credit)
-plant hanger from @outofhandsmithers $40
-plant hanger hooks & light bulbs $71
-small brackets for mini shelf $2
–Loloi Rug from The Rug District (gifted)
Total spent this past week total $168
Carry over from previous weeks $312
Buy and sell income $115
Total spent ($480) – items sold ($115) = $365
TOTAL SPENT on this office renovation: $365
Click the video below for a full recap!
Follow @sewbrightcreations on Instagram for budget friendly DIY and renovation.
Watch the video to see how I kept this office renovation under $400!
Any questions! Let me know in the comments!
We would love to see your projects! Please share with us by tagging us on Instagram @sewbrightcreations or email them to sewbrightcreations@gmail.com.
This post is not sponsored however some links may be affiliate, which means I may earn a small commission if you shop using the links. There is NO extra cost to you. The opinions and photos are of Sew Bright Creation’s.
